Baby Wipe
by Beate Johns
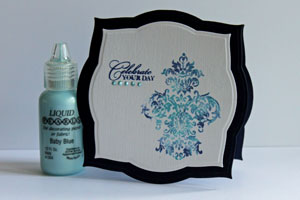
Add drops of re-inker onto a baby wipe and create multicolored images.
Supplies
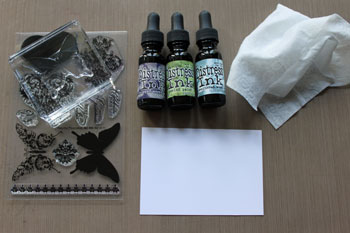
- Baby wipe
- Two or Three Dye Re-Inkers
- Craft sheet or paper plate
- Solid stamp, (Flourishes Fanciful Flourishes used here)
- Neutral cardstock
Step-by-Step
-
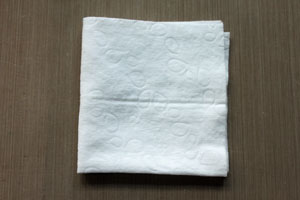
Step 1
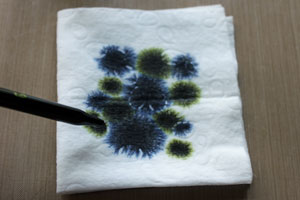
Fold the baby wipe in half, then fold in half again. Place on a craft sheet or paper plate.
-
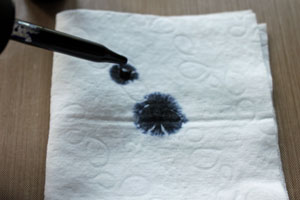
Step 2
Starting with the darkest color of re-inker, start adding drops of it on the baby wipe.
-
-
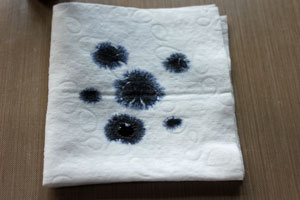
Step 3
With the second re-inker, add more drops to the wipe.
-
Step 4
With the lightest colored re-inker, fill in all the white spaces you have left on the baby wipe.

-
Step 5
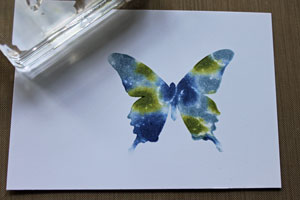
Ink up the stamp using this makeshift inkpad.

-
Stamp the image on cardstock.
-
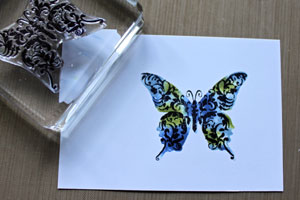
Step 6 (Optional)
If you have a two-step stamp set, stamp the second image over the solid one for a more detailed look.
-
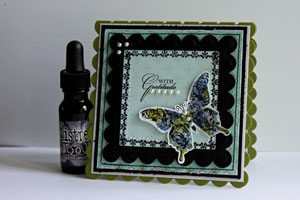
Step 7
Finish your project.
Video!
Variations
-
Try detailed stamps
When working with outline stamps, use ornamental ones and keep your color combinations monochromatic.
-
Striped Wipe
Try creating a striped background with baby wipes. Check out our Striped Wipe tutorial.
Your Turn
You've seen the tutorial, now you try it! We've got a section of the gallery set aside for Baby Wipe. Try this technique, then upload your artwork to the gallery. Show us your creations!
***Please note - Internet Explorer/Edge is not a supported browser, and will not allow you to see the videos. Please use Chrome, Firefox or Safari to view our tutorial videos.
Questions and Comments
We'd love to get your feedback or questions. Leave your comment below.
Beate - Great idea! Can the baby wipe ink pad be used more than once? I'm wondering if storing it in a ziplock bag or something would make it last longer.
You might be able to use it several times. I haven't tried that yet. Sorry.
Thanks for telling Laura about the link.
Hugs and smiles
Yes, use alcohol free baby wipes.
Hugs and smiles
You can get the reinkers at most craft stores. They are usually in the isle with rubber stamps and stamp pads.
Sue
Stampin' Up! carries 2 step layering stamps. You can look at some here:
http://www.stampinup.net/esuite/home/taraeubanks/
Here is a sample of 1 too, "Cottage Garden":
http://www.stampinup.com/ECWeb/ProductDetails.aspx?productID=120003
I can direct you to more if you need help.
Page 1 of 2 pages 1 2 >