Antiqued Ornament
by Dina Kowal
Use a faux finishing technique to give a vintage look to a plain ball ornament.

Supplies
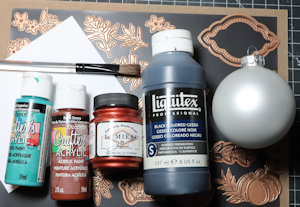
- Matte glass ball ornament
- Dies (Spellbinders Oct. 2019 Large Die of the Month “Fall Flora” club kit used here)
- Textured paper (90# watercolor paper used here), craft foam, lace, etc.
- Adhesive sheet (opt)
- Matte gel medium
- Brush
- Black gesso
- Acrylic paints (brown, copper, and teal used here)
- Embellishments (hemp ribbon used here)
Step-by-Step
-
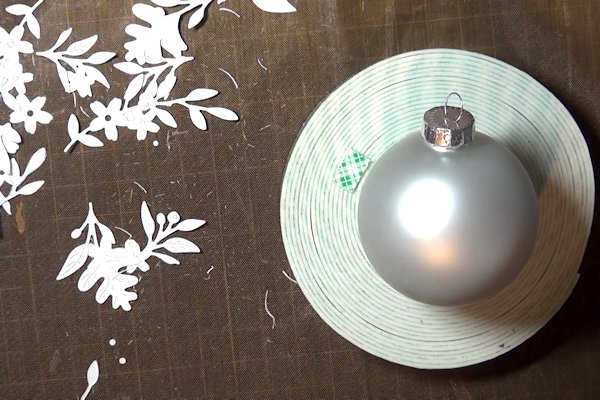
Step 1
Prepare a number of die cuts for your glass ornament using textured paper. These can be botanicals or you can create a repeating pattern with other shapes.
TIP:
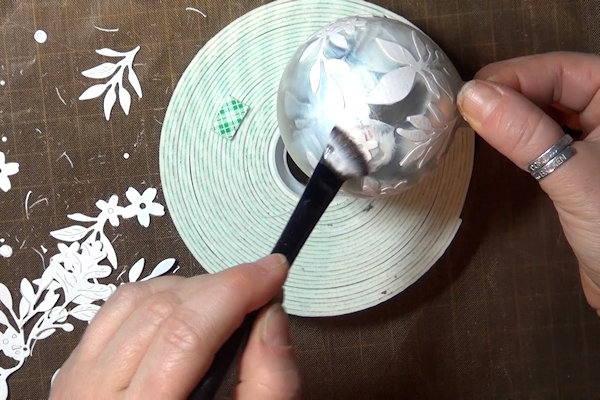
It is helpful to have a place where your ornament can rest so both of your hands are free for placing and adhering the die cuts. -
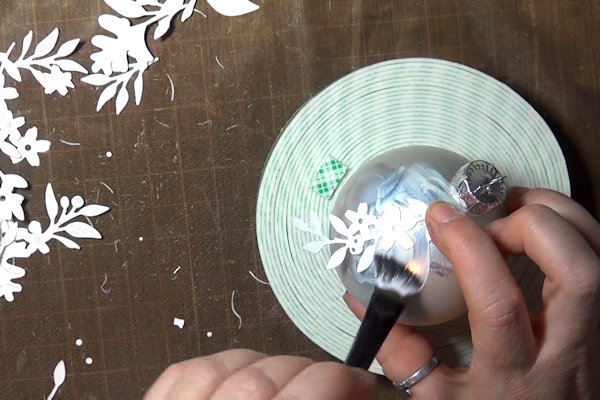
Step 2
Place and adhere the die cuts to the ornament. Brush down a layer of gel medium, then add a die cut and brush more gel medium on top. Continue brushing until the fibers of the paper relax and adhere to the surface. You may need to go back and brush down tips and ends. Take your time.
-
-
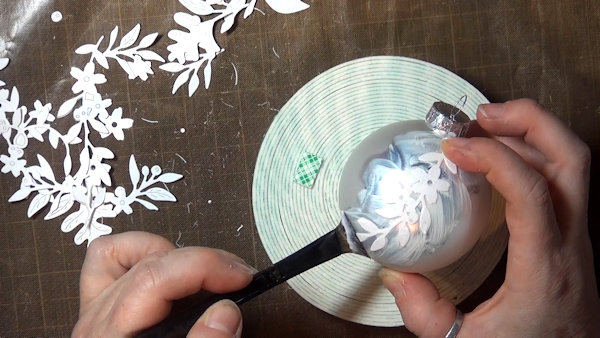
Step 3
Continue adhering the die cuts until the surface is filled evenly.
Allow the ornament to air dry completely (about an hour). -
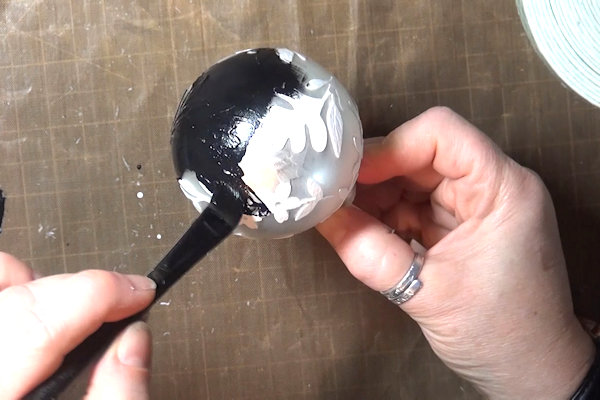
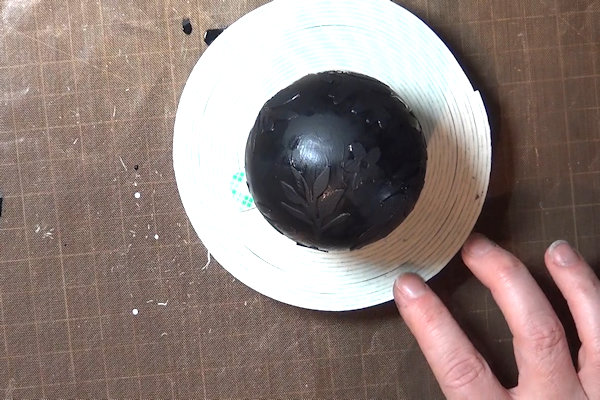
Step 4
Paint the entire surface of the ornament with black gesso, working the paint in around the edges of each die cut.
-
-
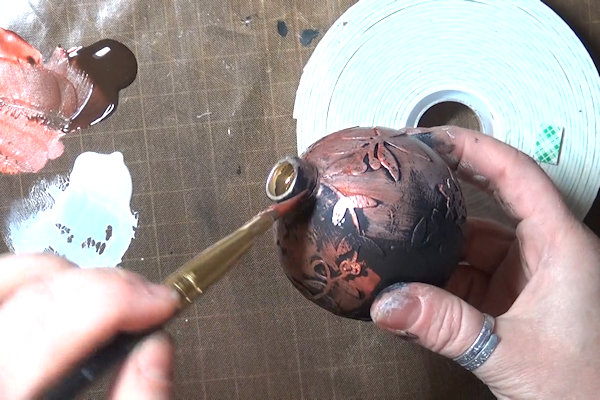
Step 5
For the look of copper with patina, use a blend of browns or brown and copper acrylic paint. Brush lightly to allow some of the black base coat to show through around the edges of the die cuts.
Allow the paint to dry. Brighten up some areas with a second dry-brushed coat if needed. -
Step 6
Using a dry brush and a small amount of paint (tap off excess), brush the raised areas with teal paint.
-
Step 7
Embellish and complete the ornament.
-
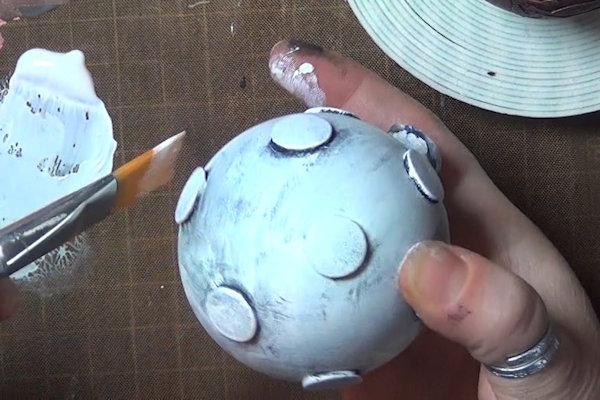
Step 8
For a different vintage look, complete steps 1-4, then use white gesso or acrylic paint to dry brush over the black.
(The raised dots on this ornament were done with adhesive craft foam for a more whimsical look. You can experiment with different materials and thicknesses.) -
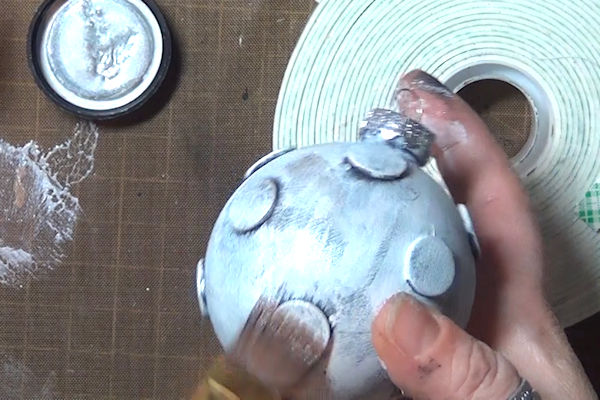
Use a metallic paint or rub-on to highlight the raised areas.
-
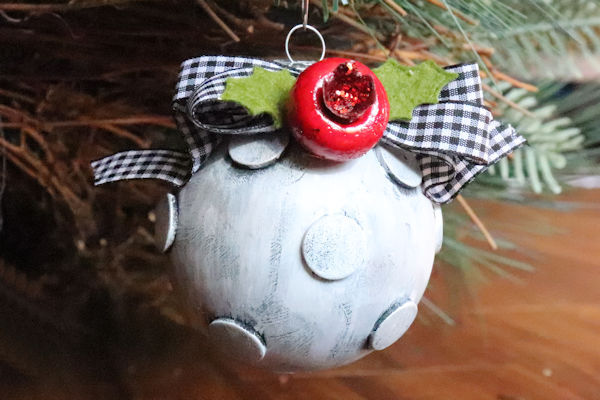
Step 9
Embellish and complete the ornament.

Video!
Your Turn
You've seen the tutorial, now you try it! We've got a section of the gallery set aside for Antiqued Ornament. Try this technique, then upload your artwork to the gallery. Show us your creations!
***Please note - Internet Explorer/Edge is not a supported browser, and will not allow you to see the videos. Please use Chrome, Firefox or Safari to view our tutorial videos.

Questions and Comments
We'd love to get your feedback or questions. Leave your comment below.
Page 1 of 1 pages