Altered Lunch Tin
by Emily Giovanni
Turn a lunch tin into a gorgeous card organizer or gift package!
Supplies
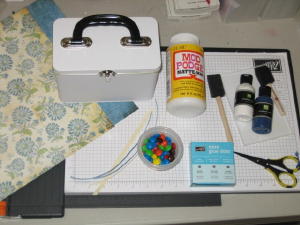
- ProvoCraft® Lunch Tin [buy it]
- Two sheets (12” x 12”) coordinating papers
- Mod Podge™ [buy it]
- Foam brush
- Scissors
- Paper trimmer
- Craft paint
- Embellishments (ribbons, Prima® flowers, microbeads, Crystal Effects™ )
- Mini Glue Dots
- Sanding block or sand paper
- Printable template (tinwithnotch.pdf, 71K) for the cut-out area on the front of your tin, and the optional tin top
Step-by-Step
-
Step 1
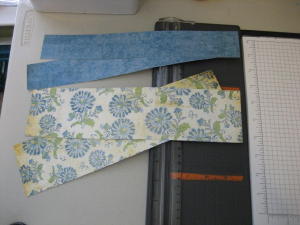
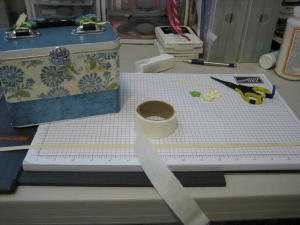
Cut two 3" x 12" strips from the paper for the upper half of the tin.
Cut two 1¾" x 12" strips from the paper for the lower half of your tin. This strip can be between 1½" to 2" depending on how much you want to show.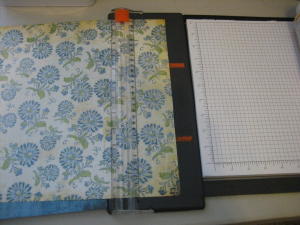
-
-
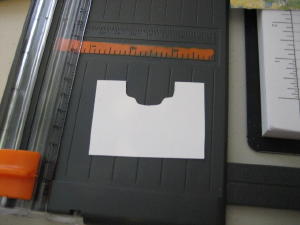
Step 2
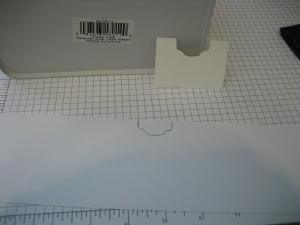
Print and cut out notch template.
-
Step 3
Place notch template on the back of one of the upper-half strips of paper. Center, then trace the notch.
Cut out notch and trim to adjust if needed.
Now you will have one upper-half strip of paper with a notch and one without.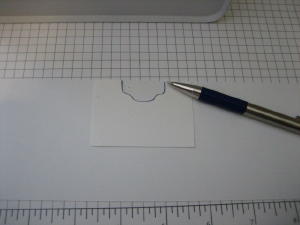
-
-
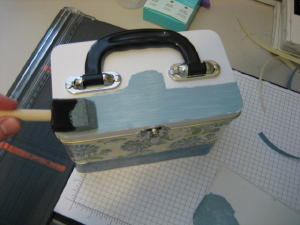
Step 4
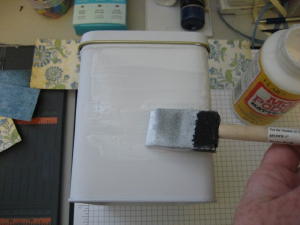
Use foam brush to liberally apply Mod Podge™ directly onto upper 2/3 of the tin front and sides. Do not paint the top at this time.
-
Step 5
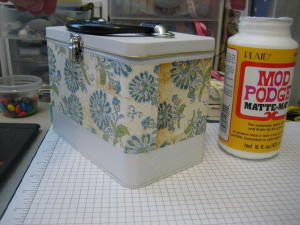
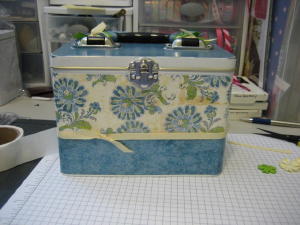
Place notched upper-half strip of paper on the tin and press down, smoothing wrinkles and pressing ends down around the sides.
Repeat on the back with the second upper-half strip of paper so the ends overlap the front strip of paper.
IMPORTANT: Make sure you have no bubbles or wrinkles.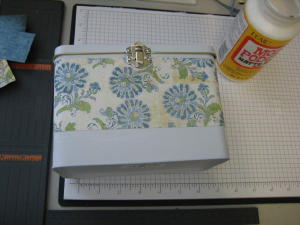
-
-
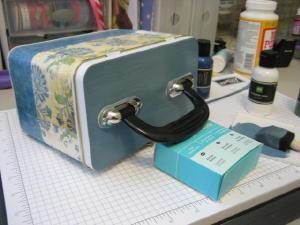
Step 6
Use foam brush to apply Mod Podge™ to lower front portion and sides of the tin. Place lower-half strip on the Mod Podged area. This should cover the front and part of the sides of the tin.
Repeat process on the back portion of the tin. Again, make sure you have no wrinkles or bubbles.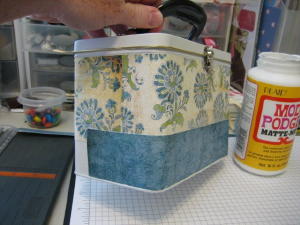
-
Step 7
Use foam brush to apply Mod Podge™ all over the papered area of the tin. This seals the paper so it will be more durable.
I start on the front and continue all the way around. Make sure to get all the edges. The Mod Podge™ will look white. This is normal and it will dry clear.
Set aside to dry.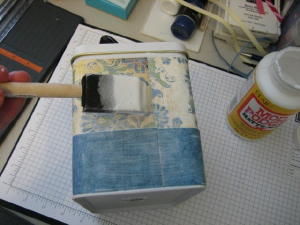
-
Step 8
If you do not want to paint the top of your tin, you can skip to Step 11 and distress the white already on the tin.
Mix paint to get a shade that coordinates with the paper. You can play around with different colors to get the exact shade. I use Making Memories™ Scrapbooking Paints.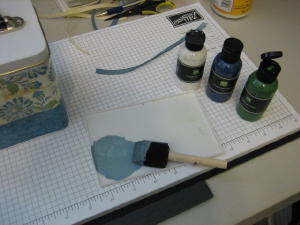
-
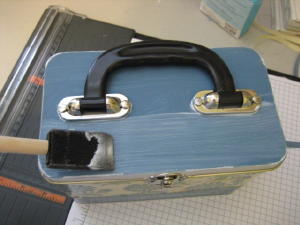
Step 9
Apply paint to the top of the tin with a foam brush. Make sure all brushstrokes go the same direction, as this will look much neater when finished.
-
Step 10
Place tin front-side down with the handle lifted up on something so the lid can dry.
-
Step 11
Once lid is dry, use a sanding block or sandpaper to distress the edges and top of the tin as desired. This can also sand off any paint in unwanted areas.
Use a paper towel to remove any paint flakes from tin.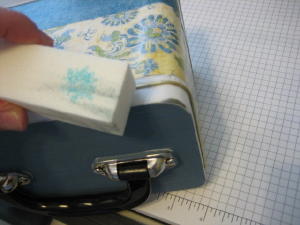
-
Step 12
Once you have desired look on top, apply Mod Podge™ to seal the paint. Paint in the same direction for a more uniform look. Again, the Mod Podge™ will dry clear; don’t worry if it looks white at first.
-
Step 13
Embellish as desired. I attached a long strip of ribbon (SU! cream grosgrain here) with mini glue dots placed every few inches.
-
Wrap around tin pressing glue dots to seal them. Tie in the front and trim edges. Use whatever ribbons you like to embellish the handle.
-
Step 14
Use glue dots to adhere Prima™ flowers to the tin.
Add small drops of Crystal Effects™ to flower centers. Drop 3-4 microbeads into Crystal Effects™.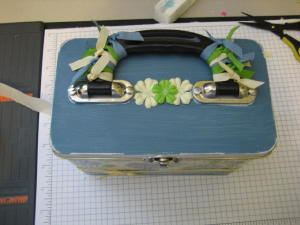
-
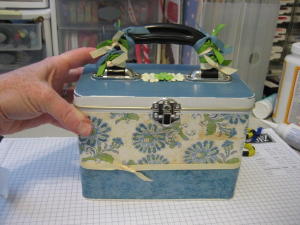
Finished Project!
Variations
Paper the top
Instead of painting, use coordinating paper for the tin top.
1. Download and print the included template (see supply list)
2. Trace the template onto your coordinating paper and cut out
3. Use Mod Podge™ to adhere the paper to the top of the tin.
Your Turn
You've seen the tutorial, now you try it! We've got a section of the gallery set aside for Altered Lunch Tin. Try this technique, then upload your artwork to the gallery. Show us your creations!
***Please note - Internet Explorer/Edge is not a supported browser, and will not allow you to see the videos. Please use Chrome, Firefox or Safari to view our tutorial videos.

Questions and Comments
We'd love to get your feedback or questions. Leave your comment below.
I checked the link to see if it is still active. When I clicked on the link I immediately saw the template. It is still active and appears to be working fine. I would suggest trying again. Perhaps there was just a little glitch when you tried it before.
Best regards
Bille
It depends on where you bought your tin. I got mine from Hobby Lobby and my tin is deeper, therefore th lid is bigger. The number on the bottom of my tin is 180729. The ones on Oriental Trading are slightly different also, but you can modify the template to fit. Just reprint it, but cut it bigger until you get the right size. I bought my templates from here: http://www.thecardladies.com/SimplyPerfectTools.htm and shipping was fairly cheap.
Hope this helps.
Thanks so much!
Thanks.Emily
Thank you!
I am wanting to make these as gifts for Christmas for the ladies in my office however I am having the hardest time finding the lunchbox tin. I've checked my local Hobby Lobby and Michael's. I'm going to try JoAnn's this weekend. Any other suggestions?
Thanks for your help!
Thanks.
Page 1 of 1 pages