Altered File Folder
by Maria Williams
Try this kind of album if you need to include a ton of pictures!
Supplies
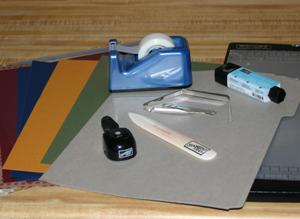
- Patterned Paper (SU! Treehouse used here)
- Coordinating Cardstock (Bravo Burgundy, Night of Navy, Almost Artichoke, More Mustard used here)
- Glue Stick
- Two-Prong Fasteners
- ¼" Hole Punch
- Paper Trimmer with Scoring Blade
- Bone Folder
- Adhesive
Step-by-Step
-
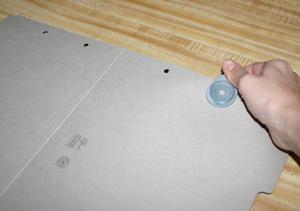
Step 1
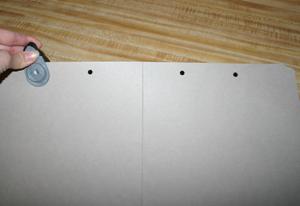
Open file folder and punch holes for prongs to fit in. (here, the holes about 2 ½" apart)
-
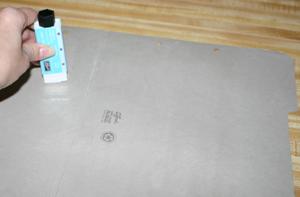
Step 2
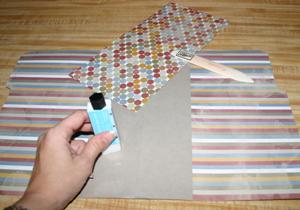
Apply glue to the middle of the inside of file folder.
-
Step 3
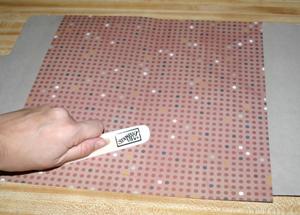
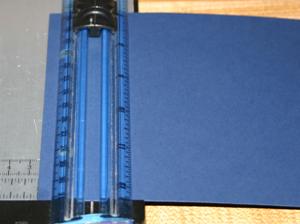
Fold 12" x 12" patterned paper in half.
-
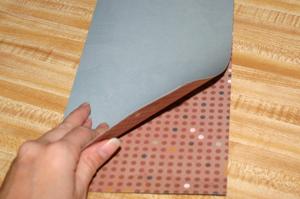
Step 4
Apply patterned paper to the glued area, lining up the folder's crease with the midpoint of the paper. Use a bone folder to smooth any bumps.
-
Step 5
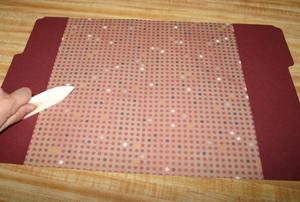
Glue coordinating cardstock to the edges of the file folder and smooth over with bone folder.
-
Step 6
Trim excess paper from edges.

-
Step 7
Repunch the holes on the inside of your file folder.
-
Step 8
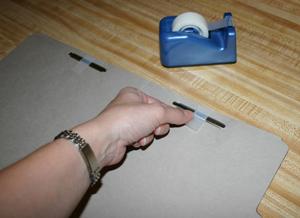
Insert prong fasteners into the holes.
-
A small piece of tape on the back of the prong will keep it in place.
-
Step 9
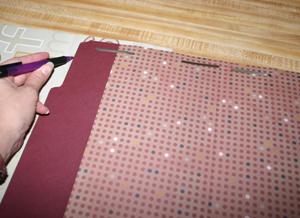
Cover the front of the folder with glue and more patterned paper.
-
Hint: Outline the front edge of the file folder on the back of the patterned paper. Cut carefully, and the other side will fit on the backside of file folder.
-
Step 10
Glue each piece to the outside edge of the file folder.
-
Step 11
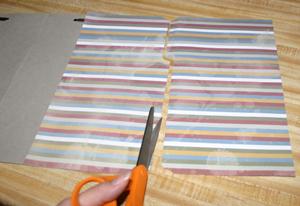
Cut a second sheet of patterned paper in half to cover the spine and slightly overlap the other patterned paper.
-
Step 12
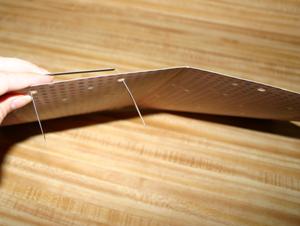
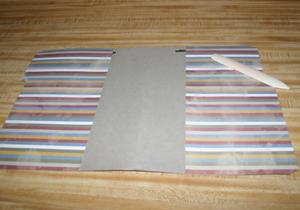
When done, fold folder in half and smooth over the spine with the bone folder.
Be sure to trim the excess paper around the edges.
paper.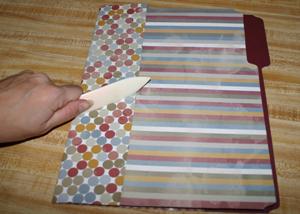
-
Step 13
For pages on the inside left, cut a piece of card stock starting at 5 1/2" x 6". Then add an inch for each additional page – (5 1/2" x 7", 5 1/2" x 8", 5 1/2" x 9", 5 1/2" x 10", 5 1/2" x 11").
Repeat this step to make pages for the inside right side pages.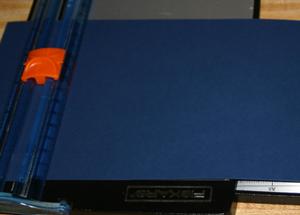
-
Step 14
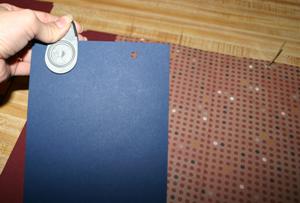
Match up holes for the prongs with the pages you just cut and punch holes in each page of card stock.
-
Step 15
Score the top of each page at 1".
-
Step 16
Finally, fit the pages on the prongs and close the prongs.
To finish, personalize the cover and start scrapping on the inside pages.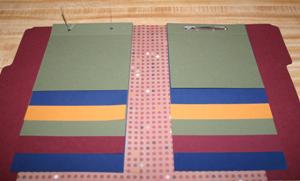
Variations
Once you've decorated the outside of your file folder album, make it more durable with lamination. Most copy places or office supply stores will do this for a small charge. Be sure to remove the inside pages and prongs first.
Your Turn
You've seen the tutorial, now you try it! We've got a section of the gallery set aside for Altered File Folder. Try this technique, then upload your artwork to the gallery. Show us your creations!
***Please note - Internet Explorer/Edge is not a supported browser, and will not allow you to see the videos. Please use Chrome, Firefox or Safari to view our tutorial videos.

Questions and Comments
We'd love to get your feedback or questions. Leave your comment below.
For those that can't find prongs or don't want to make the pronged folders, you can buy them all ready to go in ofice supply stores - just decorate.
Thanks for letting me know. I fixed the numbers. Sorry about that.
Hugs and smiles
Thanks
Thanks for sharing!
Page 1 of 1 pages