Alcohol Ink Coffee Card
by Ardyth Percy-Robb
Use alcohol inks for the coffee in this creative shaped card.

Supplies
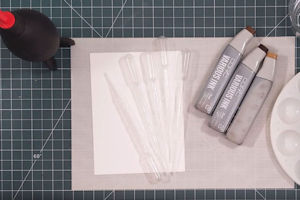
- Yupo synthetic paper (white used here)
- Brown alcohol inks (Copic Refills E55, 57, 59 used here)
- Metallic mixative (Rose Gold mixative from Ranger used here)
- Cardstock for base (Neenah 110 lb used here)
- 2 circle dies, one slightly larger than the other
- Air puffer (Camera Lens Cleaner) (optional)
- Plastic pipettes (optional)
- Plastic palette (optional)
- Die cutting machine
- Transfer foil
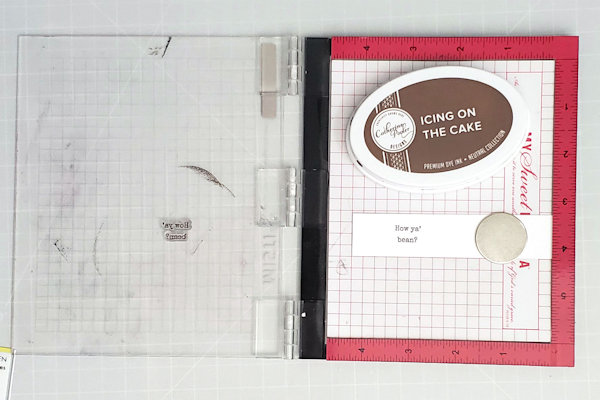
- Other supplies as needed to complete the project (used here: Essentials by Ellen Every Day Punnies stamp set, Catherine Pooler Icing on the Cake dye ink, Mini MISTI)
Step-by-Step
-
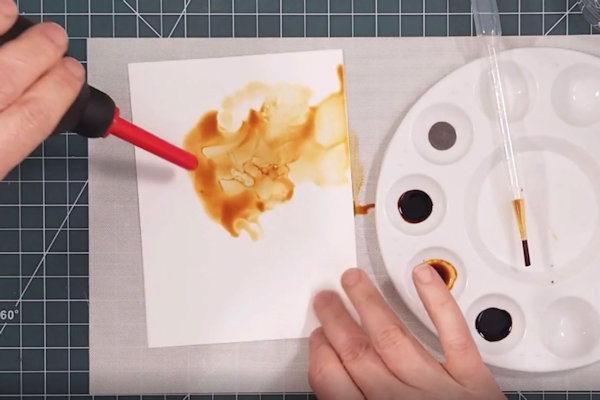
Step 1
Put a few drops of each shade of alcohol ink into the palette.
Use a pipette to place a drop of the first colour of alcohol ink onto the Yupo Paper. You can drop the ink directly from the bottle if you don't have a palette and/or pipette.
Add a drop of rubbing alcohol to the edge to help the brown ink move more easily. -
Step 2
Use the air puffer to gently 'blow' the alcohol ink around. You may blow directly onto the ink or use a straw if you do not have an air puffer.
-
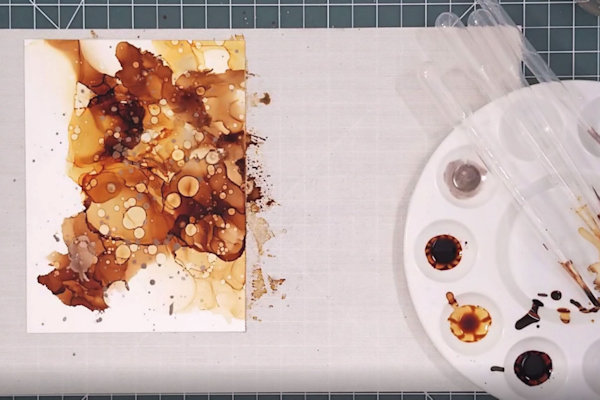
Step 3
Repeat steps 1 and 2 with the various colours and mixatives until you are happy with the coverage.
Use an old paint brush to splatter rubbing alcohol over the panel. This adds a 'bubbly' look to the alcohol inks.
TIP:
Don't overdo it - it takes a second for the effect to develop. -
Step 4
While the ink is still sticky, place a piece of transfer foil, pretty side face up over the panel and rub gently with your fingers.
-
Step 5
Peel back the foil - parts of it will adhere where the alcohol ink was still sticky.
-
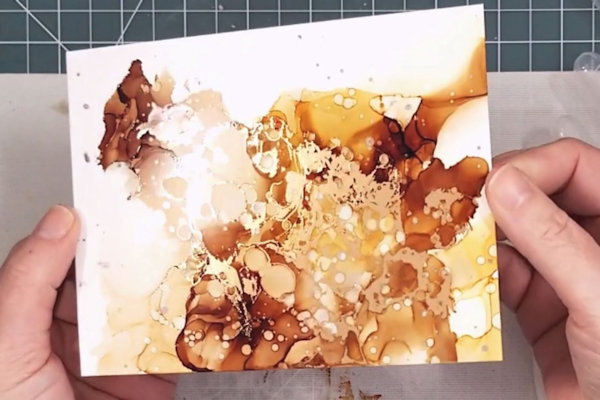
Step 6
Admire the beautiful, unique piece of art that you have created!
-
Step 7
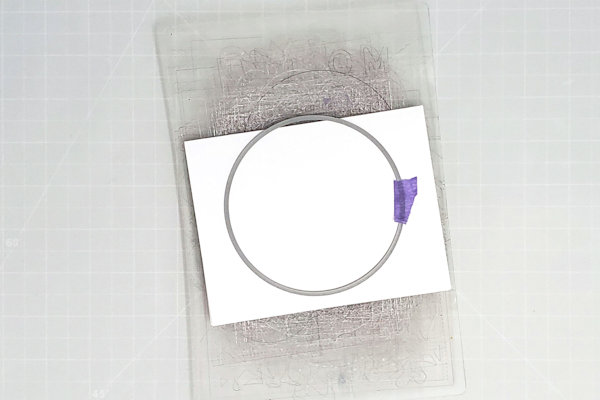
Use the smaller circle die to cut your 'coffee' from the prettiest area on your panel.
-
Step 8
Create a circle card base with the larger circle die by folding the white cardstock in half and cutting with the circle die slightly over the folded edge.
-
Step 9
Cut a small strip of white cardstock and stamp the sentiment onto it. Round the corners if you wish. Adhere to the back of the card at the folded edge, so that the sentiment extends beyond the folded edge of 'cup of coffee'.
-
Step 10
Complete the project.


Video!
Your Turn
You've seen the tutorial, now you try it! We've got a section of the gallery set aside for Alcohol Ink Coffee Card. Try this technique, then upload your artwork to the gallery. Show us your creations!
***Please note - Internet Explorer/Edge is not a supported browser, and will not allow you to see the videos. Please use Chrome, Firefox or Safari to view our tutorial videos.

Questions and Comments
We'd love to get your feedback or questions. Leave your comment below.
Thank you! this was a great vid!
Page 1 of 1 pages