Acetate & Tissue
by Beate Johns
A great technique to try when you need vibrant colors or if you want something to look like it is caught in a liquid (fish) or a crystal (like a fossil in amber!).
Supplies
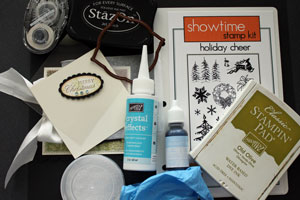
- Rubber gloves
- Tissue Paper
- Acetate, Window sheets or other acetate, such as overhead transparencies
- StazOn Ink™ or Versamark™ and Embossing Powder
- Stamps, Gina K's Holiday Cheer used here
- Crystal Effects™, or other clear drying glue or glaze
- Dye Ink Reinkers
- Pearl Ex or Glitter , (optional) Pearl Ex can be rubbed in with the reinkers for a more sparkly, metallic look
- Neutral colored cardstock
Step-by-Step
-
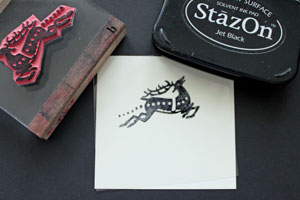
Step 1
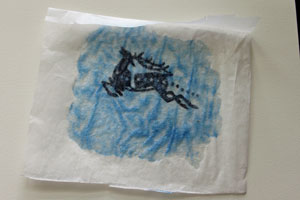
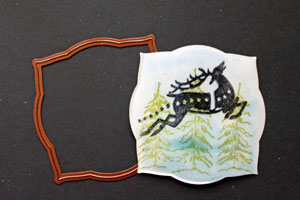
Stamp your image on the Acetate with Stazon™ . If you use overhead transparencies, you might be able to emboss your image as well. Just be careful heating your image or you will warp the actetate.
-
Step 2 (Optional)
Stamp your neutral colored cardstock with an image you want to appear in the back of your Acetate piece.
Hint:
This will only work if you use light colored reinkers for your background..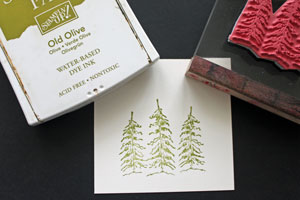
-
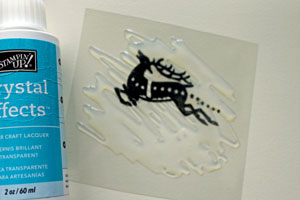
Step 3
Turn the "unstamped" side of the acetate up and scribble Crystal Effects™ over it.
-
Step 4
Add a few drops of dye ink reinker randomly around the sheet.
Hint:
Don't use too much. You can always add more later.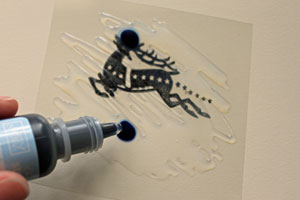
-
Step 5
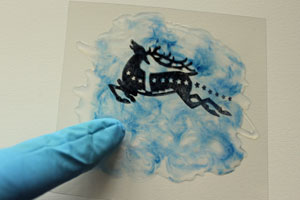
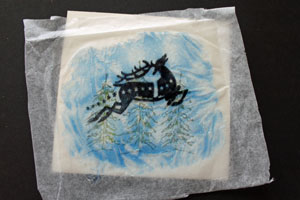
Wear a rubber glove and move your reinker over the entire image. You can do that by smearing the ink, or tapping it with your finger.
-
Continue to move your ink around until you like the coverage. Add more reinker drops if neccessary.
Hint:
When using multiple colors, be careful that they don't blend too much or it will look muddy.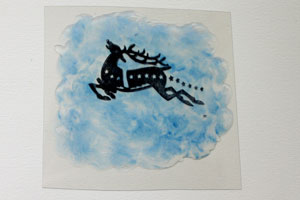
-
Step 6
Apply a light dusting of glitter to add some sparkle.
Hint:
Pearl Ex™ can be used here as well.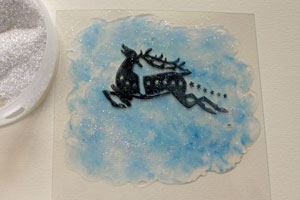
-
Step 7
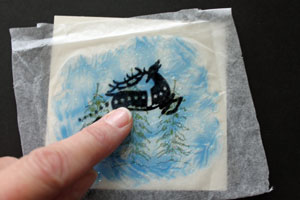
Add a slightly bigger piece of tissue paper over your piece of Acetate.
-
Step 8
Turn Acetate piece around and place it on top of your neutral cardstock piece.
-
Step 9 (Optional)
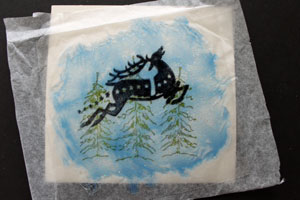
If you want a less wrinkly, more liquid, clear look, press your Acetate into your cardstock.
-
Continue to move the glue/reinker mixture around with your fingers until you like how it looks. Let dry.
-
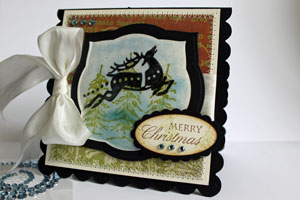
Step 10
Cut your image down to the size needed. (Spellbinders Label 3 Nestabilities were used here.)
-
Step 11
Finish your card.
Video!
Variations
Cut it up.
Cut your finished piece apart and use only part of it. This sample uses only one of the three pears.
Skip the stamping.
Skip Step 1 and don't stamp an image on the acetate. Use it as a background and layer a cut out image on top, or stamp on it later.
Paint it
Apply your reinker to the glue mixture with a paint brush for more control.
Your Turn
You've seen the tutorial, now you try it! We've got a section of the gallery set aside for Acetate & Tissue. Try this technique, then upload your artwork to the gallery. Show us your creations!
***Please note - Internet Explorer/Edge is not a supported browser, and will not allow you to see the videos. Please use Chrome, Firefox or Safari to view our tutorial videos.
Questions and Comments
We'd love to get your feedback or questions. Leave your comment below.
i guess its up to us what side its up or down on the paper on the card or?
I have looked for them ever;ywhere
Please reply directly..
You can use any clear drying glue.
Vicki,
You can get acetate sheets in any office supply store. Look for transparency sheets.
Hugs and smiles
Page 1 of 3 pages 1 2 3 >