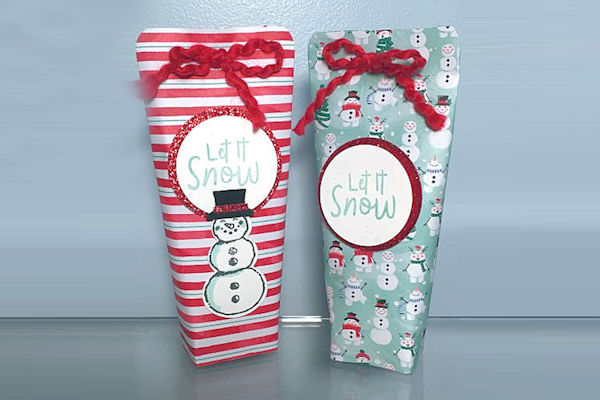
6x6 Treat Holder
by Dee Slater
Use 6x6 paper to make a slender treat holder.
Supplies
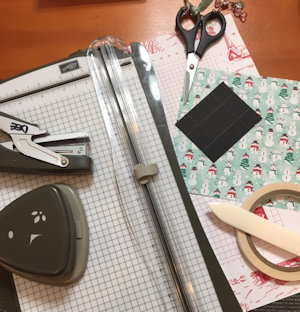
- 6” x 6” two-sided paper (Stampin’ Up!® Let It Snow Specialty Designer Series Paper used here)
- Permanent tape adhesive
- 2 1/2” x 3” cardstock for bottom
- Corner rounder punch (opt.)
- Stapler
- Scissors
- Bone folder
- Embellishments
Step-by-Step
-
Step 1
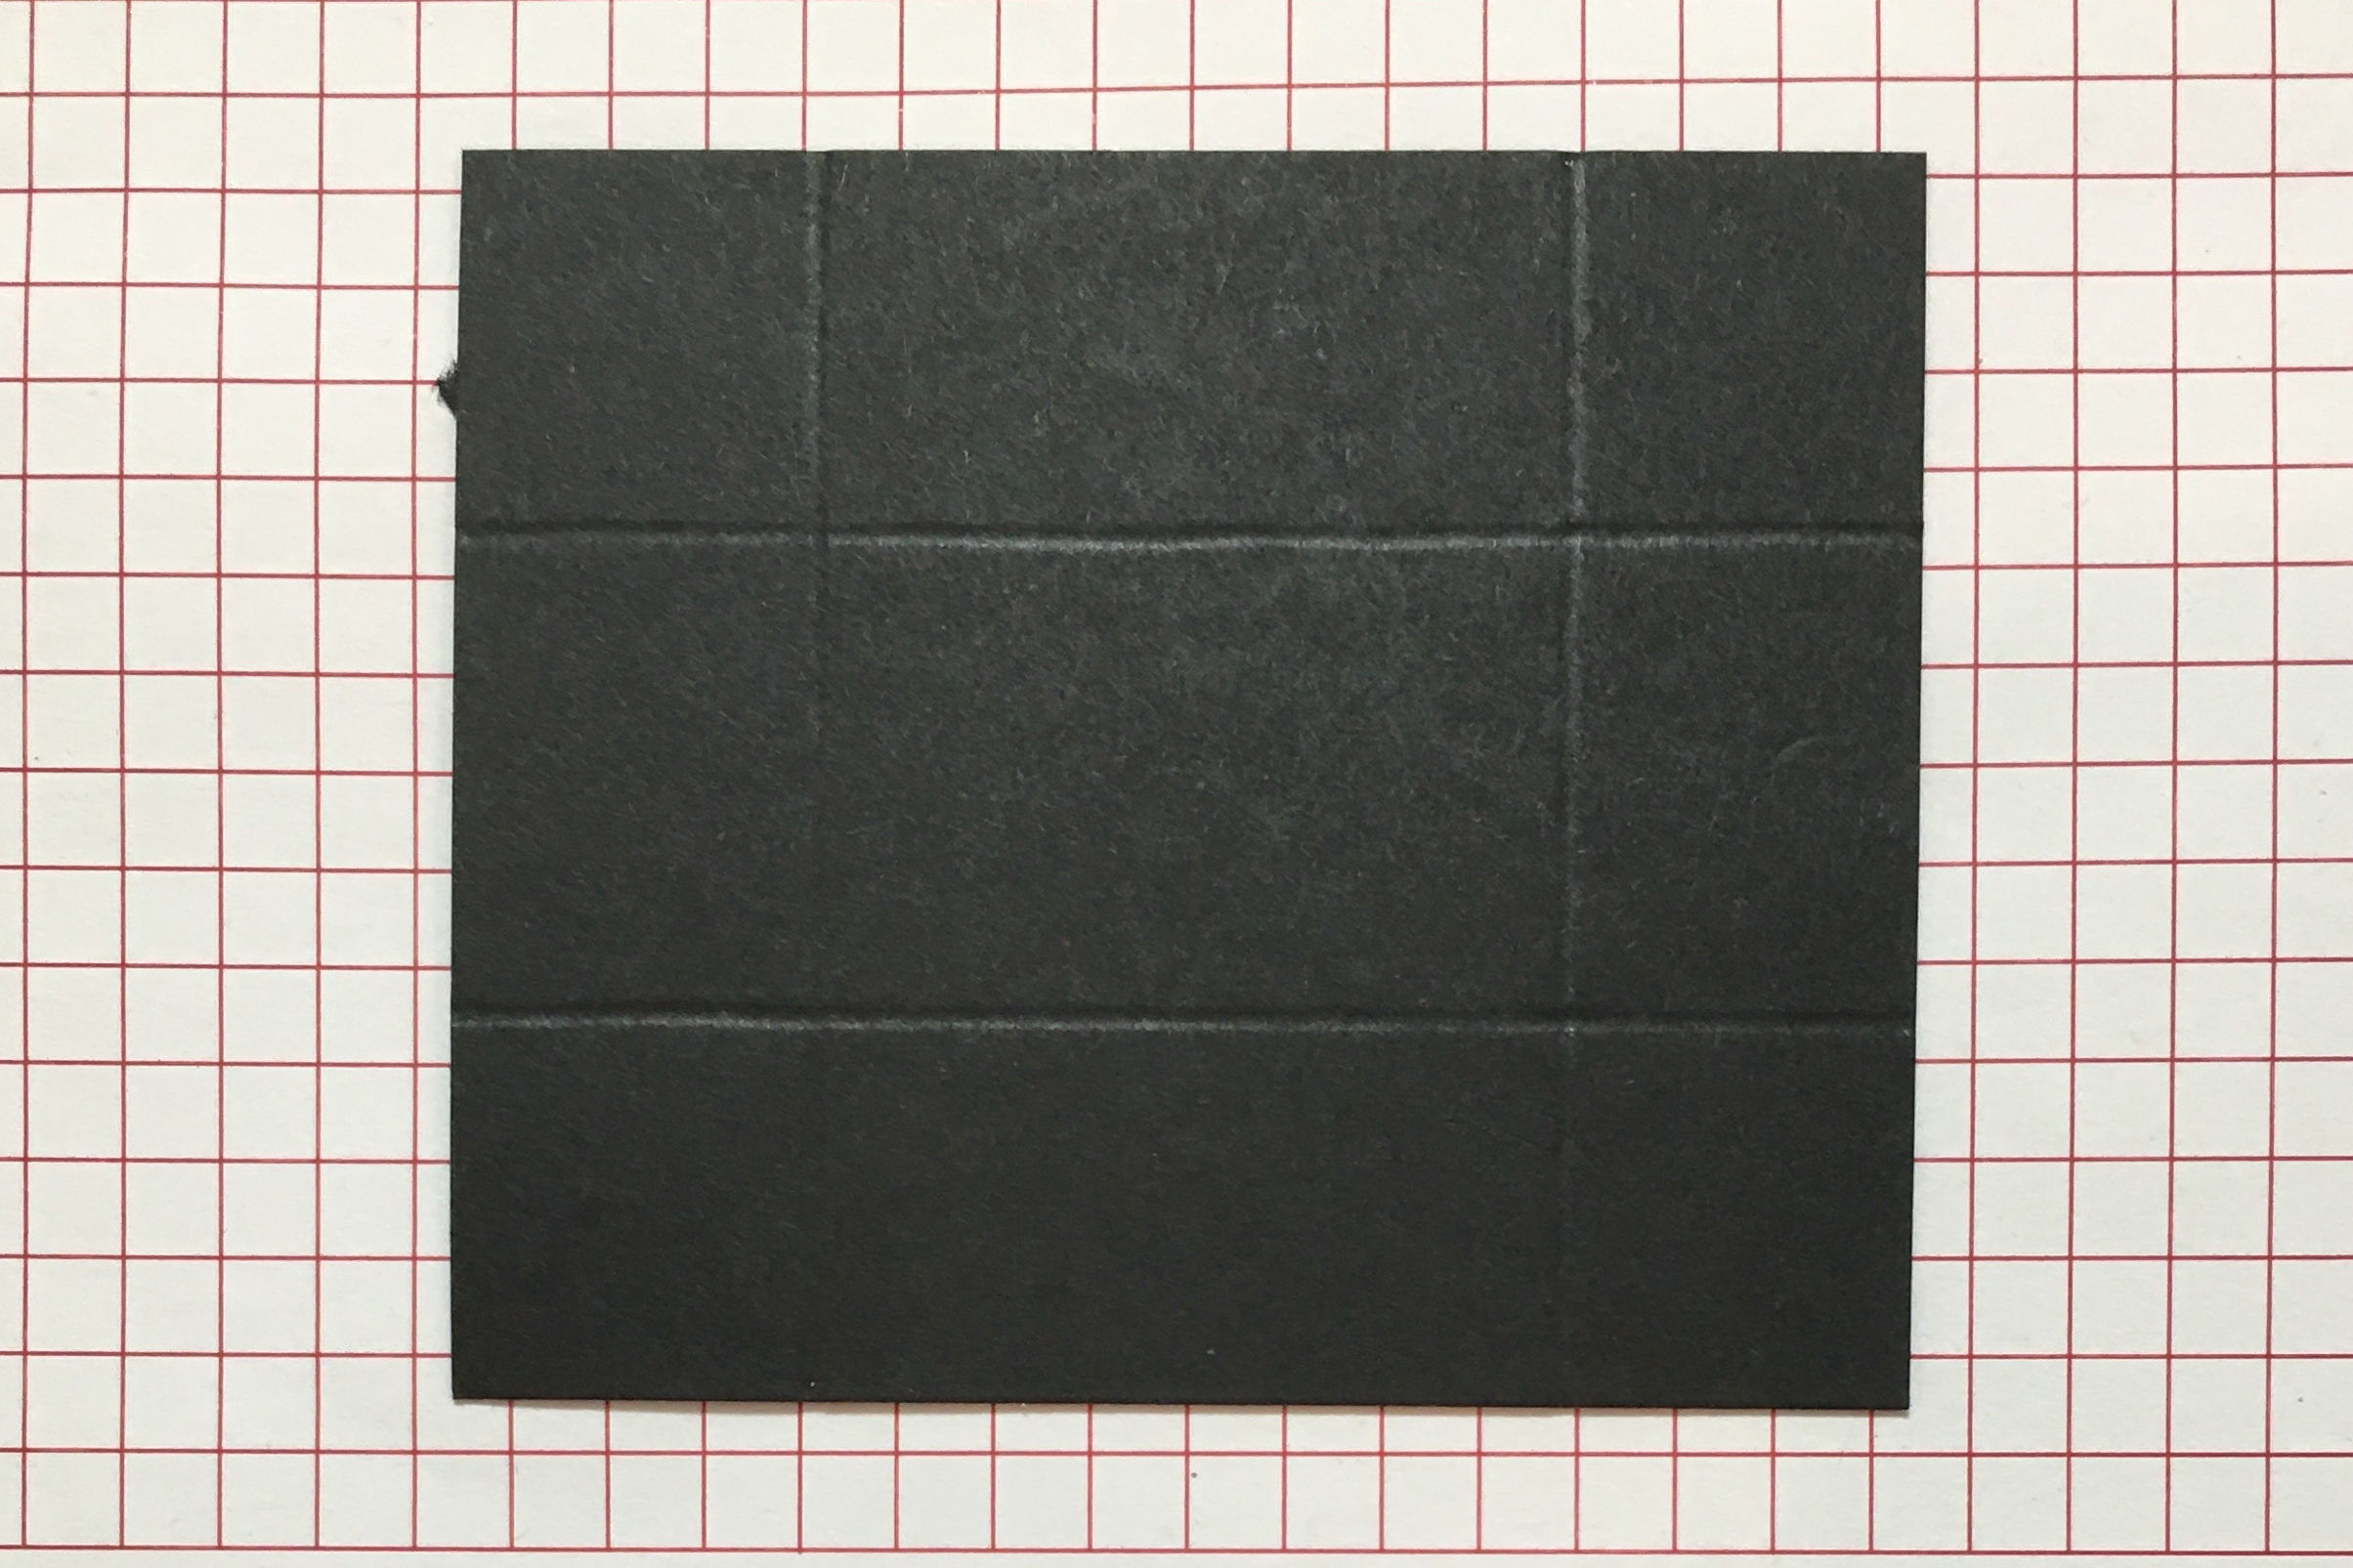
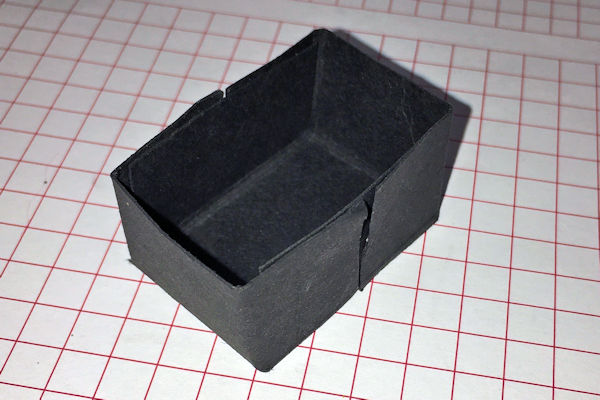
Score the 2 1/2” x 3 ” piece of cardstock at 3/4” all 4 sides.
-
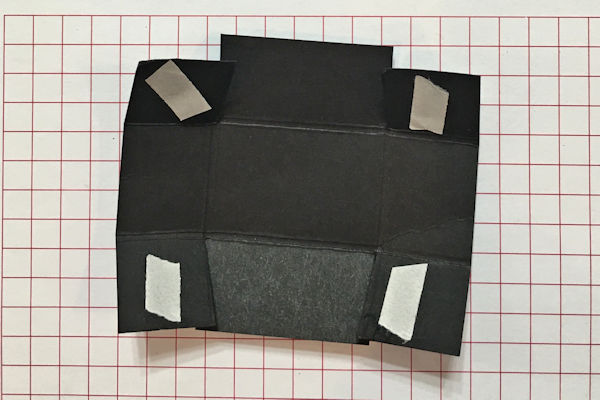
Step 2
Cut along score lines and add permanent adhesive tape on corner tabs as shown.
-
Fold in and adhere the tabs to create a box.
-
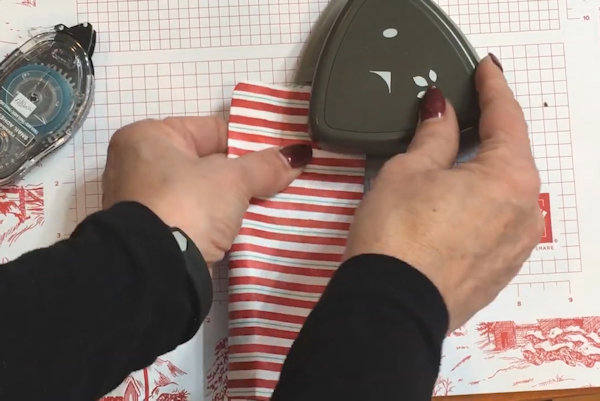
Step 3
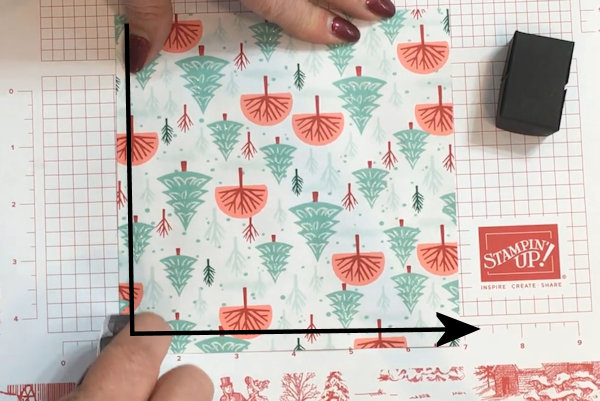
With the desired print side of the 6” x 6” paper face down on your work surface, add adhesive tape along the bottom and one side (left side shown). Remove backing if using tear tape.
-
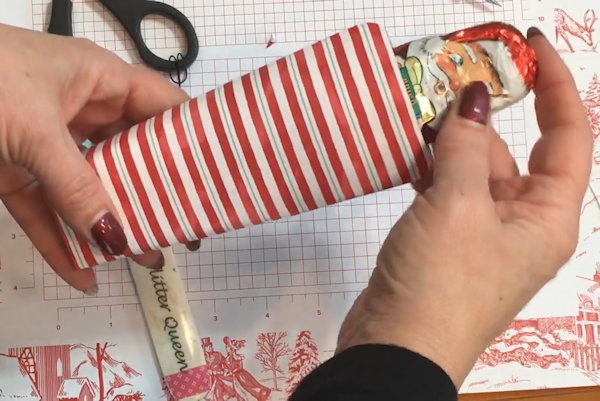
Step 4
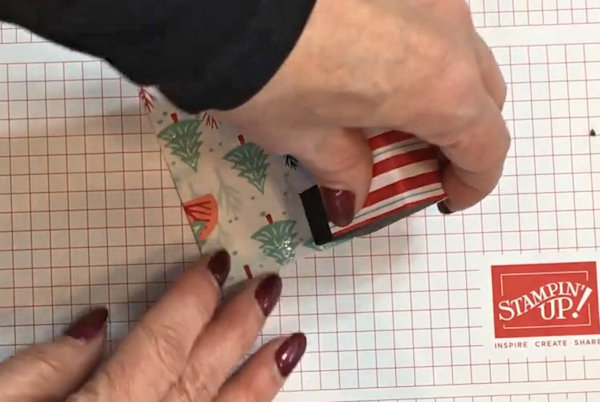
Align box bottom along the bottom side of paper. Start approximately 1/2” off paper on the side that does NOT have adhesive (right side shown without adhesive).
-
Roll the box along the bottom of the paper to adhere the paper around it.
-
Step 5
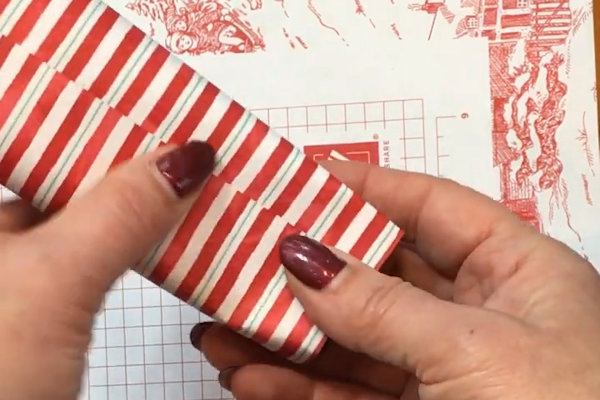
Use your fingers to stick down the adhesive up the center of the back.
-
Step 6
Optional: use a corner rounder prior to stapling.
-
Add treats or a small gift and staple the top closed.
-
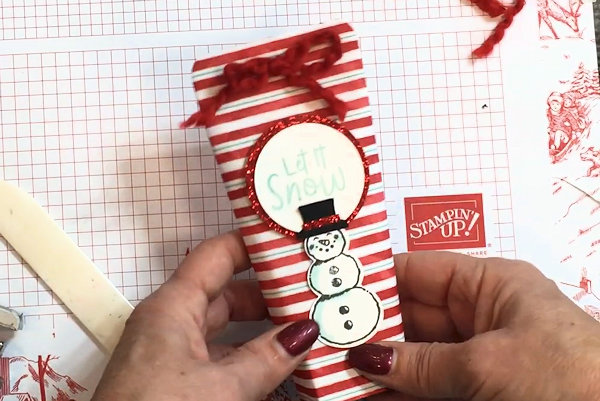
Step 7
Add embellishments to the front of the treat holder to complete the project.

Video!
Your Turn
You've seen the tutorial, now you try it! We've got a section of the gallery set aside for 6x6 Treat Holder. Try this technique, then upload your artwork to the gallery. Show us your creations!
***Please note - Internet Explorer/Edge is not a supported browser, and will not allow you to see the videos. Please use Chrome, Firefox or Safari to view our tutorial videos.

Questions and Comments
We'd love to get your feedback or questions. Leave your comment below.
Page 1 of 1 pages