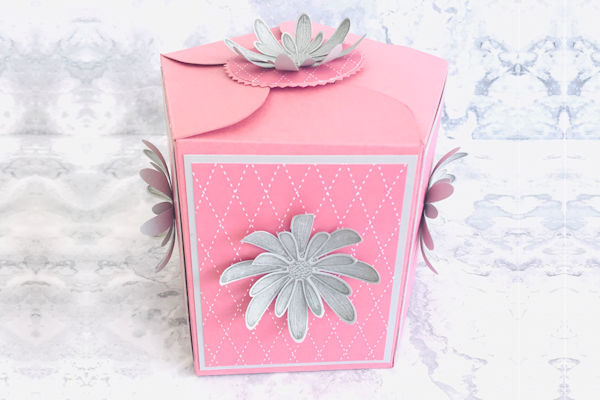
5-Sided Box
by Natalie O’Shea
Use our free template to create a 5 sided gift box.
Supplies
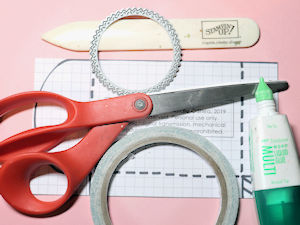
- Cardstock
- Printable template or downloadable svg cut file
- Scissors
- Scoring tool
- Patterned paper for layering
- Punch or die for box top
- Embellishments
- Other supplies as needed to complete the project
Step-by-Step
-
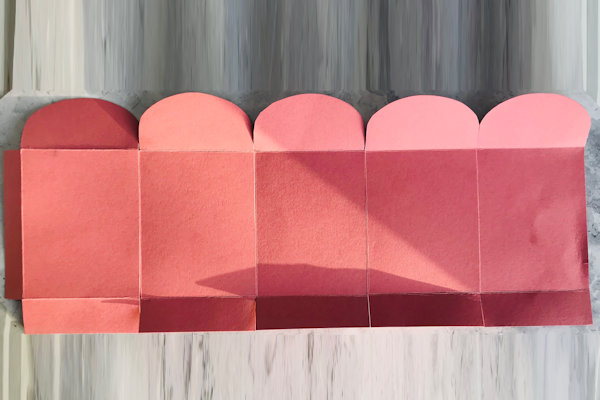
Step 1
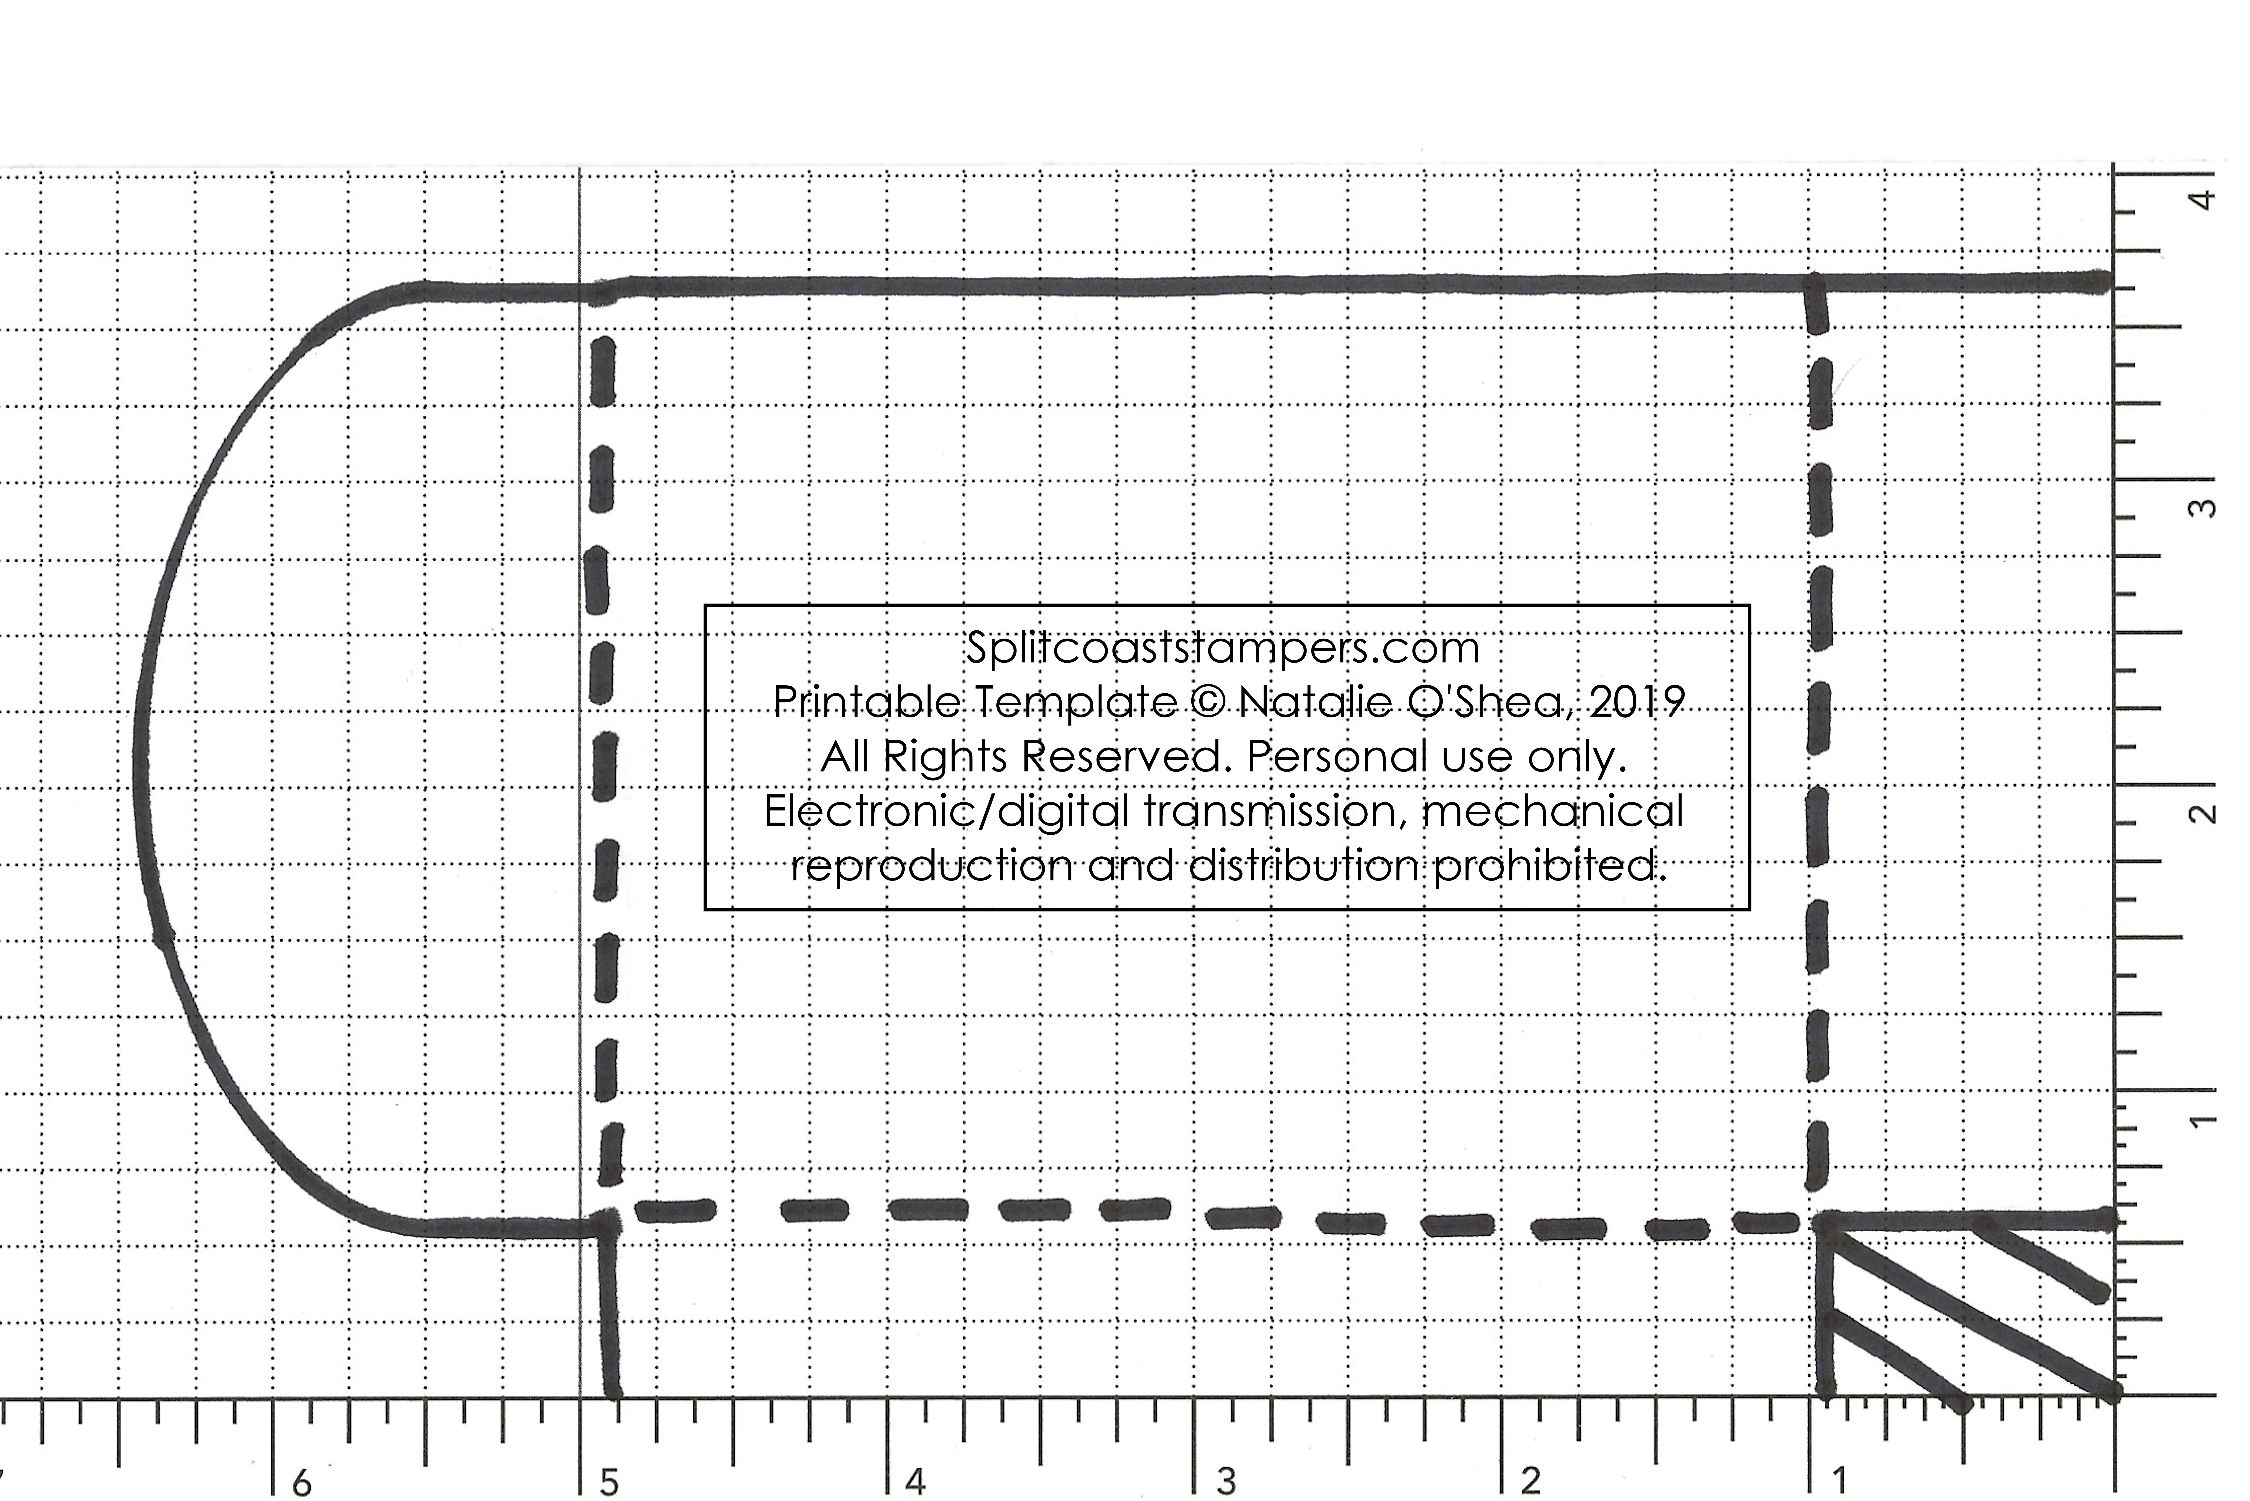
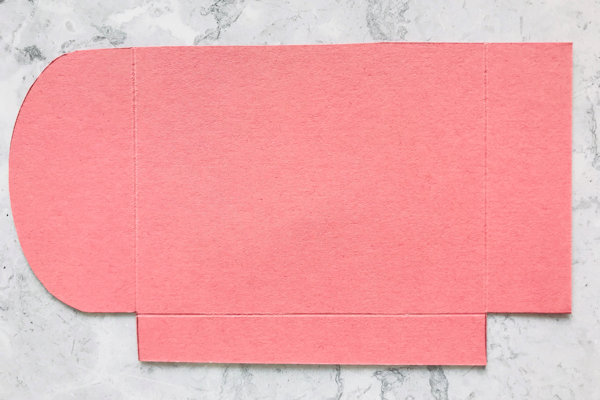
Decide on the colour card for your box. Use the template to cut out five of the template pieces.
NOTE:
The template is provided in imperial and metric measurements here. Please click on the image to open it in a larger size for download. -
-
Step 2
Score the dotted lines where shown.
-
Step 3
Glue the five template pieces together as shown, with each tab to the back side of the next piece.
-
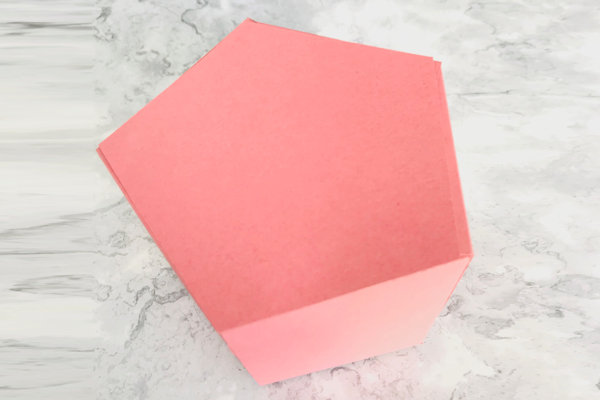
Step 4
Draw around your box and cut within the lines to make your base. Glue to the base of the box and trim if necessary.
-
Step 5
Cut out five rectangles of coordinating cardstock for layering panels. These will measure 7.5 x 9.5cms or 2 3/4” x 3 3/4”.
If using the svg template, cut to 2 1/4" x 3". -
Layer the above panels with patterned paper measuring 7 x 9cms or 2 1/2” x 3 1/2”. If using the svg template, cut to 2" x 2 3/4". Glue the patterned paper to the cardstock and then add the panels to each of the sides of the box.
-
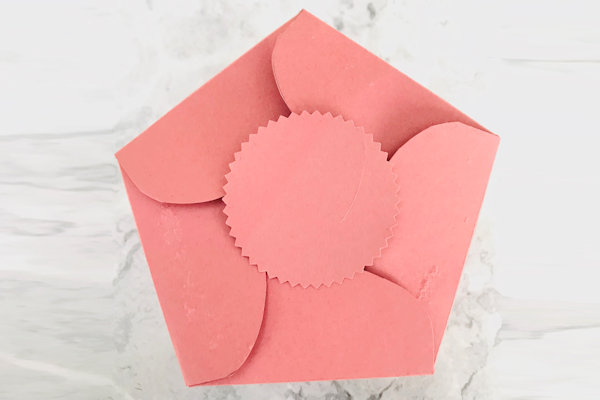
Step 6 (Optional)
Die cut or punch a starburst or other shape for the top of the box, adding patterned paper if you wish.
-
Step 7
Embellish the box as desired. For the sample six layered daisies were shaped and added to the sides and top.
-
Step 8
Complete the project.


Video!
Your Turn
You've seen the tutorial, now you try it! We've got a section of the gallery set aside for 5-Sided Box. Try this technique, then upload your artwork to the gallery. Show us your creations!
***Please note - Internet Explorer/Edge is not a supported browser, and will not allow you to see the videos. Please use Chrome, Firefox or Safari to view our tutorial videos.

Questions and Comments
We'd love to get your feedback or questions. Leave your comment below.
Page 1 of 1 pages