3-in-1 Stencil on Stamp Technique
by Amber Rain Davis
Use a DIY stencil three ways with a solid stamp.

Supplies
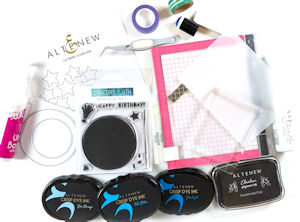
- Vellum
- Dies (Altenew Layered Stars Die and Hero Arts Nesting Circle Infinity Dies used here)
- Cardstock (Neenah Classic Crest Solar White 80lb used here)
- Large solid stamp (Concord and 9th Birthday Balloon Stamp Set used here)
- Embossing ink
- Stamp positioner or acrylic block (Mini MISTI used here)
- Dye ink (Altenew Tide Blue & Starlight Crisp Dye Ink used here)
- Ink applicator (mini sponge dauber used here)
- Water mister
- Adhesive (Nuvo Large Glue Pen, iCraft Ultra Bond, and foam squares used here)
- Die cutting machine (Gemini Jr used here)
- Other supplies as needed to complete the project (used here: scissors, eraser, tape, washi tape for masking, Altenew Obsidian Black Pigment Ink)
Step-by-Step
-
Step 1
For the first technique, die cut a design in a piece of vellum large enough to cover a solid stamp.
TIP:
An alternative to a solid stamp is to use the backside of a clear stamp. -
Step 2
Apply embossing ink to the stamp. Do not stamp the paper. Embossing ink will help keep the dye ink moist.
-
Place the DIY stencil over the stamp and tape it in place.
-
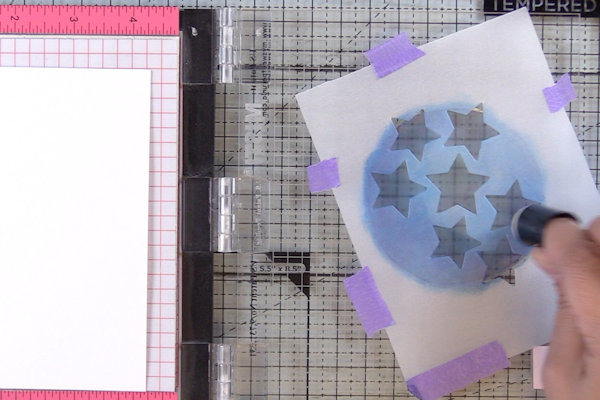
Step 3
Sponge a medium and dark shade of dye ink onto the stamp through the stencil. Ink the negative area of the stencil slightly past the edge of the stamp.
-
Remove the stencil and stamp the image. Set stencil aside until Step 5.
-
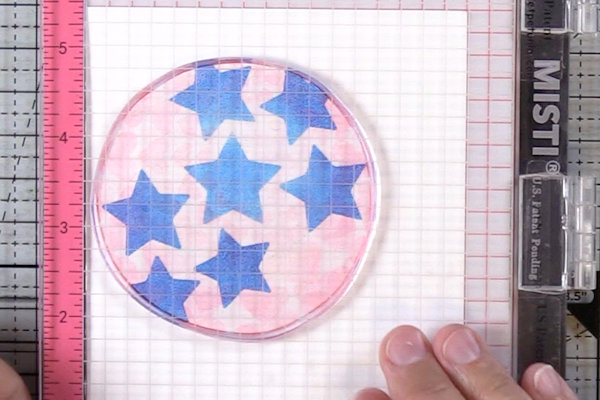
Step 4
Apply a light shade of ink to the full image and stamp.
-
(Optional)
Apply dark ink to the edges of the stamp and stamp. This adds shading.
Set the panel aside. -
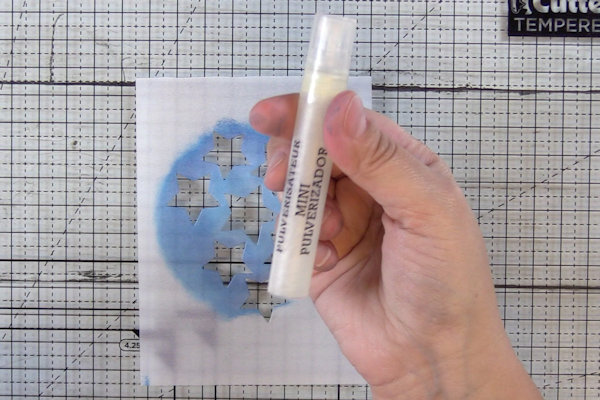
Step 5
For the second technique, spritz the inked side of the stencil 3-4 times from approximately 8 inches away.
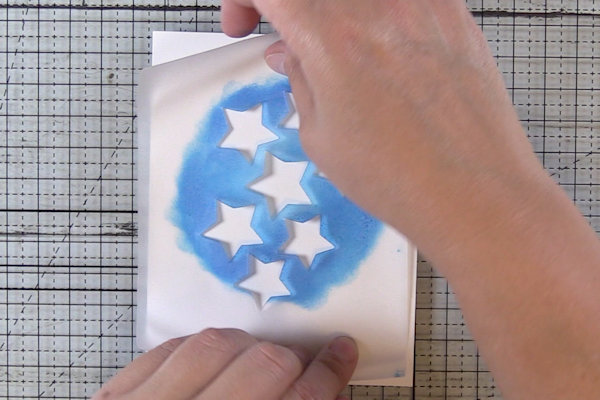
-
Place the stencil ink side down on white cardstock. Cover with copy paper and press for even coverage.
-
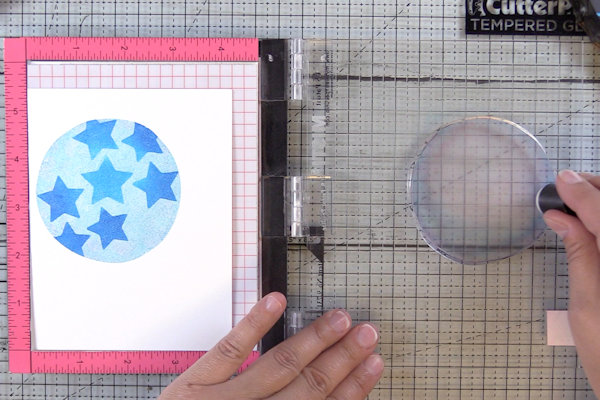
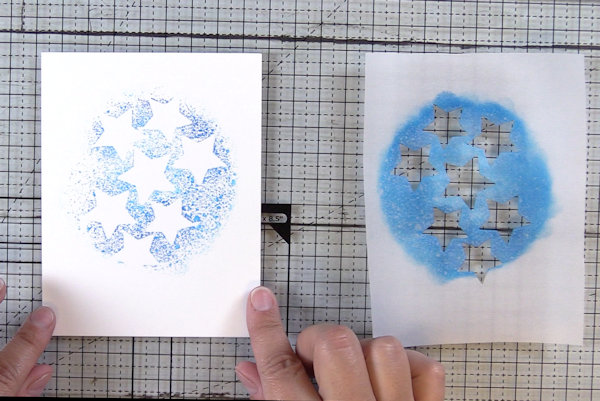
Step 6
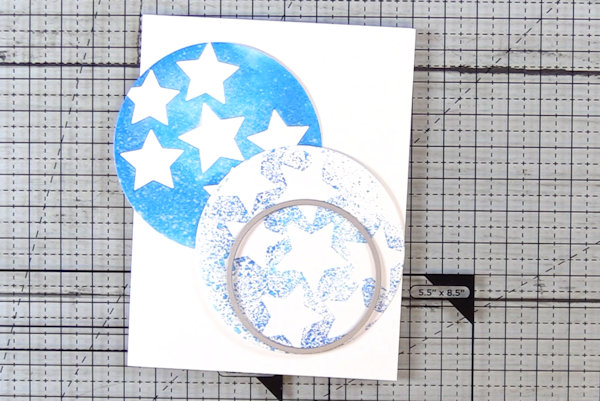
The print will have a unique distressed look. Use as is or die cut the panel with a shaped die.
-
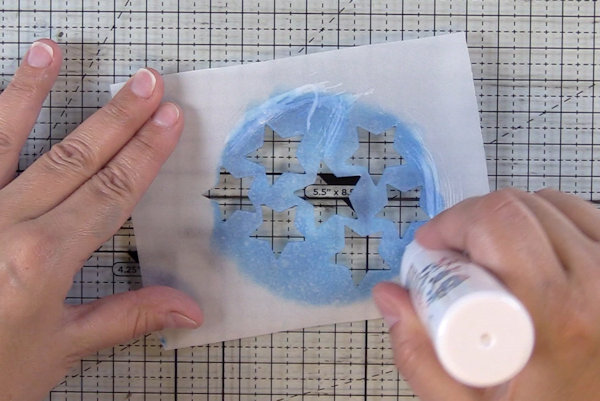
Step 7
For the third technique, Apply glue to the back of the vellum stencil and press it onto a white cardstock panel.
-
Die cut the vellum panel with a shaped die.
-
Step 8
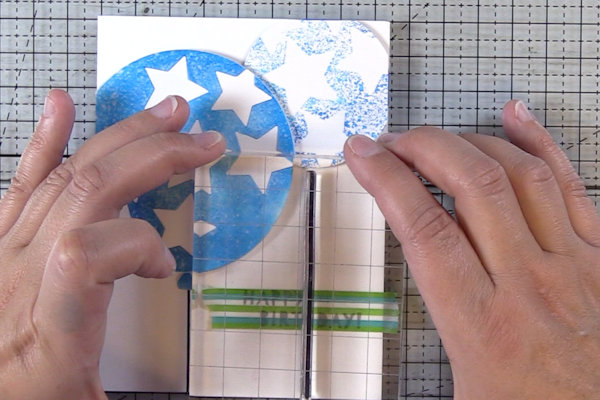
Embellish the stenciled prints and panels as desired.
-
Step 9
Complete your coordinating projects.


Video!
Your Turn
You've seen the tutorial, now you try it! We've got a section of the gallery set aside for 3-in-1 Stencil on Stamp Technique. Try this technique, then upload your artwork to the gallery. Show us your creations!
***Please note - Internet Explorer/Edge is not a supported browser, and will not allow you to see the videos. Please use Chrome, Firefox or Safari to view our tutorial videos.

Questions and Comments
We'd love to get your feedback or questions. Leave your comment below.
Page 1 of 1 pages