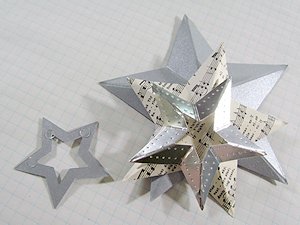
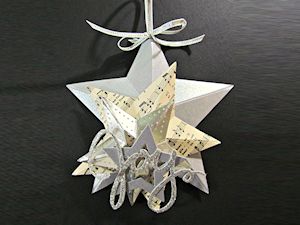
3D Star Ornament
by Wendy Klein
Use star dies to create this dimensional ornament.
Supplies
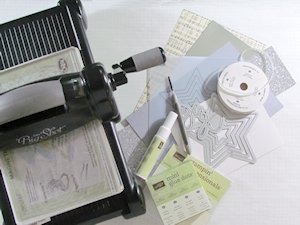
- Metallic cardstock (Stampin’ Up!® Silver Foil cardstock, Silver Glimmer cardstock, and Brushed Silver cardstock used here)
- Coordinating designer paper (Home for Christmas used)
- Die cutting machine
- Scoring tool
- Five nesting star dies (Stars Framelits from SU used here)
- Die cut sentiment (Wonderful Wreath Framelits used here)
- Paper piercing guide (optional, Eclectic Paper Piercing Pack used here)
- Paper piercing tool
- 1/8" circle punch
- 1/8" ribbon
- Adhesive (Glue Dots, Foam Dimensionals, Two Way Glue)
Step-by-Step
-
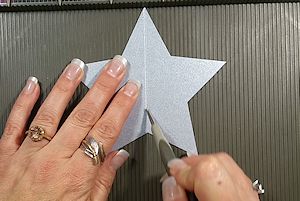
Step 1
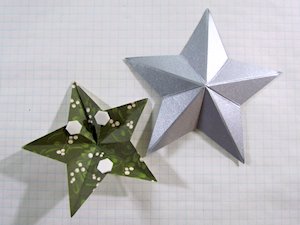
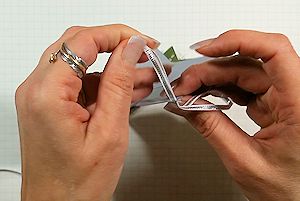
Cut the first star from metallic cardstock using the largest star die. Score from the outer point of each arm to the inner point or elbow on the opposite side.
-
Fold out (mountain fold) on the arms and in (valley fold) on the elbows.
-
Step 2
Cut the second star from coordinating designer paper using the second largest star die. Score and fold as before.

-
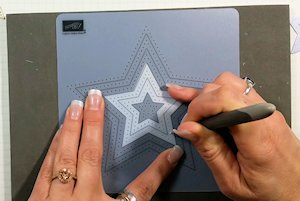
Step 3
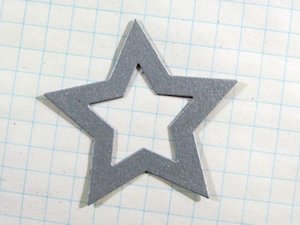
Cut the third star from foil paper using the next nesting die, with the smallest die set inside to cut out the center. Pierce the outer and inner edges of the star using a piercing guide and your piercing tool. Score and fold as before.
-
Step 4
Cut the fourth star from metallic cardstock, using the fourth largest nesting die with the smallest die set inside to cut out the center. Leave this star flat.
-
Step 5
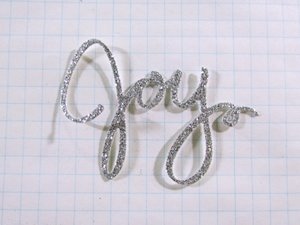
Die cut a sentiment of choice from glitter paper.
-
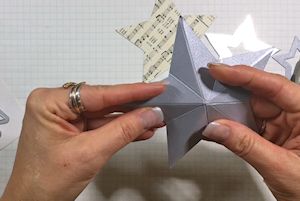
Step 6
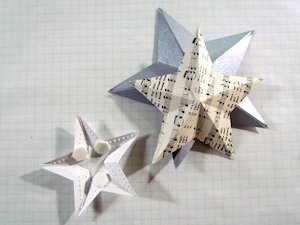
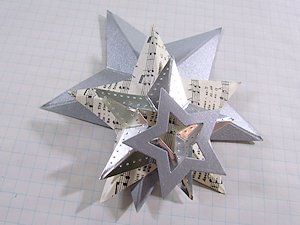
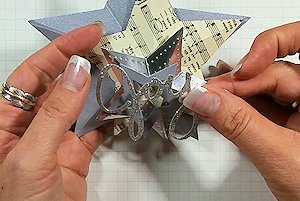
Add foam dimensionals to the back side of the second star, on 3 elbows. Attach it to the largest star at an offset angle and slightly downward.
-
Step 7
Add foam dimensionals to the back side of the third star, on 3 elbows. Attach it to the second star, offset at a diagonal and slightly downward.
-
Step 8
Add glue dots to the back side of the fourth star.
-
Attach it to the ornament, offset in the opposite direction and slightly downward.
-
Step 9
Attach the die cut sentiment.
-
Punch an 1/8" hole at the top of the ornament, and string ribbon or cording through the hole. Top it off with a bow tied around the base of the ribbon as a finishing touch.
-
Step 10
Complete the project.
Video!
Your Turn
You've seen the tutorial, now you try it! We've got a section of the gallery set aside for 3D Star Ornament. Try this technique, then upload your artwork to the gallery. Show us your creations!
***Please note - Internet Explorer/Edge is not a supported browser, and will not allow you to see the videos. Please use Chrome, Firefox or Safari to view our tutorial videos.

Questions and Comments
We'd love to get your feedback or questions. Leave your comment below.
Wow wee this is going to be fun! Merry Christmas and Happy 2016!
Carol. in the SF Bay Area- rain at last!
Page 1 of 1 pages