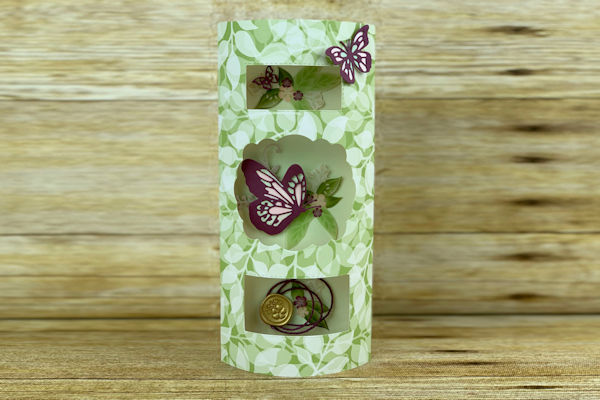
3D Frame Display
by Betty Traciak
Make a standing frame with die cut openings.
Supplies
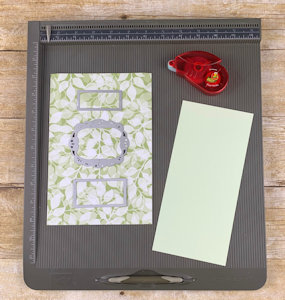
- Cardstock or double-sided scrapbook paper (Stampin' Up!® Floral Romance Specialty Designer Series Paper, Mint Macaron, Fresh Fig, Sahara Sand and Whisper White Cardstock used here)
- Score board
- Tape or strip adhesive
- Die cutting machine
- Dies (SU Stitched Labels Framelits, Rectangle Stitched Framelits, Butterfly Beauty Framelits used here)
- Other supplies as needed to complete the project (Stampin’ Blends Alcohol Markers, Floral Romance Seals, Nature’s Twine, Stampin’ Dimensionals)
Step-by-Step
-
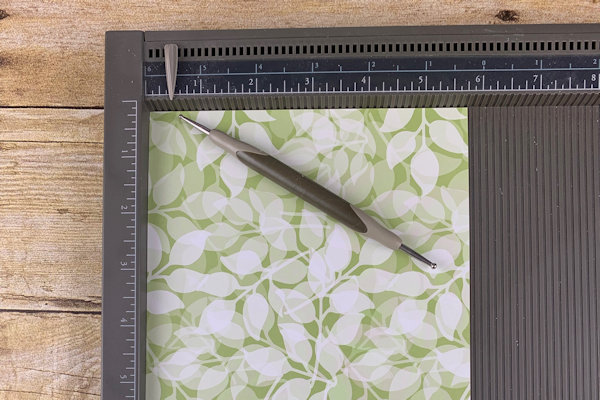
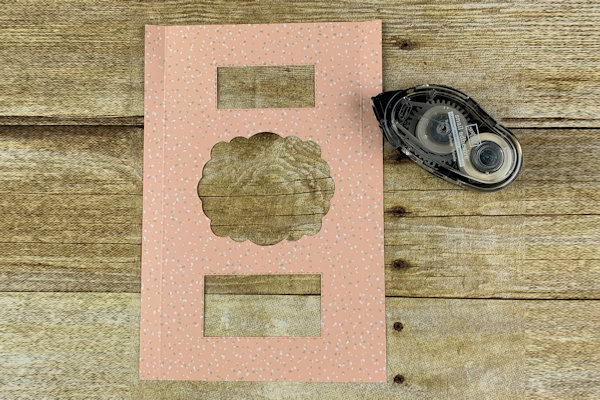
Step 1
Cut cardstock for the frame front to 5 3/4" x 8 1/2”. Score 1/2” from edge on the long sides of the cardstock.
-
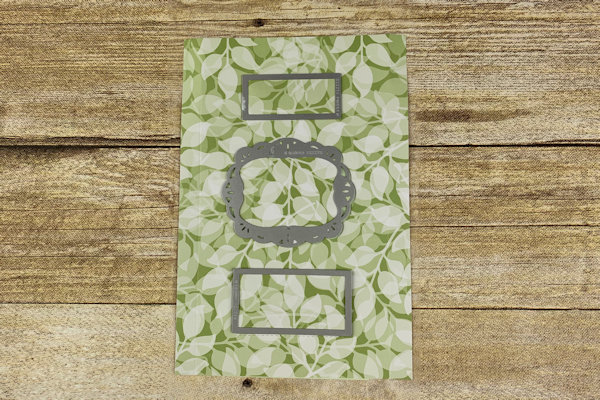
Step 2
Center dies on the cardstock and run through a die cutting machine.
-
Step 3
Fold on scorelines. Apply adhesive to side flaps.
-
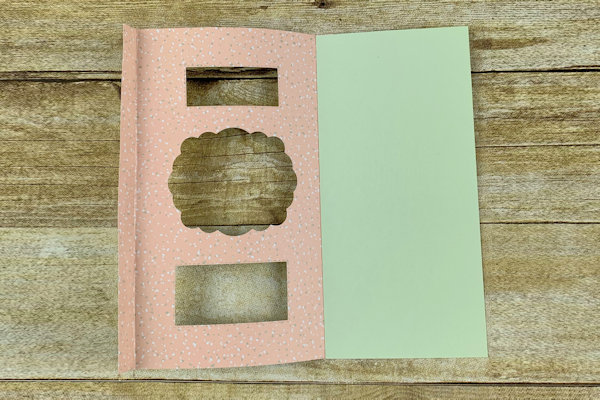
Step 4
Cut cardstock backing to 3 3/4” x 8 1/2”. Adhere the front to the cardstock backing along one edge.
-
Step 5
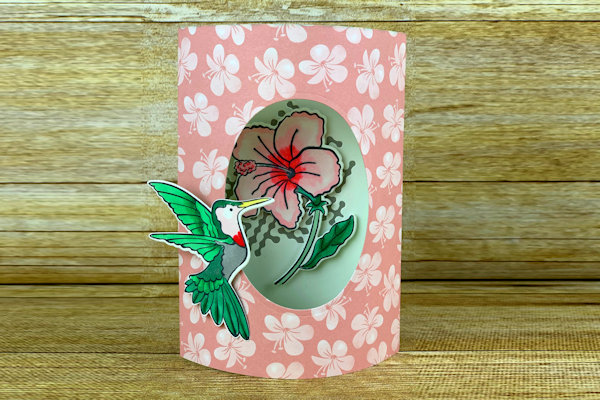
Bend the frame and adhere the remaining flap to the back.
-
Step 6
Decorate as desired to complete the project.

Video!
Variations
-
Adjust the frame to any size! Determine the size of your backing, then add 2" to the width of the front piece.
Your Turn
You've seen the tutorial, now you try it! We've got a section of the gallery set aside for 3D Frame Display. Try this technique, then upload your artwork to the gallery. Show us your creations!
***Please note - Internet Explorer/Edge is not a supported browser, and will not allow you to see the videos. Please use Chrome, Firefox or Safari to view our tutorial videos.

Questions and Comments
We'd love to get your feedback or questions. Leave your comment below.
The project is great and your video is awesome. I am curious if you add the embellishments on the flat background piece before or after you add the curved front.
KAB, To answer your question about when I add the embellishments... I have done it both ways. I usually add the embellishments after I have made the frame. If the opening is small I use a pair of tweezers to place the decorations. For the origami themed project in gallery, I added the decorations to the back layer first. I used the front (while it was still flat) to guide the placement.
Page 1 of 1 pages