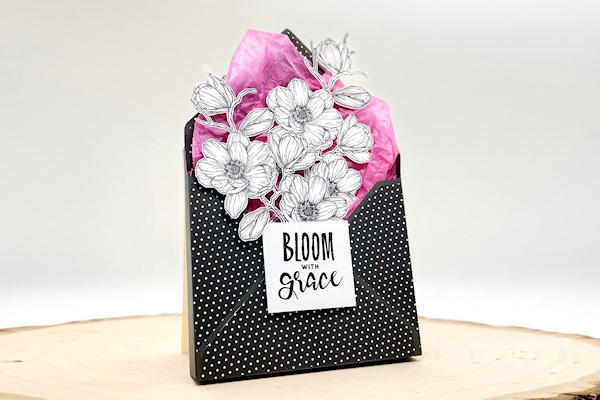
3D Envelope Card
by Helen Gullett
Make an envelope-shaped card using the punch board - it's a fun themed greeting card as well as a cute decor item!
Supplies
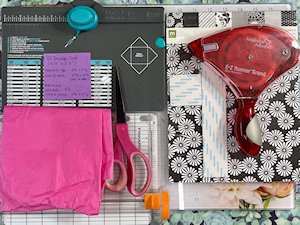
- Envelope punch board
- Paper trimmer
- Scissors
- Permanent adhesive runner (or double-sided tape, or adhesive glue)
- 3D foam tape
- Tissue paper
- Cardstock
- Patterned paper
- Flowers or other embellishments (stamped, die cut, or printed and fussy cut - Magnolia Branch Mega Digital Stamp Set and You Go Girl Mega Digital Stamp set from Graciellie Designs used here)
Step-by-Step
-
Step 1
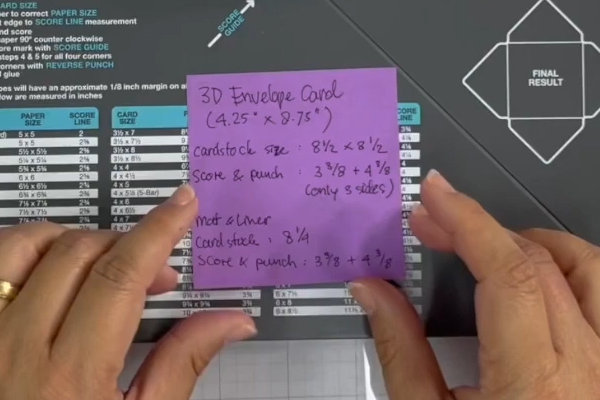
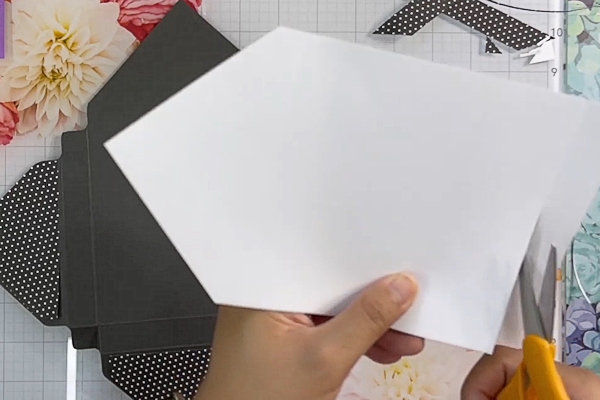
Precut cardstock to 8 1/2" square and patterned paper to 8 1/4" square.
-
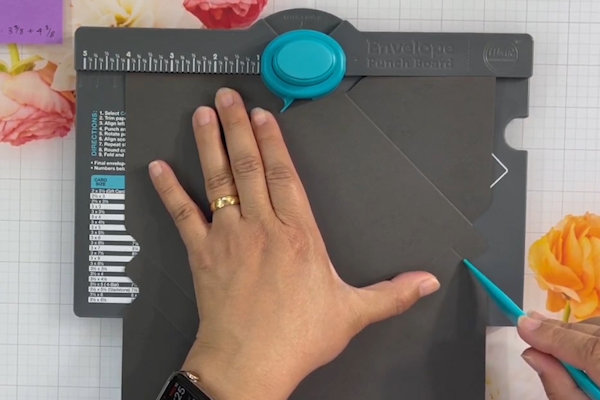
Step 2
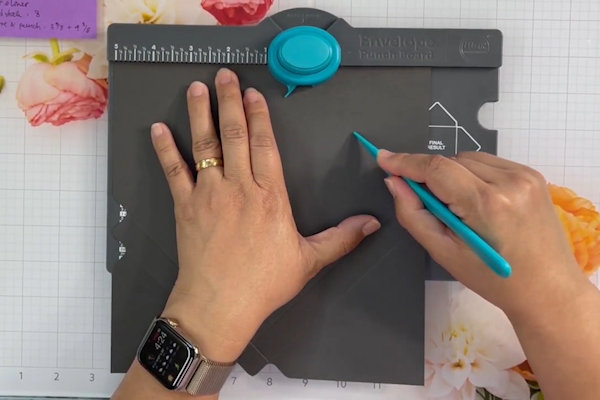
You will create the envelope box using the Envelope Punch Board. Punch and score 3 sides of the 8 1/2" square base beginning at 3 3/8” and 4 3/8”. For the first 2 sides, follow the instructions on the board.
-
Step 3
Rotate the panel and line up the first punch mark with the scoring groove. Punch and score. Move to the 2nd punch mark. Punch and score.
-
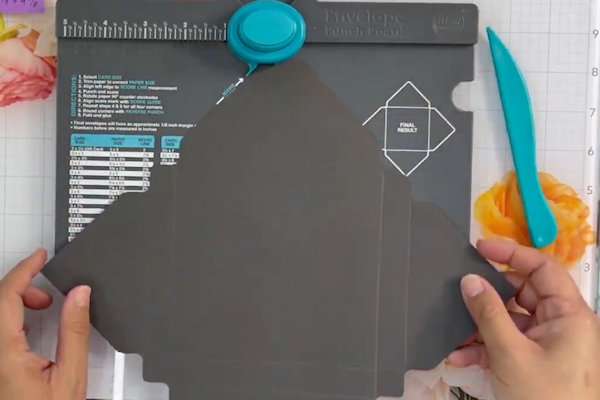
On the opposite side, line up the score lines with the guide on the punch, and punch twice. There is no score line across the top corner.
-
Step 4
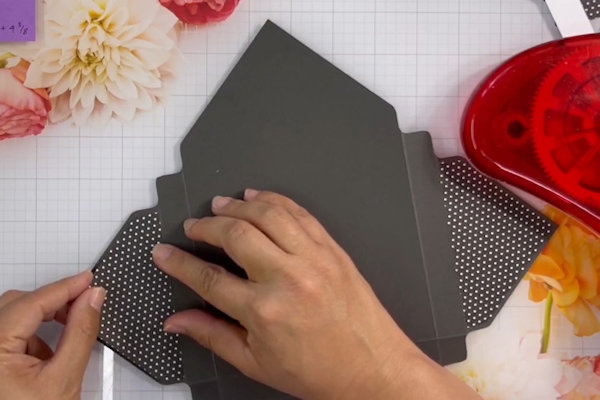
Cut patterned paper to 8 1/4" square. Use the punch board to score (do not punch) on all 4 sides, beginning at 3 3/8” and 4 3/8” on the first side and following the instructions on the board.
-
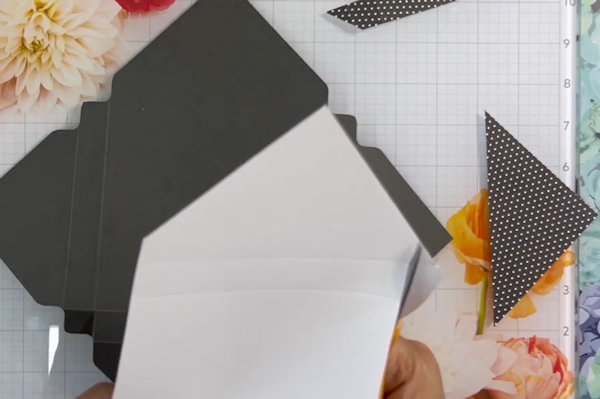
Cut off the bottom and side triangles on the score lines carefully with scissors or a paper trimmer. Trim down the edges as needed to fit the curves of the base for layering.
TIP:
Once one side is shaped, you can use it for a template for the opposite side flap, as opposite sides match. -
Step 5
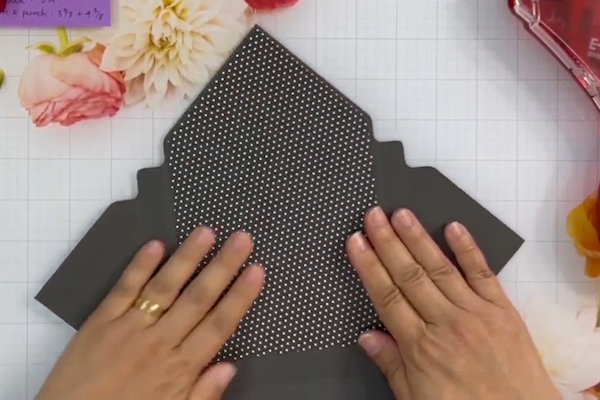
You will also cut out the envelope liner from the patterned paper. Follow the inner score lines carefully.
-
Step 6
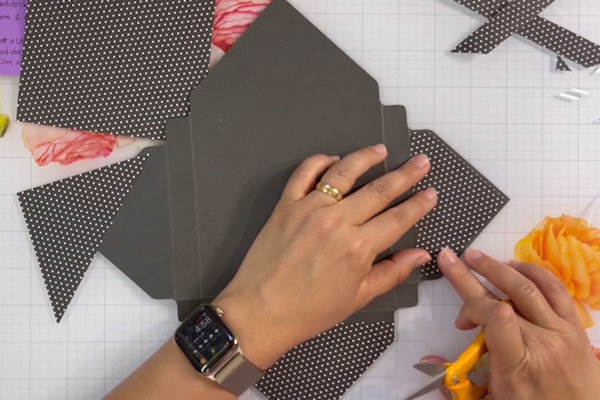
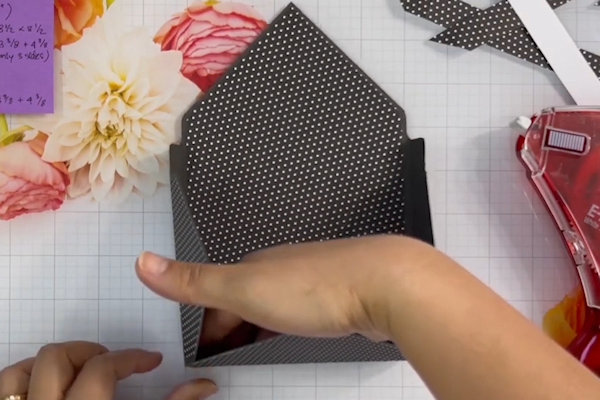
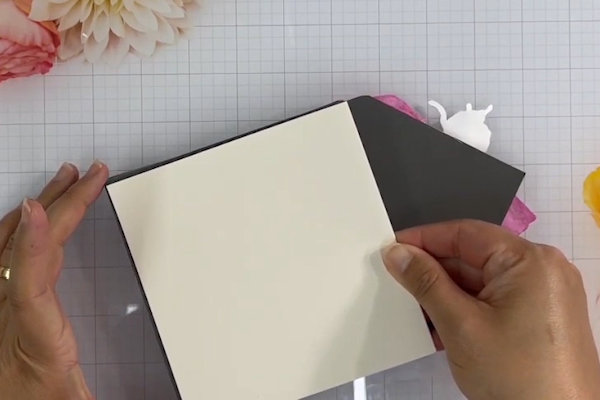
Adhere the flap layers to the outside of the box.
-
Step 7
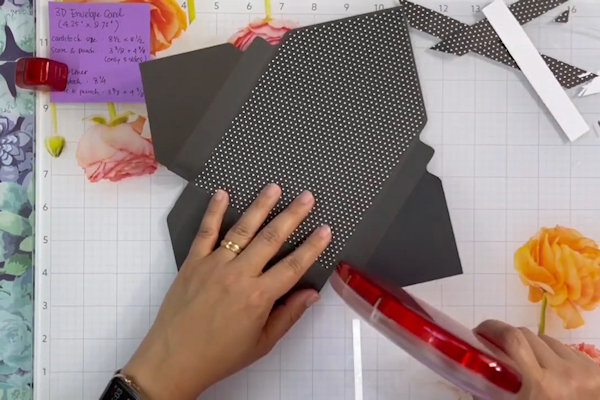
Turn over the envelope and adhere the inside liner.
-
Step 8
Cut the bottom tabs along the center panel.
-
Add adhesive and fold the tabs in to adhere them to the inside of the box.
-
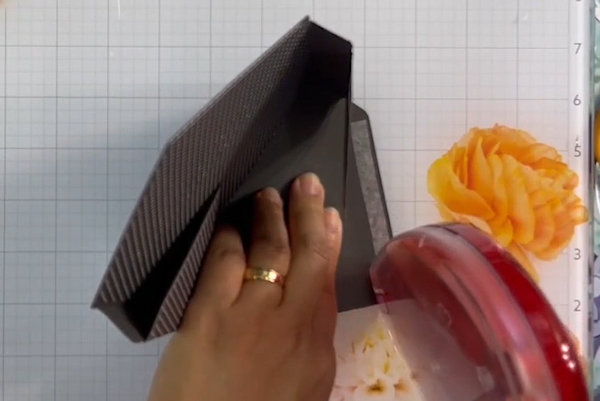
Step 9
Add more adhesive on the bottom flap.
-
Fold the sides in, and fold the bottom flap up, adhering it in place.
-
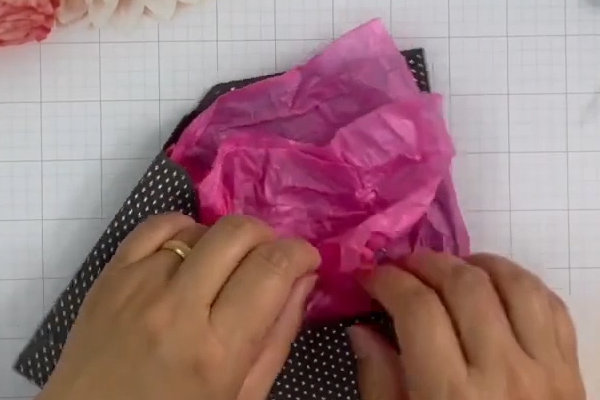
Step 10
Fill the box as desired. For the sample, tissue paper was used for filler, secured with the tape liner.
-
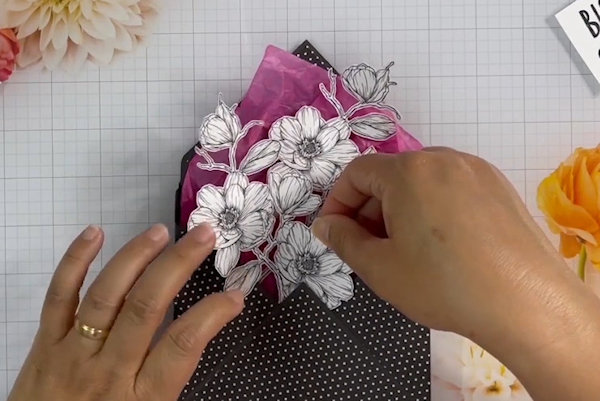
The box was filled with digital stamps, which were printed and cut with an electronic cutter. The flowers were backed with foam tape for extra dimension.
-
Step 11
Adhere a 5”x5” top fold card to the back of the box. The card can also act as a stand if you want to use the box for a décor item.
TIP:
If you want to write in the card, do so before you attach it! -
Step 12
Complete the project.

Video!
Your Turn
You've seen the tutorial, now you try it! We've got a section of the gallery set aside for 3D Envelope Card. Try this technique, then upload your artwork to the gallery. Show us your creations!
***Please note - Internet Explorer/Edge is not a supported browser, and will not allow you to see the videos. Please use Chrome, Firefox or Safari to view our tutorial videos.

Questions and Comments
We'd love to get your feedback or questions. Leave your comment below.
I'm wondering if it can be adapted to make a flatter project to put through the post.
Page 1 of 1 pages