Thanks so much for the interest in the small blooms I made this weekend. I had a few ask about putting these together, and asked Tosh if I could share since she is the one who taught me how to do them. Here are the instructions, but please see Tosha's amazing gallery to fully take it in, you will love it! Tosha (Stamps4funinCa). This sweet stamper gives away her talent, like she is intent on going broke! It is a blessing just to watch her create.
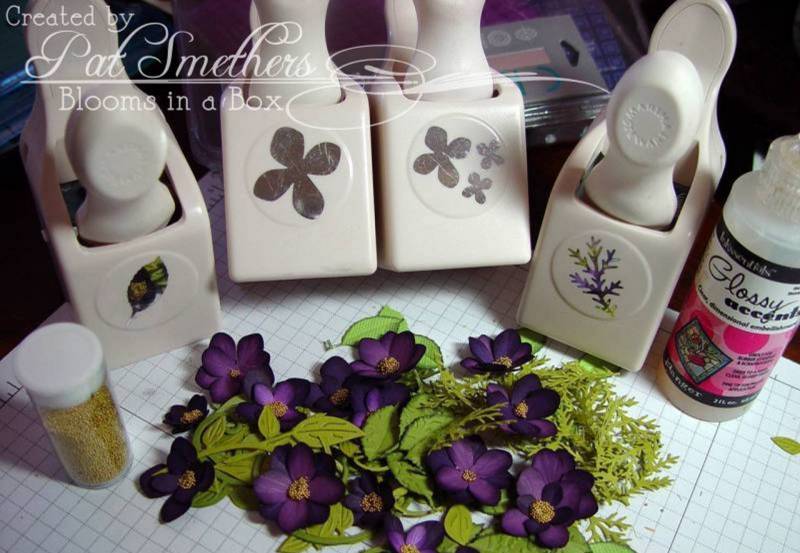
1. Each bloom takes two punches from the large MS Hydrangea, or you can add a smaller one, or a lighter color in the center.
2. Sponge matching color in the centers.
3. Score to add veins to the petals, using a scoring tool or paper piercer over a cork coaster, or foam mat. You can also gently "manipulate" the paper by scrunching it and moving it back and forth to give it a softer look. Also, a drop of water can be added to the petals, & dabbed with a paper towel before scoring to give a deeper vein. (Be careful, it tears easily!)
4. Placing a zot between the petals, making sure they are off-set,
5. Use a skewer to press them together on a soft surface which forces the petals to come up.
6. Now there is a small well in the center, add a dot of Crystal Effects, Glue or Glossy Accents.
7. Cover adhesive with small gold beads.
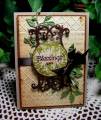
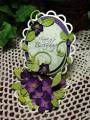
8. Once dry, the blooms are applied to the card with a hot glue gun, and are surrounded with leaves from the MS Branch and rose leaf punches.
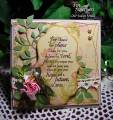
This is Tosh's card that made me ask her how to make the flowers. Amazing, eh? We went to Michael's to find the punches- and I discovered that I already owned them! Lol! (Kinda like when Pat Rose taught me how to use my sewing machine! Ai yi yi!)
Thanks for your sweet comments! Hope to see your gardens grow!