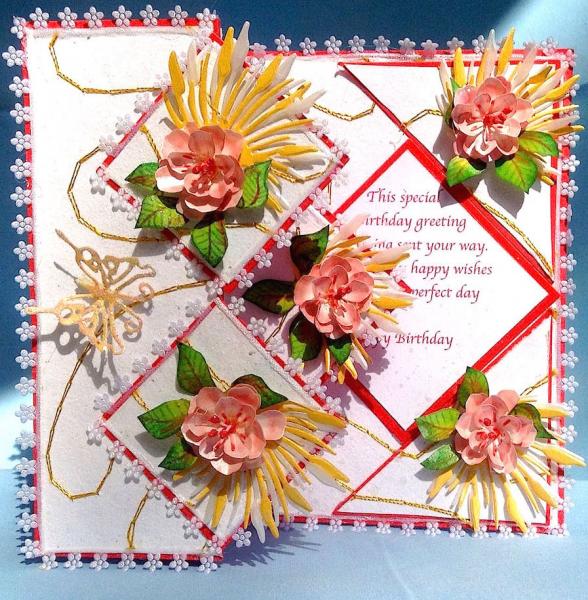
"This fold back pop Up Card" is a variation from Carol DunneÂ’s card http://www.craftsuprint.com/card-mak...oque-roses.cfm.
I wanted my card to be more 3D so I made several changes.
Cut “Reddish Orange Cardstock” 9 3/8” wide 6 1/16” tall for the card base. I scaled the original “card base template” to 85% before running it on printer paper. I paper clipped the template to my good cardstock; then, I laid the paper clipped pieces onto my scoreboard and scored on the score lines. To make a template for my DSP, I cut the base template apart and used these pieces to cut my DSP.
The Diamond shapes on the left front of the card are made by cutting 2 pieces of “Reddish Orange Cardstock” using Spellbinders Classic Squares –Large - Die #4. Use these same dies to emboss and cut the DSP. Cut off along the embossed line and adhere to the solid triangle. Cover the edges in Lace.
The triangles on the right corners are cut from Spellbinders Classic Squares –Small - Die #6. Cut in ½ to make 2 triangles. Use these same dies to emboss and cut the DSP. Cut off along the embossed line and adhere to the solid triangle. Do not add lace to the edges.
The large center triangle is cut using a 3 5/8” sq. of “Reddish Orange Cardstock” and then cut in ½ diagonally. On 1 of the triangle pieces, cut 1/8” off the 2 short sides. This is the template for the DSP. Trace this template onto the DSP, cut out and add lace, only, to the outside edge of the triangle.
You can use the verse that comes with the card or write your own. Using Spellbinders Classic Squares –Small - Die #6 cut 1 out of the “Reddish Orange Cardstock”. I typed my own words, so I drew a text box that measured 2 ¾”square, typed in my words and printed them. I laid my Spellbinders Classic Squares–Small - Die #6 over the words so it made diamond shape, embossed and cut it out. I trim off along the embossed edge before adhering the Words to the red diamond shape.
I used “Marianne Creatables Seed and Head Leaves”. Cut the “Fan” shaped leaf 5 times from “Beargrass Metallic Vellum” and from “Gold Metallic Vellum”. Cut the stems off and glue the gold on top of the white staggering the petals. Adhere the diamond and triangle shapes on the card to see how they fit together. Then, adhere the pieces together. Add your leaves, flowers and butterfly. My leaves are from Bonnie McLain’s digi leaf collection. I run a sheet of them, cut them out and color them. When I need them I add the flower color to leaves.
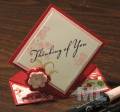
See my previous post, “Fold Back Pop Up Steam Train”. It uses the same template.
Date: Saturday, April 25, 2015 GMT Views: 7039
Favorited:6
Paper: White Handmade Paper with Gold Stitching from my stash; Glossy Photo Paper; Reddish Orange Cardstock; Apple Crush Cardstock for leaves; Beargrass Metallic Vellum; Rose Metallic Vellum; Gold Metallic Vellum
Accessories: Spellbinders Classic Squares –Small - Die #6; Marianne Creatables Seed and Head Leaves; Narrow floral lace; Cheery Lynn “Build a Flower 1; Digi Leaves 3 + 1 at 125 (facing right and left);
Techniques: Fold Back Pop Up Card, Swing Card, Handmade Flowers, Sakura Quickie Glue Pen with a Pinpoint Roller; Tombow glue; 6” sq. Clear Box Stamen; Stickles-Fruit Punch