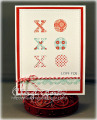
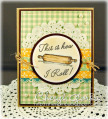
On the back side of my top layer, I measured and marked where I wanted the die cuts. Although I used metal dies, you could do the same thing with your die cutting machine. The pieces of designer paper are adhered to the back side of the white piece so it shows through the negative spaces. I think there are so many possibilities to this design. You could use other words or shapes to fit any occasion. I finished off my card with stitching because, well, I almost always use stitching. I couldnÂ’t resist adding some coordinating bakers twine.
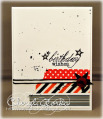
The sentiment was added by creating my own, custom rub-on. You can find a tutorial on my blog.