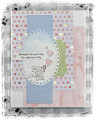
I am having too much fun with these spinners. I need to stick it in a envelope and stop playing with it!
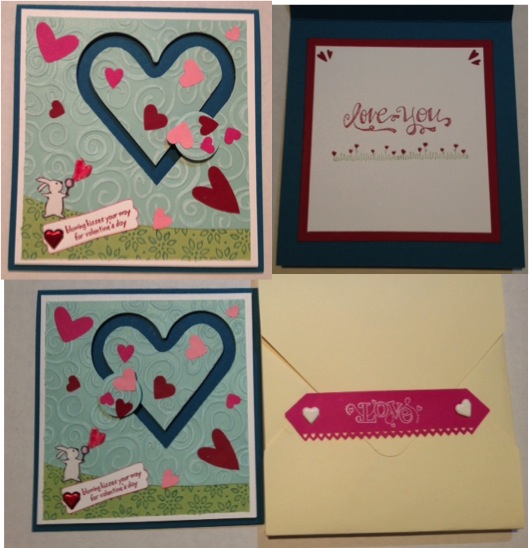
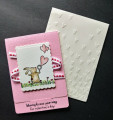
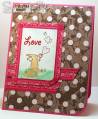
Not that much harder than a regular spinner. Find a simple shape die (I used a heart framelit) and put it where you want the outside of the track on your card front. Then carefully trim the cutout 1/4' - 3/8" depending on your spinner. I marked the back with a pencil to keep it even, then trimmed. Then proceed as usual - it helps to mount the outside track with your foam tape, place your assembled penny spinner without the embellishment, then put in your center with foam tape, tucking it under the top penny. Then attach the actual embellishment to the penny. Remeber to keep your foam tape far enough away from the track on both the outside and inside of the track.
Since I embossed and sanded coredinations CS for the sky background, which can be a bit fragile, I attached it to WW CS before I cut my track. Make sure you have the inner and outer track layer edges well adhered if you do this.
TFL! And PM me if you make a shaped spinner - I'd love to see what people can come up with.
And I broke out the Crafters Companion Enveloper to make an extra-deep envelobox. I just made a sharpie mark 1/2" to the left of my G line and score G first, then line up that score mark with the sharpie line and score again. You do have to start with a box size that is 1"+ bigger than your card to allow for the sides.
Date: Tuesday, February 12, 2013 GMT Views: 1498
Favorited:3
Registered: January 26, 2008 Location: Walking the Moon, aMUSEd in funKY town Posts: 22212
Tue, Feb 12, 2013 @ 5:40 PM
Love it!
------------------------------ 0 Design Teams, 0 Sales Pitches, some challenges, simple blogging about my paper addiction, inspirations, aspirations & when it all goes wrong