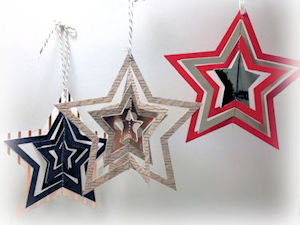
Stitched Star Ornament
by Amy Kunkle
Stitch nested die cuts together for a unique ornament.
Supplies
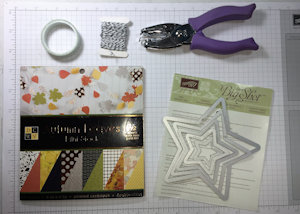
- Cardstock (double-sided patterned cardstock works best, DCWV Autumn Leaves 6" x 6" Paper Stack used here)
- Nesting dies (any shape, Stampin’ Up!® Star Framelits used here)
- Washi tape or quilters tape
- 1/16” circle punch
- Twine
- Die cutting machine
- Sewing machine
Step-by-Step
-
Step 1
Line up the nesting dies on the platform of your die cutting machine. Ensure your dies do not overlap, taking time to separate them evenly. Run through the machine.
TIP:
A magnetic platform is helpful for keeping the dies in place and spaced evenly.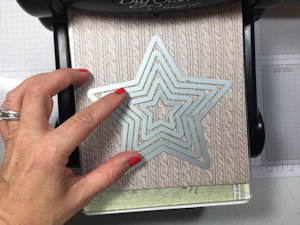
-
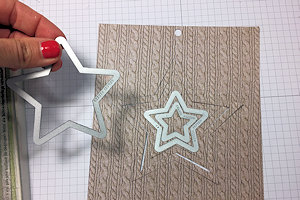
Step 2
Carefully remove the dies from the paper, leaving the cut stars in place. If they fall apart, just put them back together like a puzzle.
-
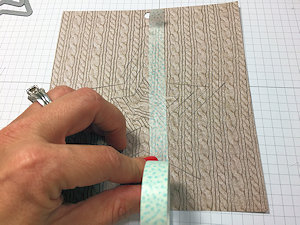
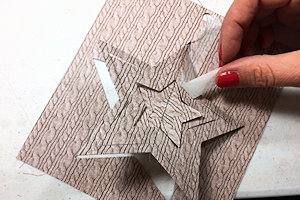
Step 3
Use repositionable tape to tape down a line just to the right of the stars' center line. You will use this as a guide when you’re stitching, but mainly it will keep your stars together.
-
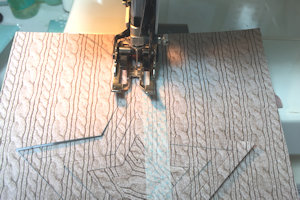
Step 4
Bring your stars over to your sewing machine and drop your needle in just above the top point of the star. This will get your stitches started. Sew through the middle of the your five stars.
-
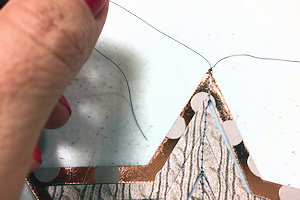
Step 5
Carefully remove the cut stars from the outer cardstock, and take off your washi tape. If the thread doesn’t come apart from the outer star shape right away – just unthread it using your fingers. You can also free up the stars from each other, allowing them to spin/turn freely.
-
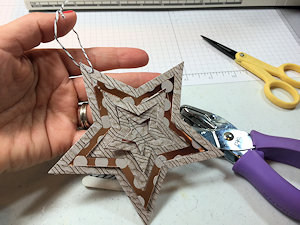
Step 6
Tie a double knot at the top and bottom of the star and trim off the excess thread.
-
Step 7 (Optional)
Punch the top of the star with a 1/16” hole punch and thread twine in to create a new loop for your ornament.
-
Step 8
Complete the project.
-
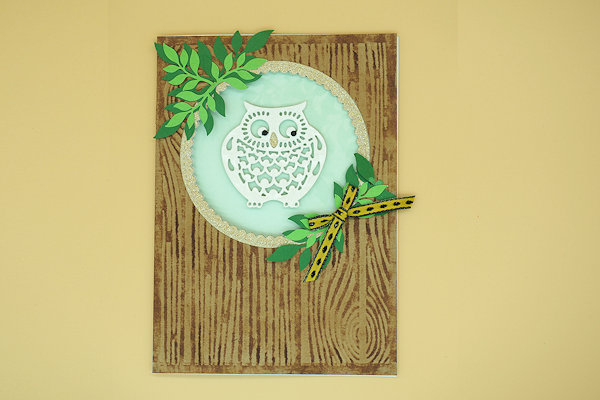
Step 11
Embellish the card as desired. For the sample, additional die cut leaves were added to the frame.
NOTE:
Be sure that embellishments do not hinder the spinner mechanism.
Video!
Your Turn
You've seen the tutorial, now you try it! We've got a section of the gallery set aside for Stitched Star Ornament. Try this technique, then upload your artwork to the gallery. Show us your creations!
***Please note - Internet Explorer/Edge is not a supported browser, and will not allow you to see the videos. Please use Chrome, Firefox or Safari to view our tutorial videos.

Questions and Comments
We'd love to get your feedback or questions. Leave your comment below.
Merry Christmas
I'm going to yes these instead of bows on my Christmas packages so there's a little extra gift!
Page 1 of 1 pages