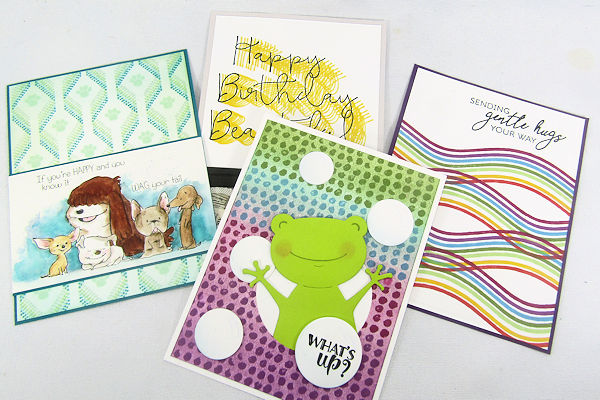
Stamp Shifting
by Dina Kowal
Use a stamp positioner for some fun effects with repeated images.
Supplies
- Stamp positioner (MISTI by My Sweet Petunia used here)
- Border or outline stamps, background stamps with an open design (please see individual card samples for products used)
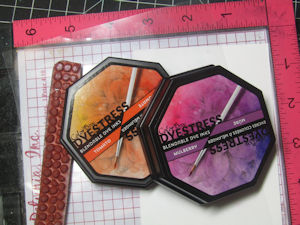
- Inks (ColorBox® Dyestress Inkpads used here)
- Other supplies as needed to complete the project
Step-by-Step
-
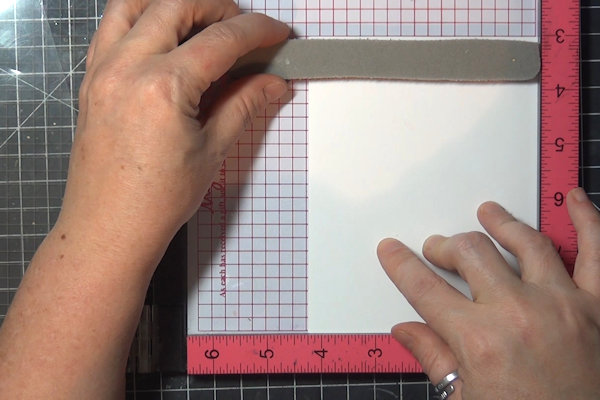
Step 1
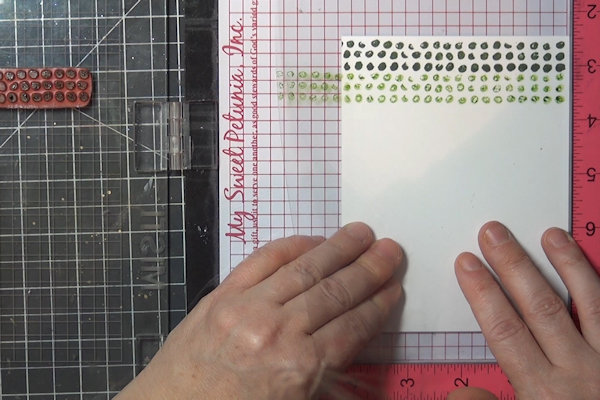
For a repeated border background:
With your cardstock in place, position the border stamp toward the top of the panel and attach the stamp to the positioner’s lid. -
Step 2
Lay a sheet of acetate over the cardstock panel, positioned into the same corner. Ink up the stamp and stamp it onto the acetate.
As well as ensuring that the stamp is straight, this stamped image will be a template for consecutive impressions. -
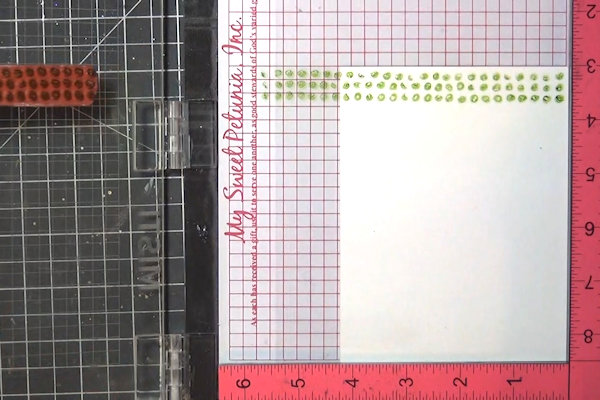
Step 3
Remove the acetate guide and stamp the image onto the cardstock.
-
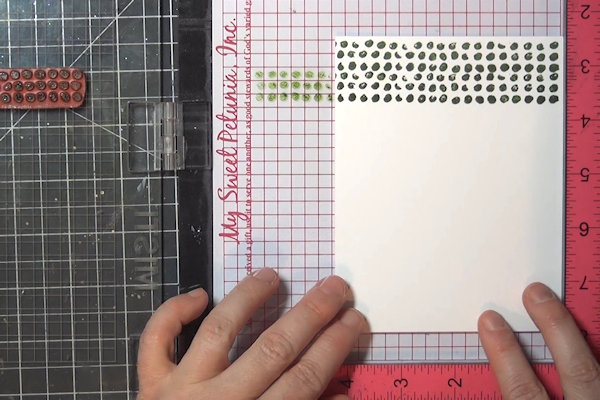
Step 4
Replace the acetate guide over the panel, positioned into the corner. Move the cardstock panel up until the stamped area on the acetate is correctly aligned with the stamped cardstock.
-
Remove the acetate, and stamp the cardstock. Anchor the panel with a magnet if needed.
-
Step 5
Continue this process until the background is full. Wipe the stamp clean before switching inks, but do not move it or remove it from the positioner.
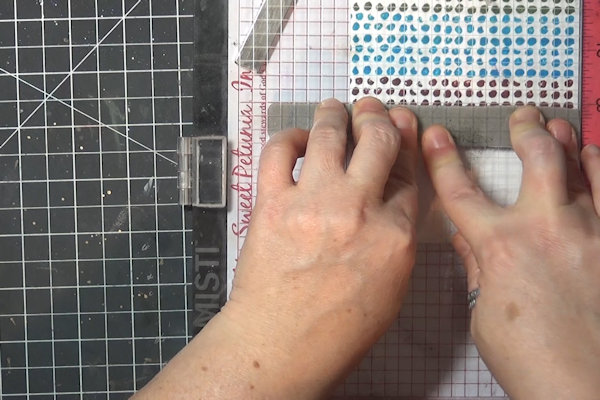
NOTE:
When you get to the bottom of the panel, the top of it may be extending outside of the positioner. This is fine. Use a magnet to keep the panel in place if you think it might shift. -
Step 6
Complete the background.
-
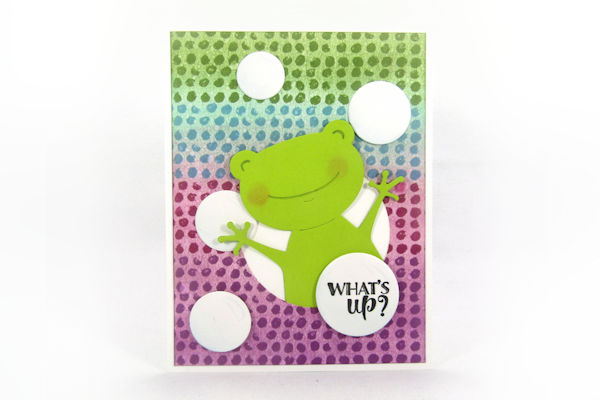
Use the panel to complete a card or other project.
Impression Obsession products used:
D18060 Triple Dot
DIE788 Frog
A13572 What's Up -
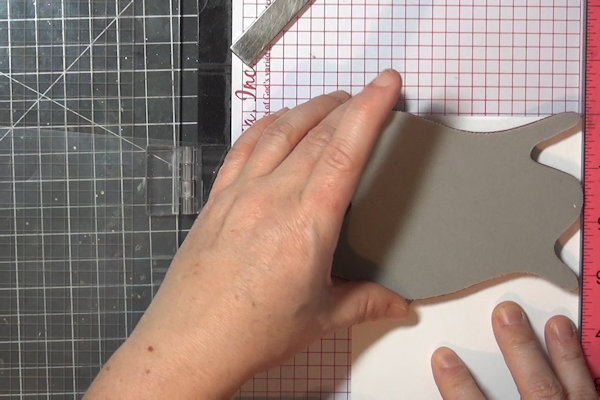
Step 7
For an open line image:
With your cardstock in place, position the stamp toward the top of the panel and attach the stamp to the positioner’s lid. -
Step 8
As before, lay a sheet of acetate over the cardstock panel, positioned into the same corner. Ink up the stamp and stamp it onto the acetate. As well as ensuring that the stamp is straight, this stamped image will be the guide for consecutive impressions.
Stamp the image onto the cardstock. (For the sample, the image was stamped to the cardstock first because position wasn't a big concern.) -
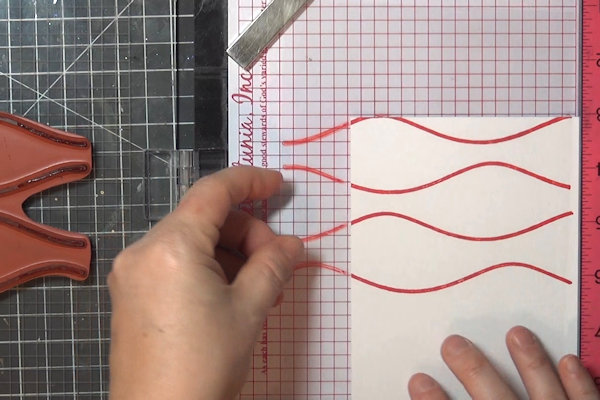
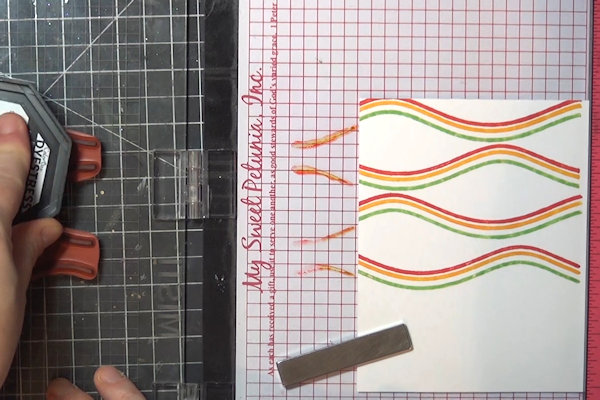
Step 9
Using the acetate as a guide, determine what increment the cardstock needs to be shifted up for each consecutive stamping. For the sample, the cardstock will be moved up 1/8” each time.
-
Step 10
Move the cardstock up the determined increment, and secure it with a magnet. Stamp again.
-
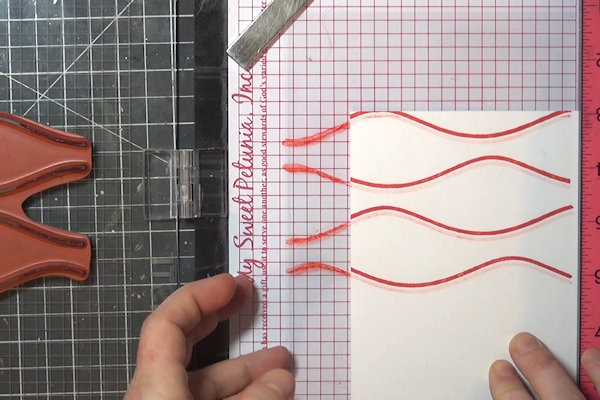
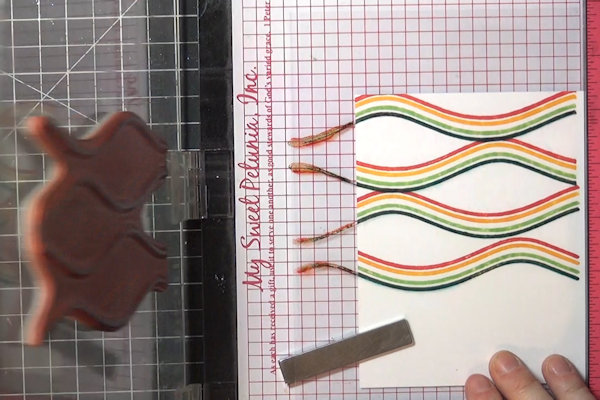
Step 11
Continue stamping the panel, moving the cardstock up the same increment each time.
-
Use the acetate template periodically if needed to check your position (especially if you’re forgetful and aren’t sure if you moved the cardstock up yet or not!).
-
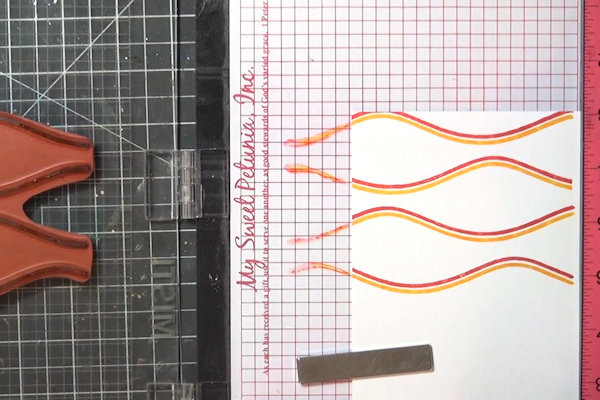
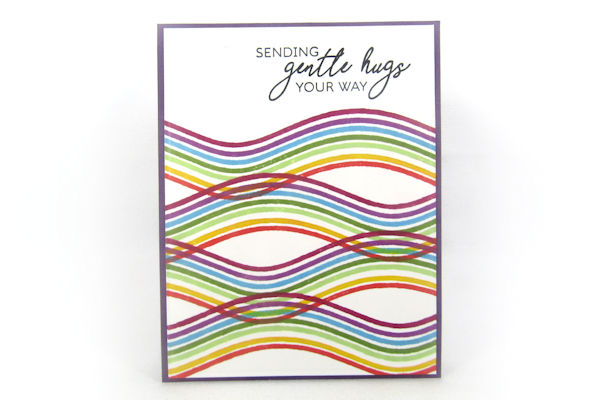
Step 12
Complete the background.
-
Use the panel to complete a card or other project.
Impression Obsession products used:
L17057 Squiggles
C13766 Gentle Hugs -
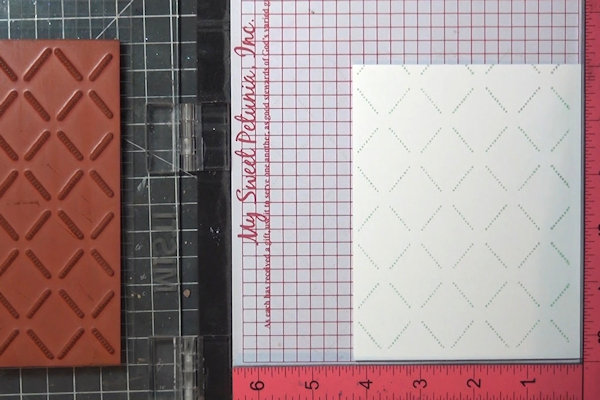
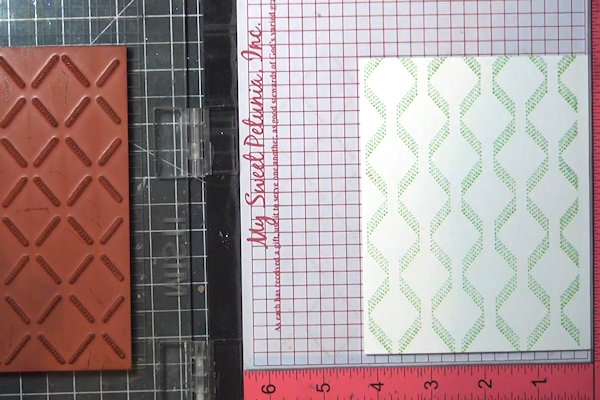
Step 13
For an open background stamp:
Use the same technique above. Make an acetate guide for the first impression, to determine how far the panel needs to be moved each time. For this stamp’s dotted design, it’s 1/16”.
-
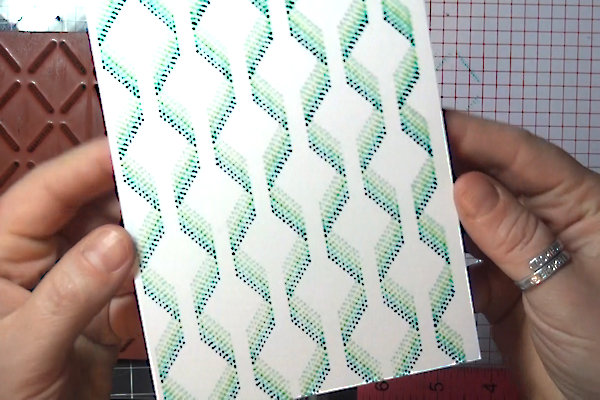
Continue moving, inking, and stamping until you’re satisfied with the design.
TIP:
With a full background, you can move the panel up or to the side. -
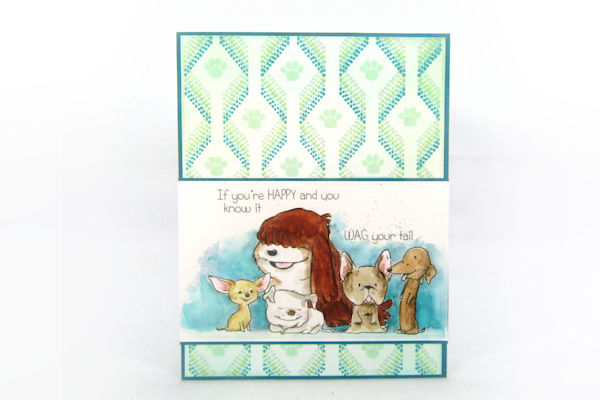
Step 14
Complete the background.
-
Use the panel to complete a card or other project.
Whimsy Stamps products used:
Lattice Background
Background Buddies clear set (disc.)
Adopt Don't Shop DOGS clear set -
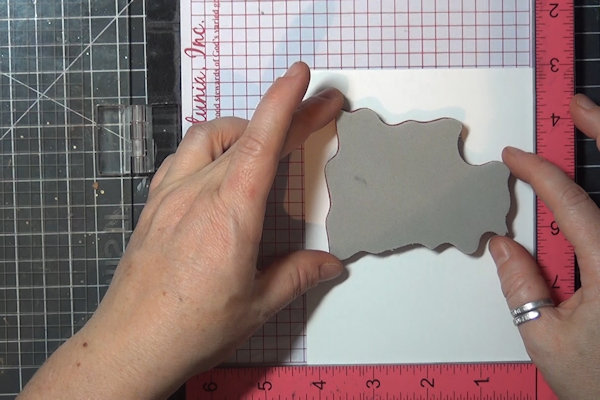
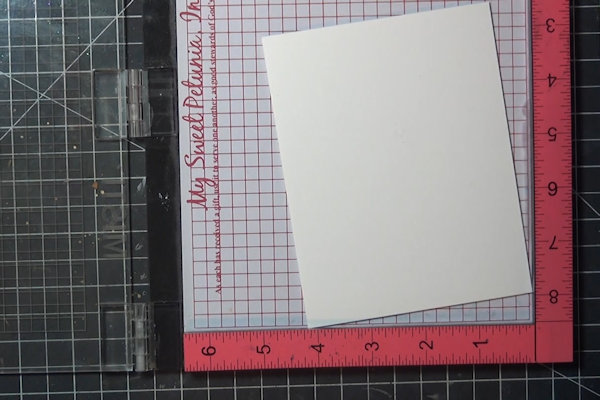
Step 15
Try it with a twist!
With cardstock aligned in the corner, center an open outline stamp on the panel. Close the positioner to attach the stamp to the lid. -
Angle the cardstock so that the corner is 1/2" from the corner of the positioner, and the opposite corner is touching the positioner’s edge.
-
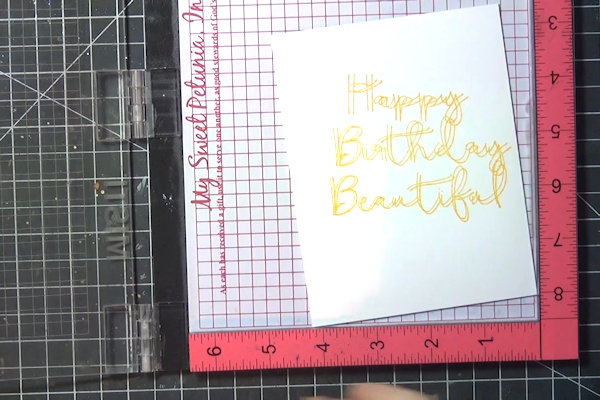
Step 16
Stamp an outlined image or fine-lined sentiment in a light colored ink.
-
Keeping the bottom corner against the edge of the positioner, move the angled corner down 1/16” or 1/8”. Stamp again, using the same color or another light color ink.
-
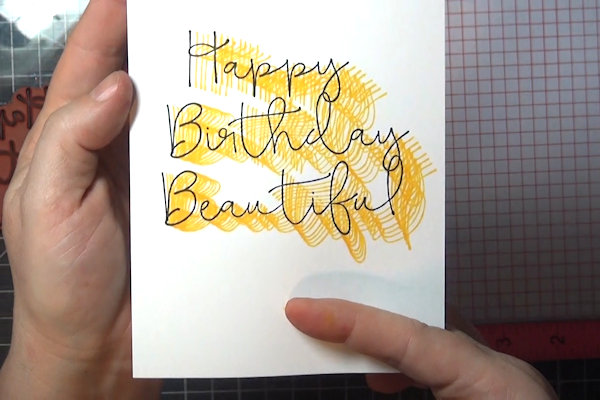
Step 17
Repeat the process until the cardstock is back in its original position. Stamp the last impression in a dark color that will contrast the other layers.
-
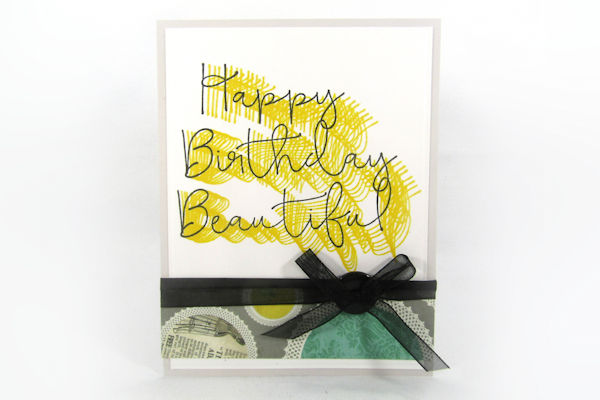
Use the panel to complete a card or other project.
Impression Obsession products used:
G20693 Happy Birthday Beautiful


Video!
Your Turn
You've seen the tutorial, now you try it! We've got a section of the gallery set aside for Stamp Shifting. Try this technique, then upload your artwork to the gallery. Show us your creations!
***Please note - Internet Explorer/Edge is not a supported browser, and will not allow you to see the videos. Please use Chrome, Firefox or Safari to view our tutorial videos.

 *
*
Questions and Comments
We'd love to get your feedback or questions. Leave your comment below.
Thanks!
Page 1 of 1 pages