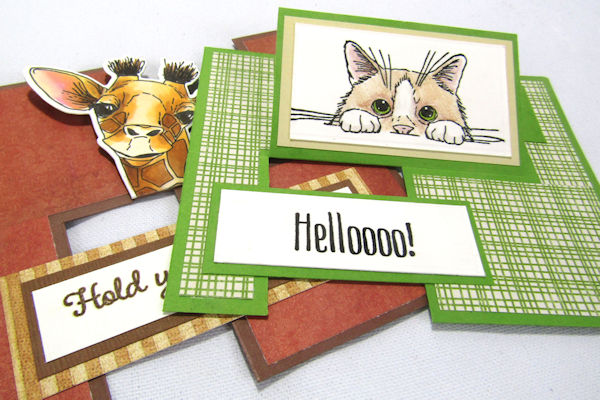
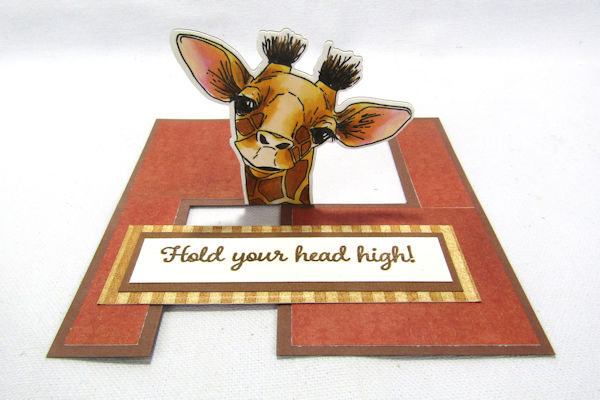
Impossible Card
by Dina Kowal
Make two variations of this mind-bending card with a quarter sheet of cardstock.
Supplies
- Cardstock
- Trimmer or scissors
- Scoring board
- Patterned paper
- Adhesive
- Die (Impression Obsession DIE569-YY Baby Giraffe dies used here)
- Ruler
- Craft knife
- Other supplies as needed to complete the project (used here: Impression Obsession CS861 Mini Peekers clear set, WP771 Baby Giraffe clear set, colored pencils, Copic markers)
Step-by-Step
-
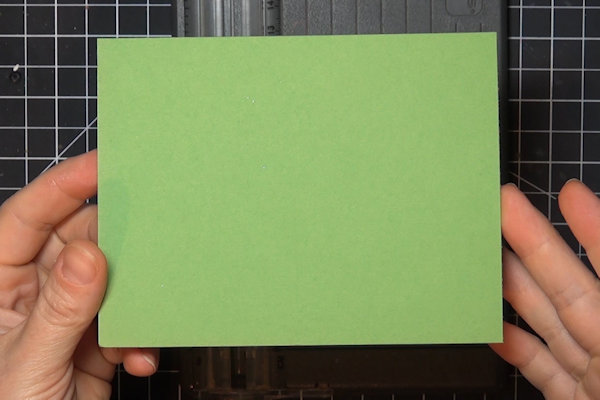
Step 1
Prepare a card base. Here, a quarter sheet of cardstock is used (4 1/4" x 5 1/2").
NOTE:
These cards can be made with any size base. -
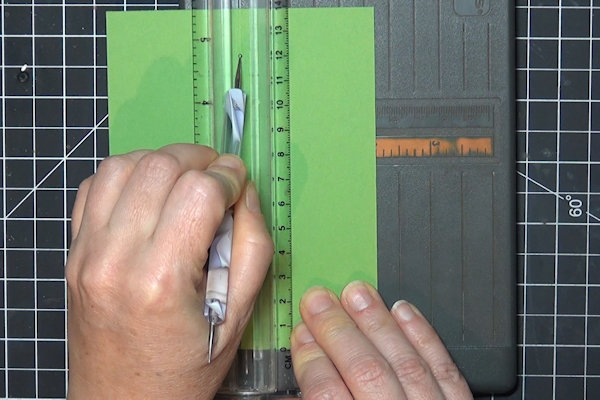
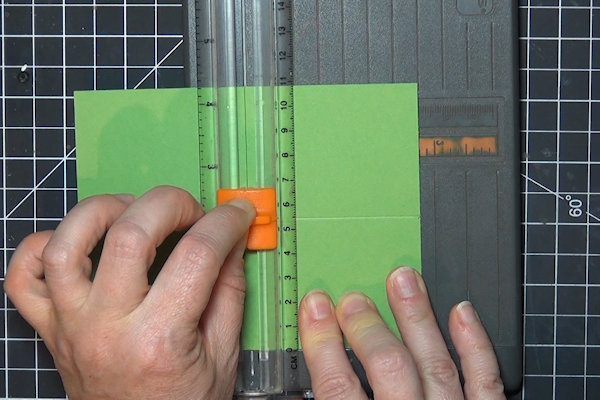
Step 2
Score down the center of the panel (scored at 2 1/8" on the short side here).
-
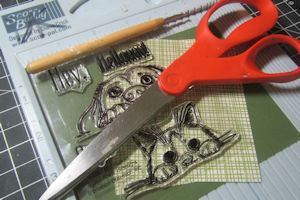
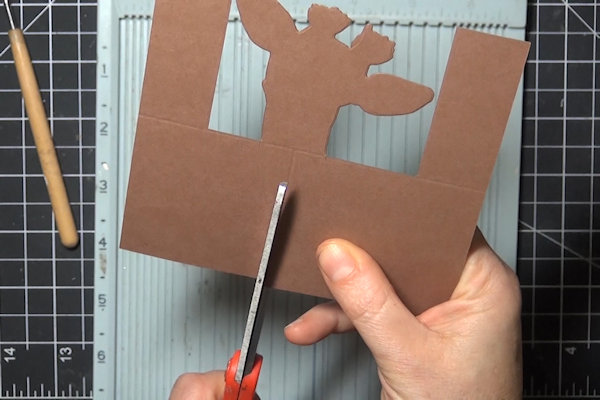
Step 3
Make a cut down to the score line from one long side. For practical purposes and ease of measurement, the cut is centered here at 2 3/4”.
NOTE:
This cut does not have to be centered - it just needs to be in between the cuts made in step 4. -
Step 4
From the other long edge of the panel, make 2 cuts down to the score line. Here, the cuts are made 1” from each end.
NOTE:
These cuts don’t have to be exact, but these measurements give good stability to the card. -
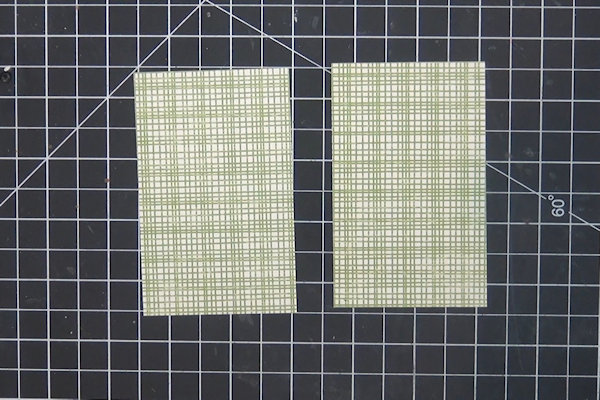
After cutting, the card base should look like this.
-
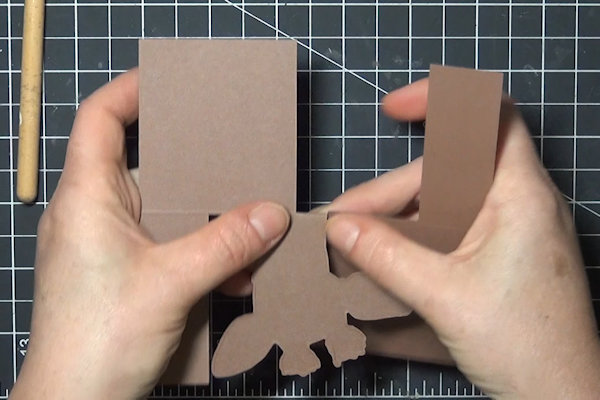
Step 5
Holding one side of the card still, flip the other side down on the score line (fold one narrow cut and the center cut down, and the half panel cut up). In the photo, the left side was flipped down, but you could start with the right.
-
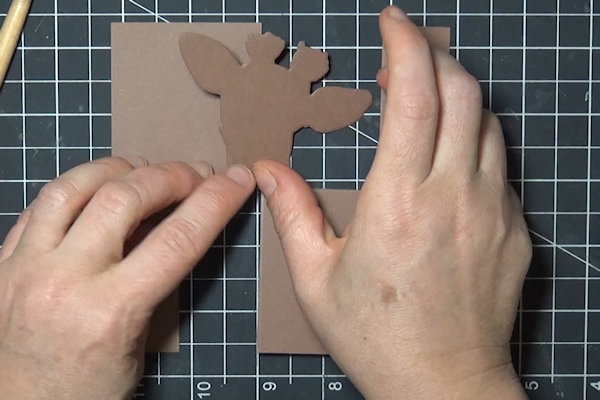
Fold only the center panel back up at the score line.
The basic card base is completed. -
Step 6
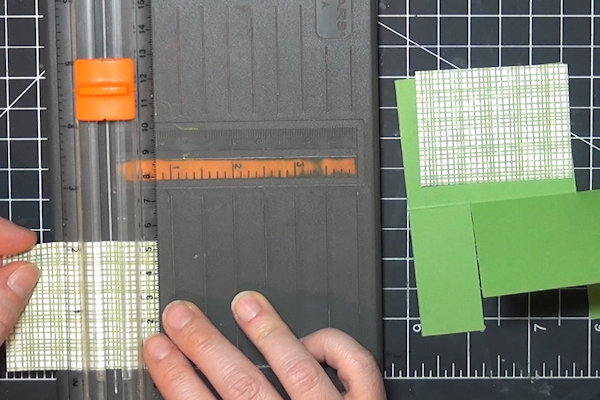
Cut patterned paper into layering panels for the card. These should be 1/4” smaller (each way) than each card half, measuring from the single center cut line. The panels here are each 2 1/2" x 4”.
-
Cut across the panel to create a layering piece for the larger area on each side (2 1/2” x 1 7/8” here). From the remaining piece, cut a piece 3/4" wide. This will cover the score line and layer the smaller strip (see photo in Step 7).
NOTE:
If you are matching a pattern in the paper, take care to position your paper correctly when you cut. -
Step 7
Prepare a focal panel for the center standing piece. The panel here is 3 1/2" x 2 1/8”. Layering pieces are 3 1/4” x 1 7/8” and 3” x 1 5/8”.
Prepare a horizontal strip panel to go across the open area of the base. This can be optional, but it does add stability to the base. -
A second horizontal piece can be added if desired.
-
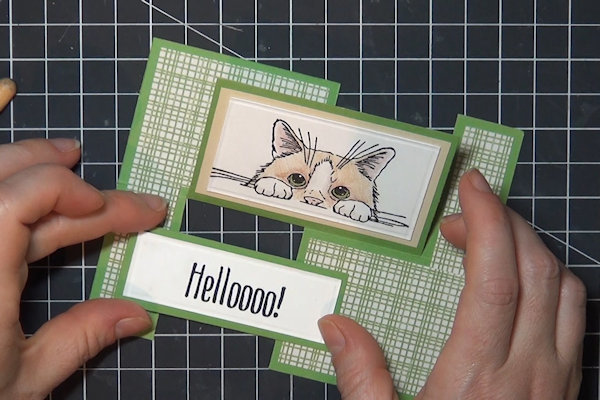
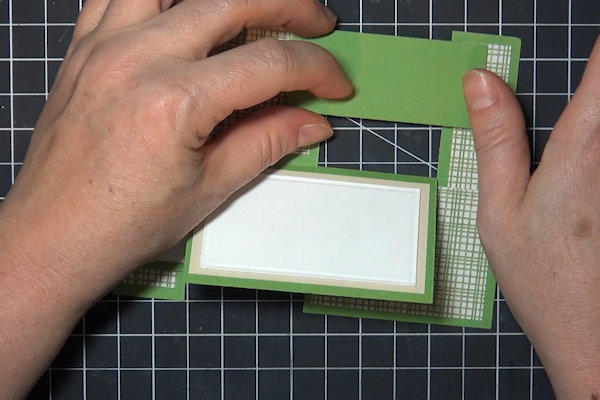
Step 8
Complete the project. The center panel will fold flat for mailing. The back of this panel can also be decorated.
-
Step 9
To create a card with a partial die cut center, score down the center of the card base as before. This card base is 5” square, scored at 2 1/2”.
-
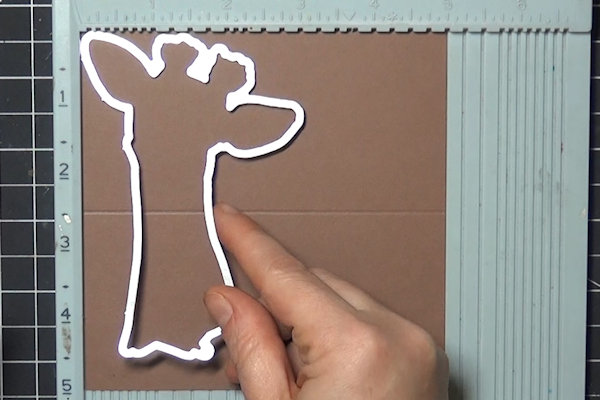
Step 10
Measure your die of choice to determine the width of your center panel, allowing for a reasonable width on either side. Remember, 1” is a good width for these cuts, but they can also be wider or narrower depending on your card design.
The die for the sample is just under 3” wide.
NOTE:
Be sure that the die you choose will provide enough stability for the central piece. It should be at least 1” wide where it meets the score line. -
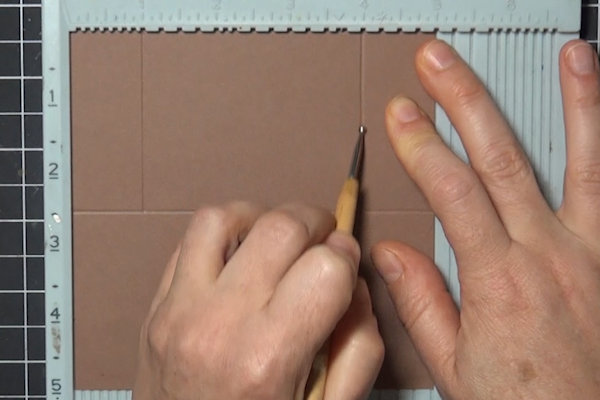
Step 11
Mark a line on either side of the center panel. Here, a 3” panel is needed in the center, so the lines are marked at 1” and 4”.
-
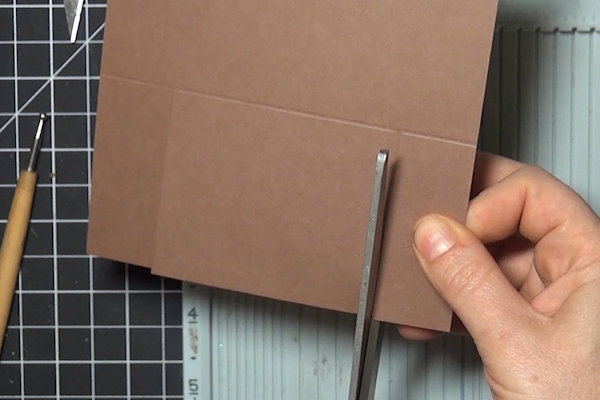
Cut on the lines, up to the center score line.
-
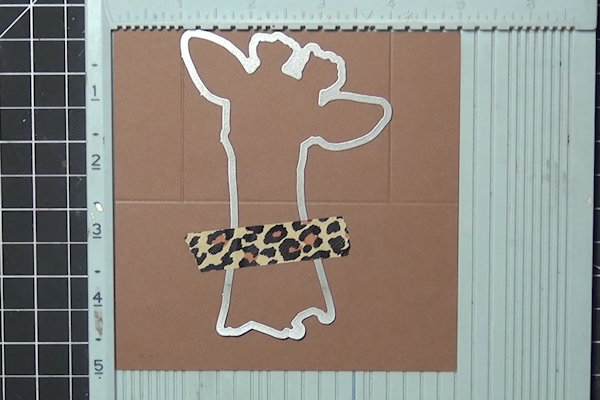
Step 12
Position the die in the center panel, and tape it in place.
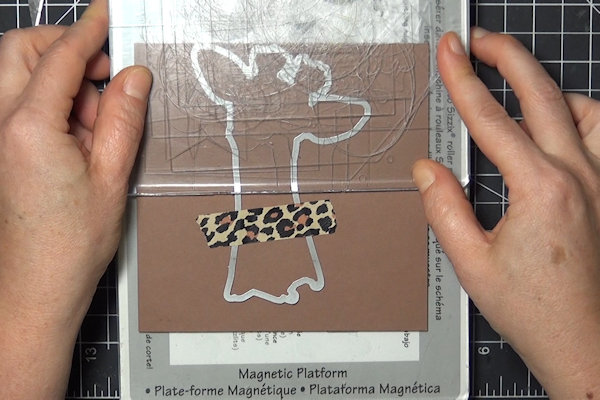
-
To die cut, lay the panel and die down on a cutting plate. Position the top cutting plate so it just covers the die above the score line. Run the sandwich through a die cutting machine. The die will only cut where the 2 plates put pressure on it together.
-
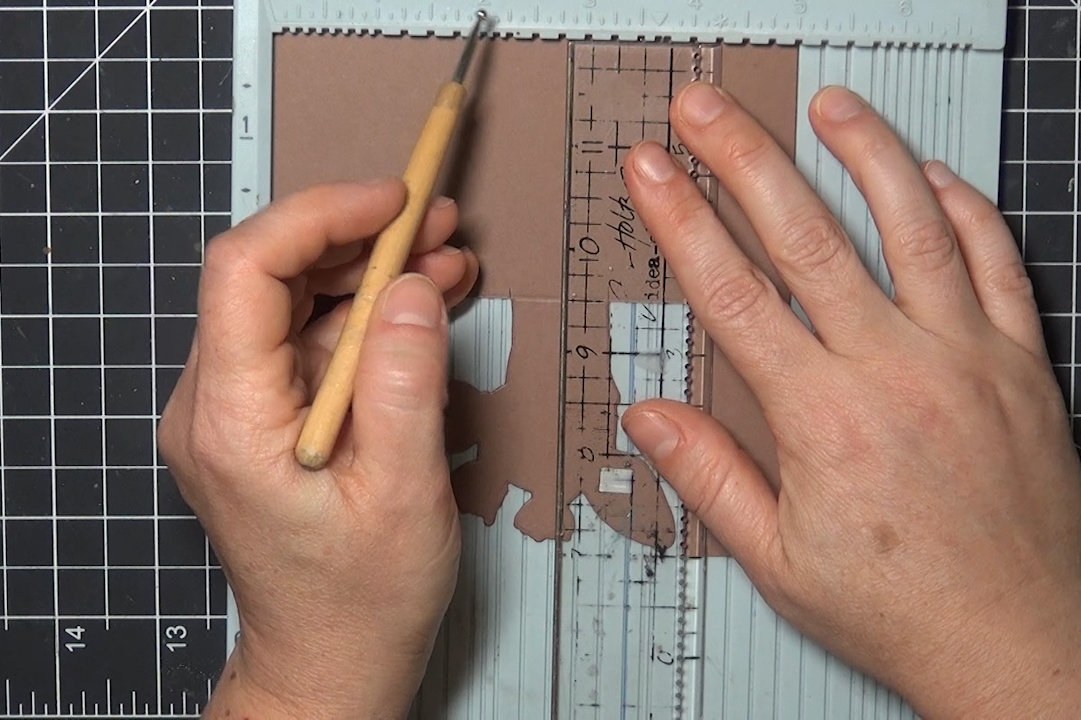
Step 13
Align a ruler with the center score line of the card. Using a craft knife, cut along the score line from the die cut line out to the cuts made in step 11b to remove the negative die cut.
-
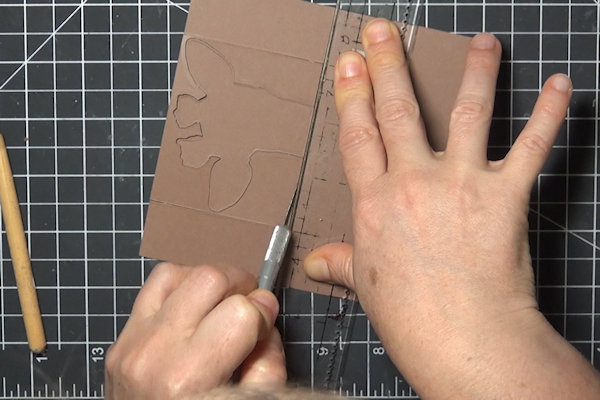
Step 14
Find the center of the die cut area. Mark a line to that point from the uncut side.
-
Cut on the line, up to the center score line.
NOTE:
This line does not need to be in the center of the card. -
Step 15
Holding one side of the card still, flip the other side down on the score line (fold one narrow cut and the center cut down, and the half panel cut up). In the photo, the left side was flipped down, but you could start with the right.
-
Fold only the center (die cut) panel back up at the score line.
The basic card base is completed. -
Step 16
Create layering panels as before. Measure each area to determine size – each panel will be different if the single cut is not centered.
-
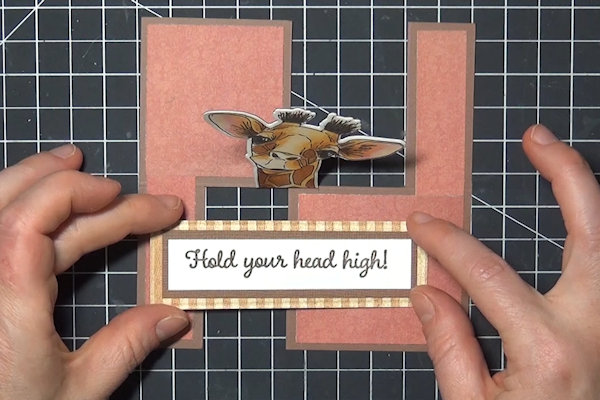
Step 17
Add a focal image and horizontal panel(s). Decorate as desired.
-
Step 18
Complete the project.


Video!
Your Turn
You've seen the tutorial, now you try it! We've got a section of the gallery set aside for Impossible Card. Try this technique, then upload your artwork to the gallery. Show us your creations!
***Please note - Internet Explorer/Edge is not a supported browser, and will not allow you to see the videos. Please use Chrome, Firefox or Safari to view our tutorial videos.

Questions and Comments
We'd love to get your feedback or questions. Leave your comment below.
Again Thanks!
Teddy loves Dinosaurs, and as one can imagine he has made it his job to know all the periods and pronounce all the names. He'll be very interested in the card fold. Especially seeing how it initially works.
Thanks again, Dina
Page 1 of 2 pages 1 2 >