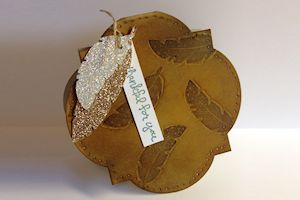
Faux Stamped Leather
by Melissa Banbury
Use stamps, ink, and a stylus to create the look of tooled leather on paper.
Supplies
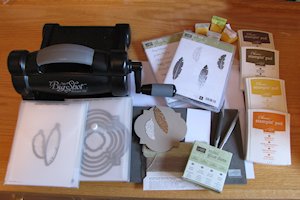
- Cardstock (Kraft and Crumb Cake used here)
- Solid image stamp (SU! Four Feathers used here)
- Inks Medium yellow (SU! Crushed Curry used here)
- Foam mat
- Piercing tool
- Stylus
- Sponges
- Other supplies as needed to complete the card (White and Whisper White cardstock; Silver, Dazzling Diamonds and Champagne Glimmer Paper, Sentiment Stamp (SU! Good Greetings used here); Big Shot die cutting machine, SU! Window Frame and Feather Framelits, linen thread, hole punch, Mini Glue Dots all used here)
Orange (SU! Pumpkin Pie used here)
Medium brown (SU! Soft Suede used here)
Dark brown (SU! Chocolate Chip used here)
Step-by-Step
-
Step 1
Cut a Kraft cardstock card base measuring 5 1/2" x 8 1/2". Score and fold at 4 1/4". To achieve a shaped card base, use a die of choice and run the folded card through a die cutting machine, with the die aligned slightly past the fold.
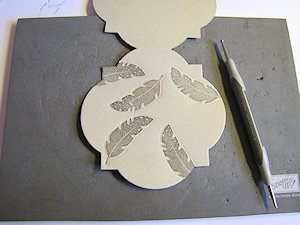
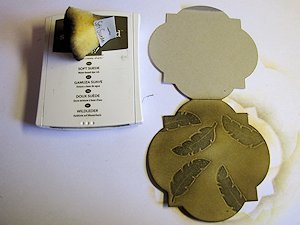
Stamp solid images onto the card base using dark brown ink.
-
Step 2
Place a foam mat beneath the stamped portion of the card base. Trace around the edge of each image with a stylus tool.
-
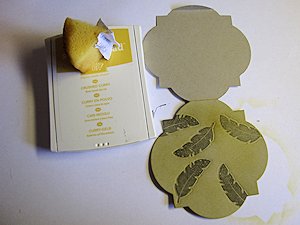
Step 3
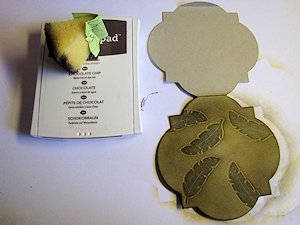
Sponge the medium yellow ink randomly over the entire card base front, working from the outside inward and leaving a few open uninked areas.
-
Step 4
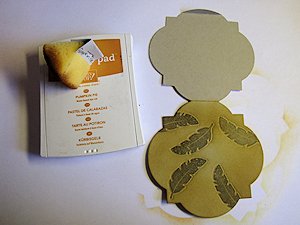
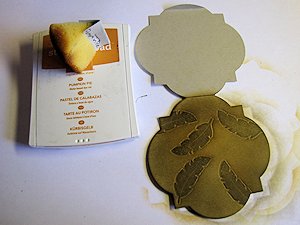
Sponge the orange ink randomly over the entire card base front, working from outside inward.
-
Step 5
Sponge the medium brown ink randomly over the entire card base front, working from the outside inward.
-
Step 6
Sponge a small amount of dark brown ink over the card base front, concentrating the color on the edges of the card base.
-
Step 7
To add depth to the images, sponge orange ink over the entire card base front. Concentrate the color on the lightest areas first then blend outward.
-
Step 8
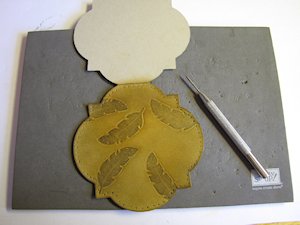
With a piercing tool, punch a border around the edge of the card base.
-
Step 9
Embellish and complete the project.
Video!
Your Turn
You've seen the tutorial, now you try it! We've got a section of the gallery set aside for Faux Stamped Leather. Try this technique, then upload your artwork to the gallery. Show us your creations!
***Please note - Internet Explorer/Edge is not a supported browser, and will not allow you to see the videos. Please use Chrome, Firefox or Safari to view our tutorial videos.

Questions and Comments
We'd love to get your feedback or questions. Leave your comment below.
Loved this technique. Ready to go and make one for myself. Have all the inks and stamp and want to work NOW! Love it, love it, love it. Very creative and beautiful. Great job and thank you so much for sharing this great idea!
Page 1 of 2 pages 1 2 >