Faux Leather Wallet
by Yvonne Hagane
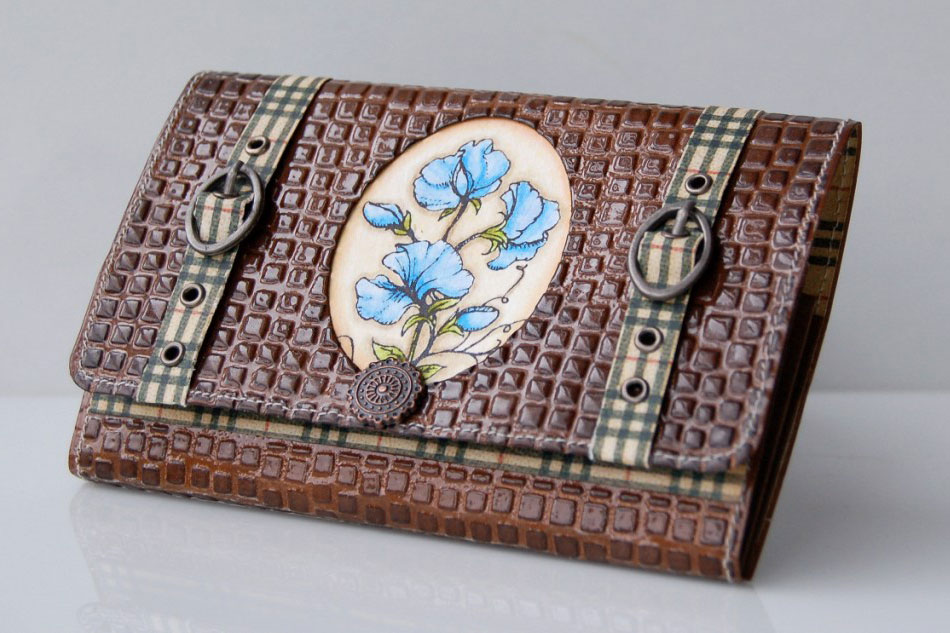
Create a beautiful faux leather wallet out of cardstock.
Supplies
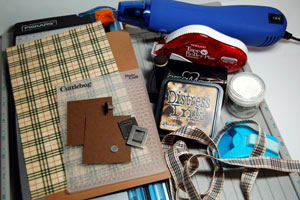
- Paper Trimmer
- Scor-Pal, or other scoring tool
- One 5 1/4" x 8 3/4" piece of brown cardstock (13,5 cm x 22,5 cm)
- One 5 3/16" x 8 11/16" piece of patterned paper (13,4 cm x 22,4 cm)
- Two 2" x 3" pieces of brown cardstock (5 cm x 6 cm)
- Cuttlebug™ Embossing folder Mosaic
- Dark brown ink, Walnut Stain Distress ink used here
- Sponge
- Versamark™, or other clear embossing ink
- Clear Embossing Powder
- Heat Gun
- Double Sided Adhesive
- Sewing Machine
- Corner Rounder Punch
- Decorative Brad, buckles and ribbon
Step-by-Step
-
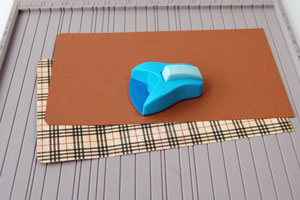
Step 1
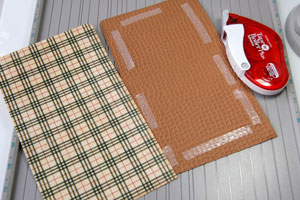
Punch two corners on the short side of the brown cardstock and patterned paper.
-
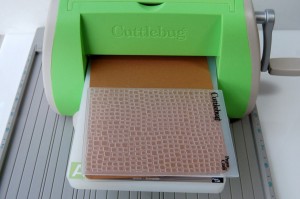
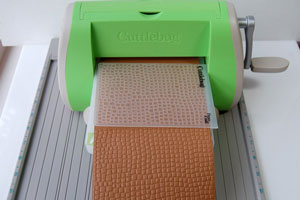
Step 2
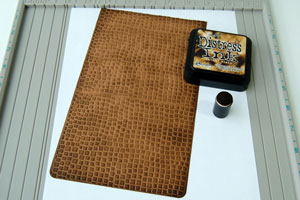
Emboss the brown cardstock with the Mosaic Cuttlebug Embossing folder.
-
Step 3
You need to run the cardstock piece through your die cut machine three times to emboss the entire piece.
-
Step 4
Sponge the embossed piece randomly with dark brown ink.
-
Step 5
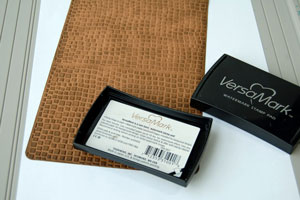
Apply Versamark™ ink over your cardstock.
Hint:
It's a big piece of cardstock. Apply first only to one half of the cardstock, emboss, then repeat with the other cardstock half.
-
Step 6
Add clear embossing powder over your cardstock.
Tap off excess.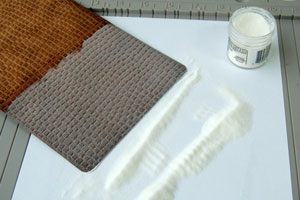
-
Step 7
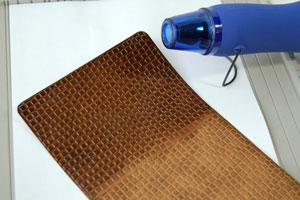
Heat emboss to complete the Faux Leather look.
-
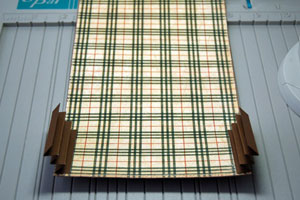
Step 8
Adhere the patterned paper to the back of the Faux Leather cardstock.
-
Step 9
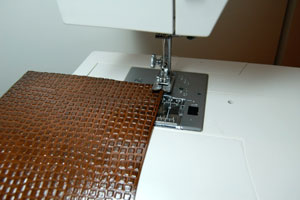
Sew around the edges of the cardstock.
-
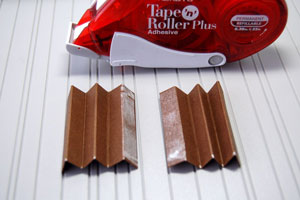
Step 10
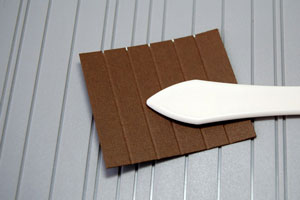
Score your smaller brown cardstock pieces every 1/2" (1 cm) , adding five score lines.
-
Step 11
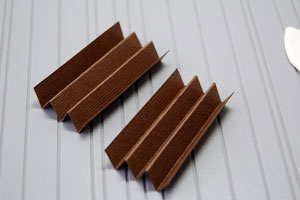
Fan fold the score lines mountain/valley style.
-
Step 12
Add strong double sided adhesive to the last fold.
-
Step 13
Adhere folded cardstock as shown.
-
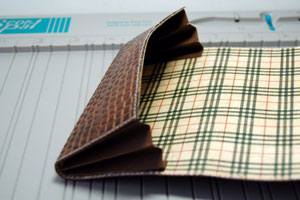
Step 14
Add adhesive to the last fold of the cardstock fan.
-
Step 15
Fold the lower part of the wallet as shown.
-
Step 16
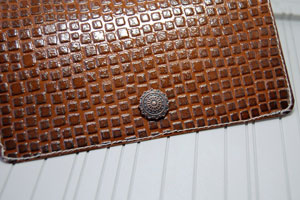
Use a piercing tool or similar to make a hole, and add a decorative brad at the front of the wallet.
-
Step 17
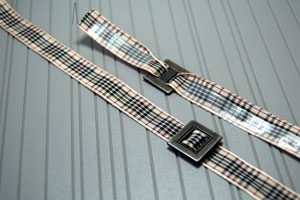
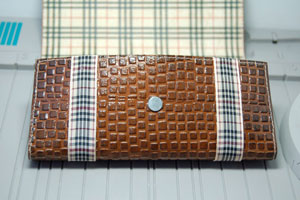
Attatch the buckles to the ribbon, add double sided tape and attatch them to the wallet as shown on the finished wallet.
-
Step 18
Attach a small magnet as shown. (you want to use some strong glue here)
-
Step 19
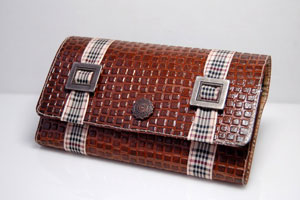
Your Faux Leather purse is finished.
Video!
Variations
-
Cut a window into your faux leather cardstock piece and place a stamped image behind it.
Your Turn
You've seen the tutorial, now you try it! We've got a section of the gallery set aside for Faux Leather Wallet. Try this technique, then upload your artwork to the gallery. Show us your creations!
***Please note - Internet Explorer/Edge is not a supported browser, and will not allow you to see the videos. Please use Chrome, Firefox or Safari to view our tutorial videos.

 *
*
Questions and Comments
We'd love to get your feedback or questions. Leave your comment below.
Page 1 of 5 pages 1 2 3 > Last »