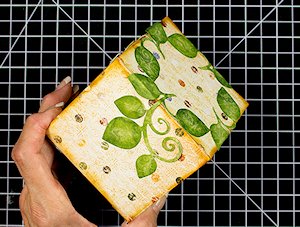
Wood Block Paperweight
by Robin Tharaldson
Create a beautiful paperweight out of a plain wood block.
Supplies
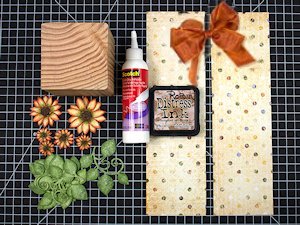
- Wood block (3 1/2" cube used here )
- Cardstock – 2 pieces 3 1/2" x 12" (or adjust to size of your block, matching the width and adding 1 - 1 1/2" to the length of 3 sides)
- Fast drying liquid glue
- Silk or paper flowers (purchased or die cut)
- Silk or paper leaf sprigs – purchased or die cut
- Ink for sponging (Brushed Corduroy Distress Ink used here)
- Triple loop bow
- Other supplies as needed to complete the project (Paper, stamps and dies from Heartfelt Creations Classic Sunflower Collection used here)
Step-by-Step
-
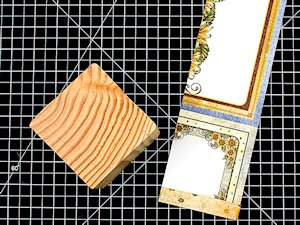
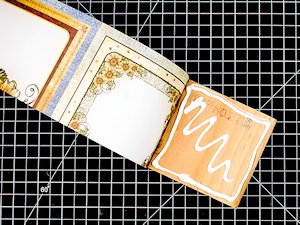
Step 1
Fold one edge of the cardstock strip to the back, approx. 1/2" to 3/4".
-
Step 2
Apply glue to one edge of the wood block.
-
Adhere the folded end of the cardstock to the block.
-
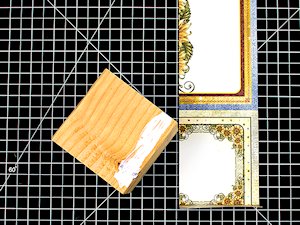
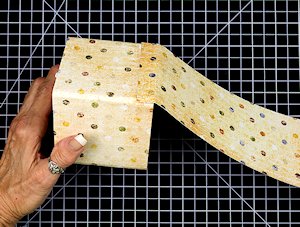
Step 3
Turn the block and add glue to the next side. Fold and press the paper to the side of block. Repeat for the remaining sides.
-
Step 4
Glue the remaining paper to the block on the side where you started.

-
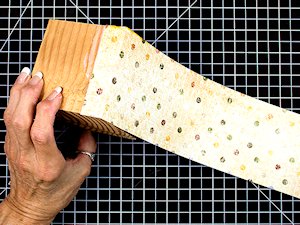
Step 5
Fold down the edge of the remaining cardstock strip, approx. 1/2" to 3/4".
-
Starting opposite from where you just finished, apply glue to one edge of the wood block. Repeat Steps 2-4. The last side will be the bottom of the block.
TIP:
Fold the paper around the block before gluing to be sure which sides will be glued.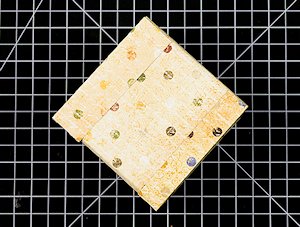
-
Step 6
Sponge all the edges of the block with ink.

-
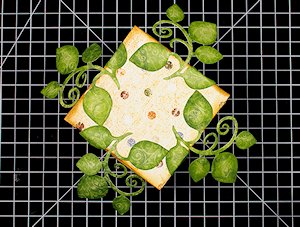
Step 7
Arrange and glue 4 leaf sprigs to the top of the block. Allow the glue to dry completely.
-
Fold and glue the sprigs down to the sides of the block.
-
Step 8
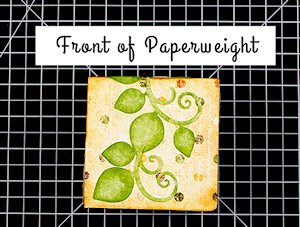
On the front of the block, trim and adhere another leaf sprig to add more greenery.
-
Step 9
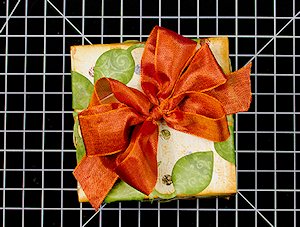
Glue a bow to the top of the block. Allow the glue to dry.
-
Add remaining leaf sprigs to the top of the bow. Don’t worry about excess glue; your flower will cover the top of the bow.

-
Step 10
Add flowers to the front of the block.

-
Add flowers to the top of the block and centered on the bow.

-
Step 11
Complete the project.

Video!
Your Turn
You've seen the tutorial, now you try it! We've got a section of the gallery set aside for Wood Block Paperweight. Try this technique, then upload your artwork to the gallery. Show us your creations!
***Please note - Internet Explorer/Edge is not a supported browser, and will not allow you to see the videos. Please use Chrome, Firefox or Safari to view our tutorial videos.

Questions and Comments
We'd love to get your feedback or questions. Leave your comment below.
Page 1 of 1 pages