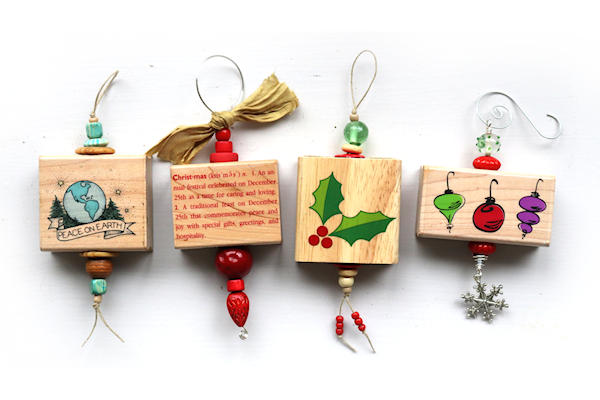
Wood Block Ornament
by Dina Kowal
Turn an old stamp block into a unique ornament.
Supplies
- Wood stamp block with stamp removed
- Sharpie marker
- Ruler
- Drill press (optional)
- Patterned paper
- Scissors
- Gel medium, Mod Podge or white glue
- Buttons and/or beads
- Twine or fine ribbon and tweezers OR
- 18g wire, chain nose and round nose pliers, wire trimmers
- Charm (optional)
- Decorative hook (optional)
Step-by-Step
-
Step 1
Choose a stamp block for your ornament.
-
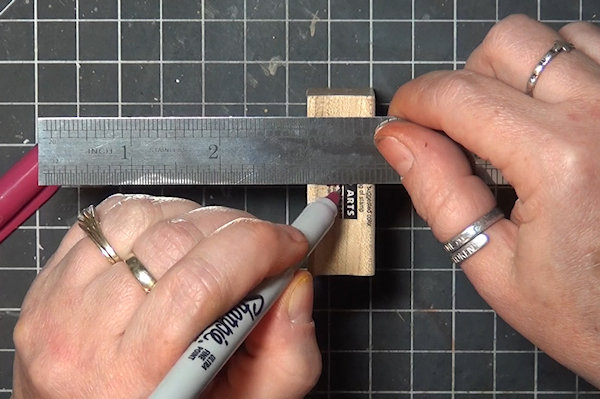
Step 2
On the top and bottom of the block, use a ruler to find the center, and mark it with a permanent marker.
-
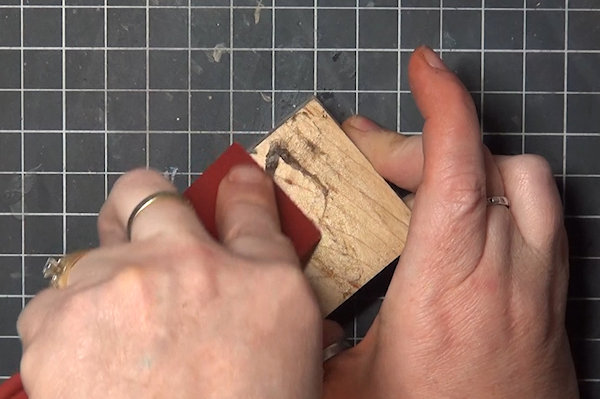
Step 3
Remove any raised residue from the adhesive or foam that may still remain. You may need to use tools and/or a solvent to do this. If the block is just sticky, it’s fine.
-
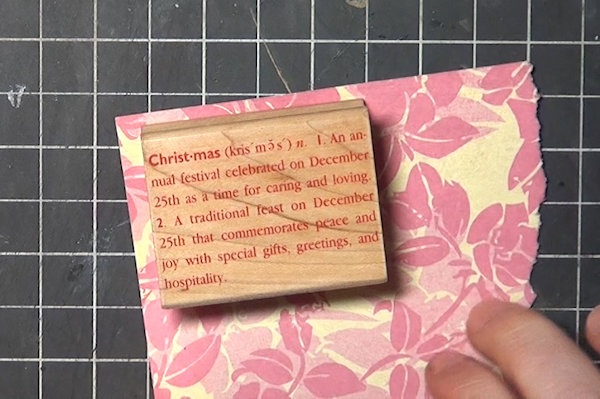
Step 4
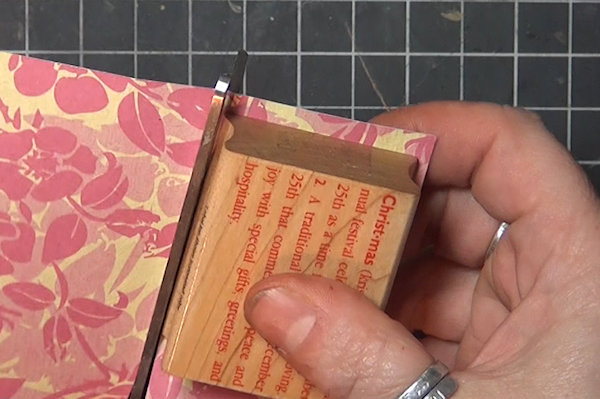
Adhere decorative paper to the back of the block. If the block is still sticky, this is easy! Otherwise, use gel medium, Mod Podge, or white glue.
-
Trim the paper to the edge of the block using scissors or a craft knife.
The block is ready to alter. There are some options for doing this depending on tools and supplies available to you. -
Step 5
To alter the block without drilling:
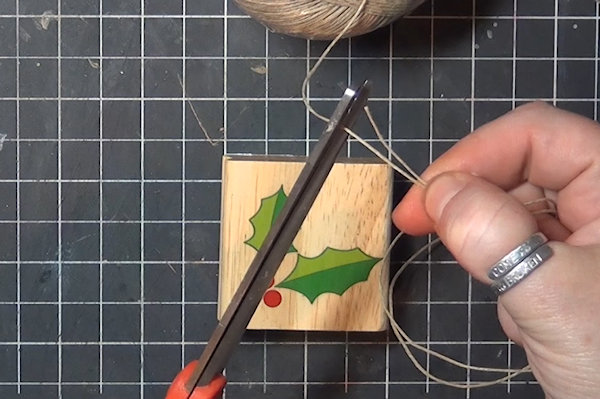
Cut a length of twine or narrow ribbon – it will need to be thin enough to fit two strands through your bead holes. For the sample I cut 24” of 10# jute twine. If your block size differs, take into account the distance around the block, the top loop and knots, and the thickness of your beads, and give yourself plenty of extra just in case. -
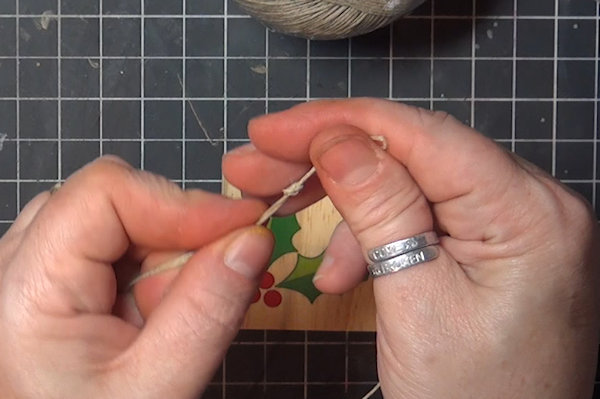
Fold the twine in half to find the center. Tie an overhand knot to create about a 1.5” loop.
-
Step 6
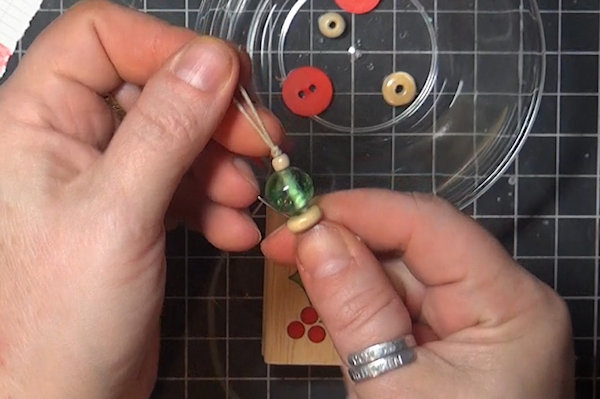
String both ends of the twine through the beads to create a little stack (about 7/8”) on the sample. (If you don’t have beads, make a stack of buttons and string through opposite holes.)
-
String the ends of the twine into two button holes. If the button has a flat side, make sure that side is down.
-
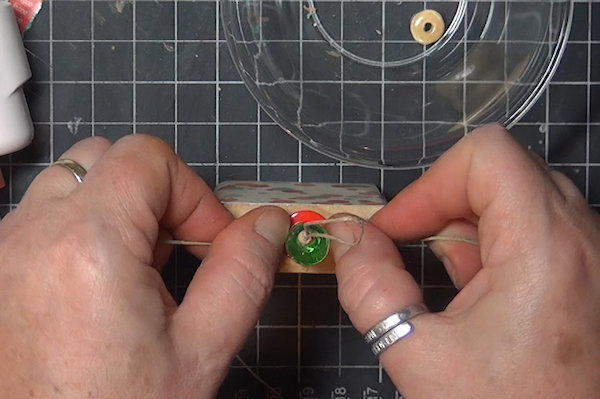
Step 7
Add a dot of hot glue to the center of the block top. Pull the twine out straight to the sides, and adhere the bead/button stack to the block.
-
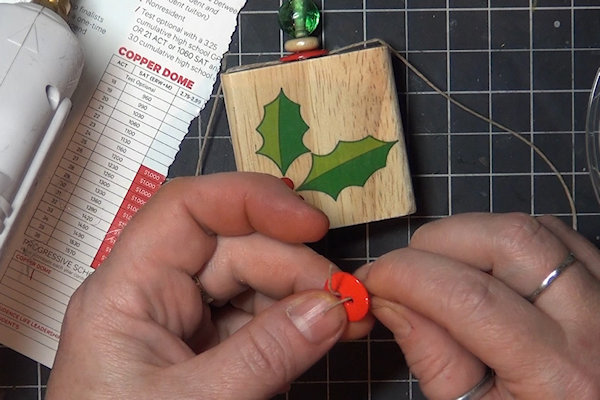
Step 8
Wrap the twine tightly against the outside of the block, meeting again at center bottom. Pass the two ends through opposite button holes with the flat side up.
-
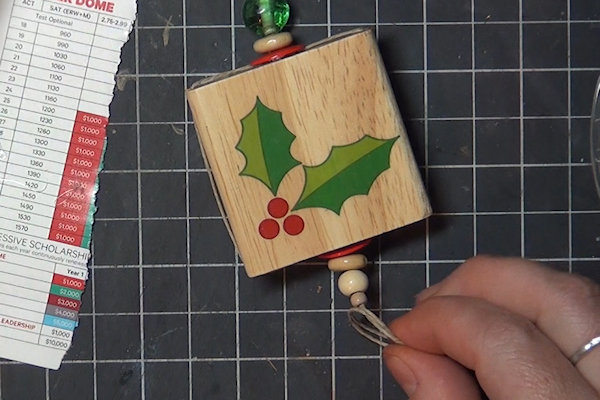
Step 9
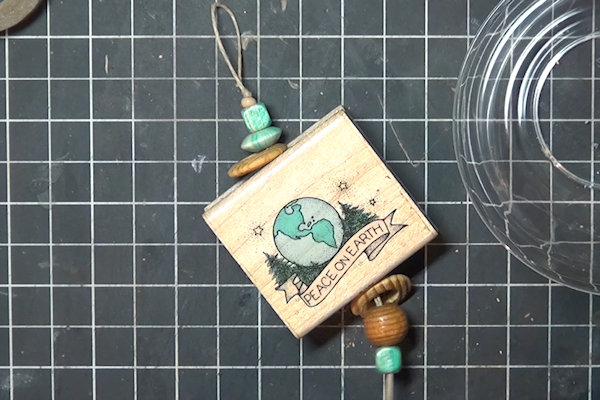
String both ends of the twine through a few more beads. End with a smaller one and tie an overhand knot to secure the strand, tightening it against the bottom bead.
-
Step 10
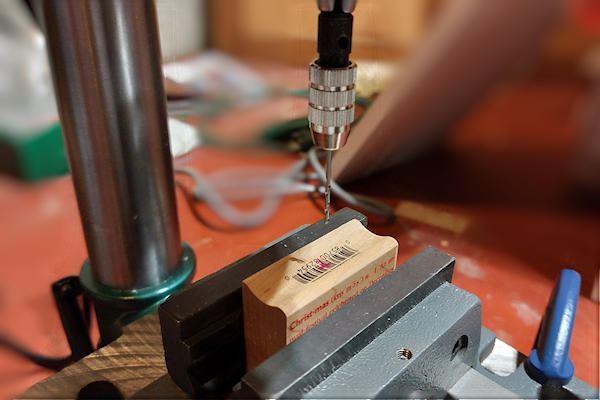
To alter the block by drilling:
Drill from top and bottom at the center markings to create a hole that goes all the way through the block. Stamp blocks are typically maple, a hard wood. Follow manufacturer’s instructions for use and safety when drilling. For the sample I used a 3/32” bit. -
Step 11
If using twine:
Cut a length of twine or narrow ribbon – it will need to be thin enough to fit two strands through your bead holes. For the sample I cut 18” of 10# jute twine. If your block size differs, take into account the distance through the block, the top loop and knots, and the thickness of your beads, and give yourself plenty of extra just in case.
Tie an overhand knot to create a loop. -
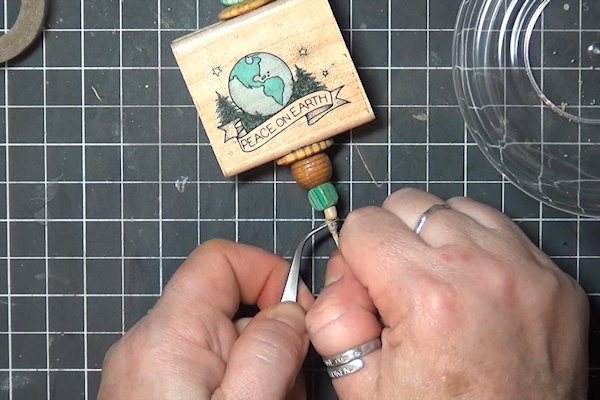
Step 12
String a few beads onto the twine. Thread the ends of the twine through the block, and string a few more beads down below.
-
End with a smaller one and tie an overhand knot to secure the strand, tightening it against the bottom bead.
NOTE:
Depending on your design (block groove orientation and/or bead shapes) you may want to add a dot of super glue between beads or against the block to keep the piece centered. -
Step 13
If using wire:
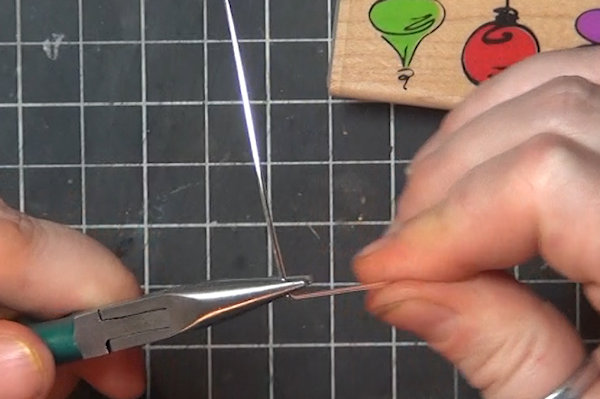
Cut a length of 18g wire to work with. Allow 1.5-2” for wrapping each end, and account for the beads and height of the block when measuring. For this sample I used 9”. -
About 1.5” from one end, bend the wire at a 90 degree angle.
-
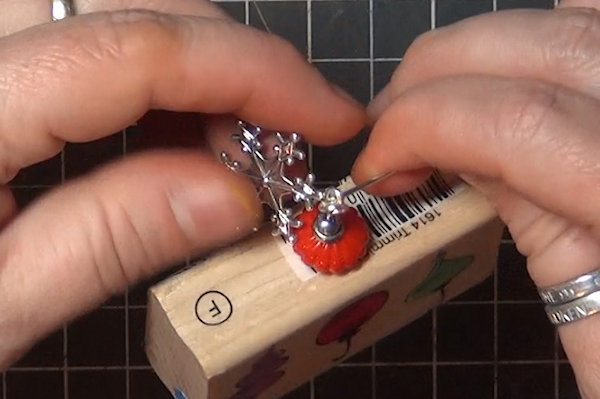
Step 14
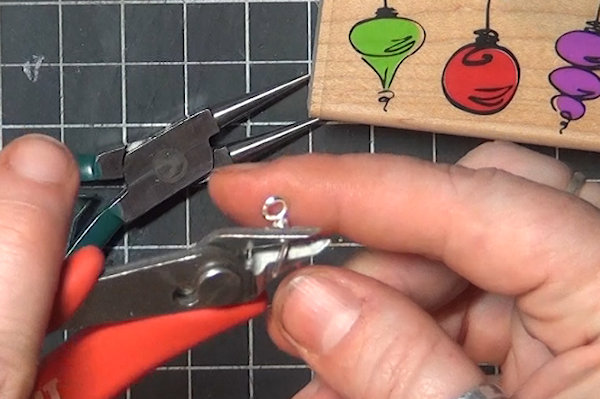
Use round nose pliers to create a loop in the opposite direction.
-
Wrap the wire ‘tail’ around the wire below the loop to secure. Trim the end.
-
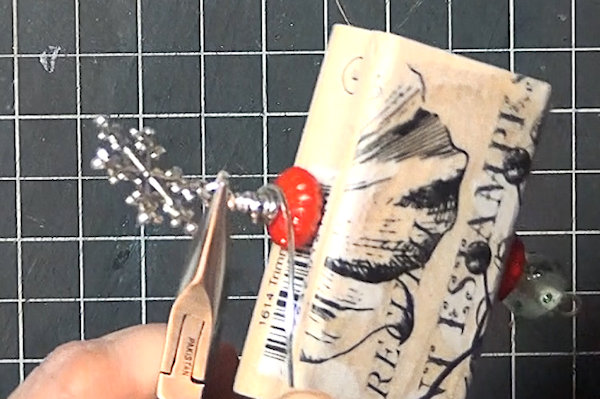
Step 15
String a few beads onto the wire. Run the end of the wire through the top of the block, and add a few more beads down below.
-
Step 16
To secure the wire, bend the wire below the last bead at a 90 degree angle. Use round nose pliers to create a loop in the opposite direction. (If you want to add a charm, open the loop slightly and slide the charm on now.)
-
Wrap the wire ‘tail’ around the wire above the loop to secure. Trim the end. Add a hook to complete the design.
NOTE:
For this design, both loops need to go in the same direction (front to back) so that the hook and charm will face the right way. Your design may be different. -
Step 17
Enjoy the variety you can create with different blocks (try a building block instead!), styles, and embellishments! Check the video for another style using wire.


Video!
Your Turn
You've seen the tutorial, now you try it! We've got a section of the gallery set aside for Wood Block Ornament. Try this technique, then upload your artwork to the gallery. Show us your creations!
***Please note - Internet Explorer/Edge is not a supported browser, and will not allow you to see the videos. Please use Chrome, Firefox or Safari to view our tutorial videos.

Questions and Comments
We'd love to get your feedback or questions. Leave your comment below.