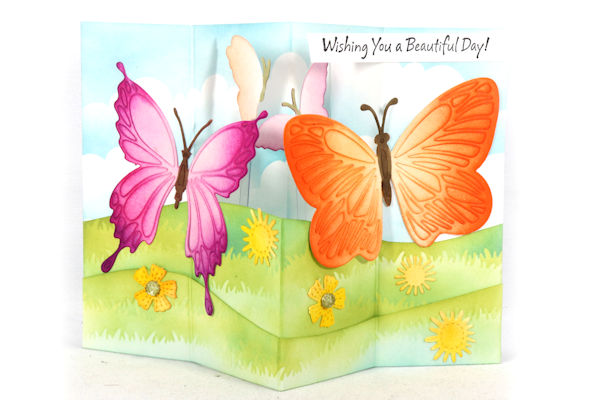
Winged Box Card
by Dina Kowal
Make a pop-up card with side panels that extend the design.
Supplies

- Cardstock or prefolded A2 cards (80# Neenah cover stock used here)
- Adhesives (double sided tape, craft glue and super glue used here)
- Scoring tool
- Scissors
- Die cuts and/or other embellishments (Impression Obsession DIE506-W Butterfly 1, DIE507-V Butterfly 2, DIE008-I Butterflies, DIE806 Stitched Flower Bouquet used here)
- Acetate strips (optional)
- Other supplies as needed to complete the project (used here: istencils.com BAMS 2036 Cloud mini stencil, Impression Obsession DIE826 Grass Border Set, B11017A Beautiful Day cling stamp, Distress Oxide and Versafine Clair inks, Taylored Expressions blender brushes)
Step-by-Step
-
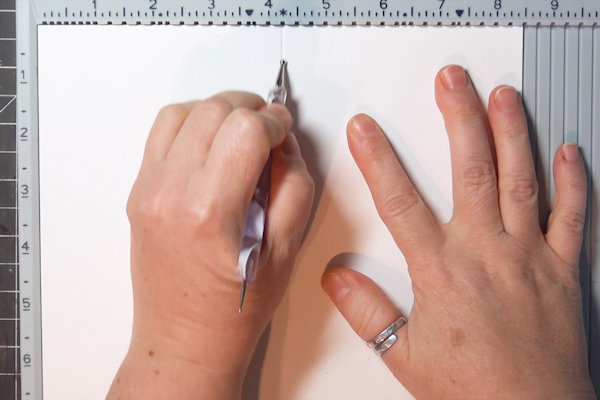
Step 1
Score a full sheet of cardstock down the center from the short side at 4 1/4".
-
Turn the cardstock sheet over, and score at 2 1/8” from each side.
-
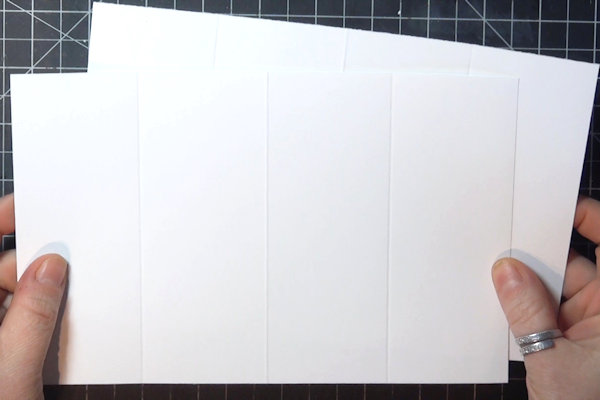
Step 2
Cut the sheet of cardstock into two A2 card bases, 8 1/2" x 5 1/2".
-
Step 3
From one panel, cut two 1” x 8 1/2” strips away.
On the remaining portion, free cut a curve about 1/3 of the way down, slightly up and then slightly down like a rolling hill. -
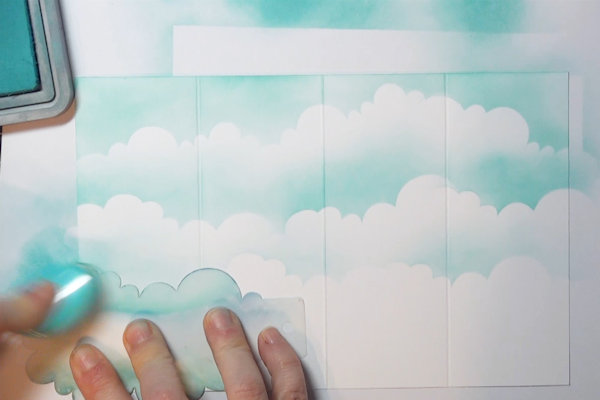
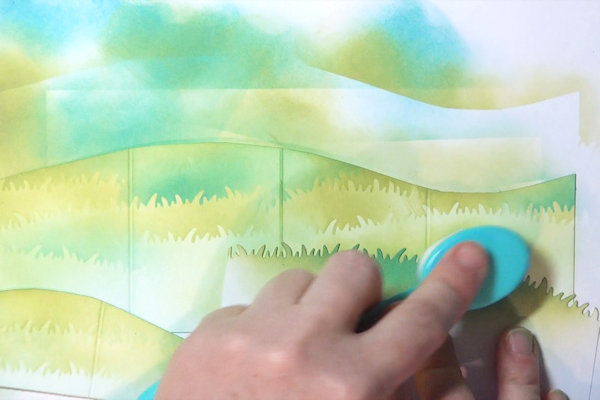
Step 4
Plan your card scene.
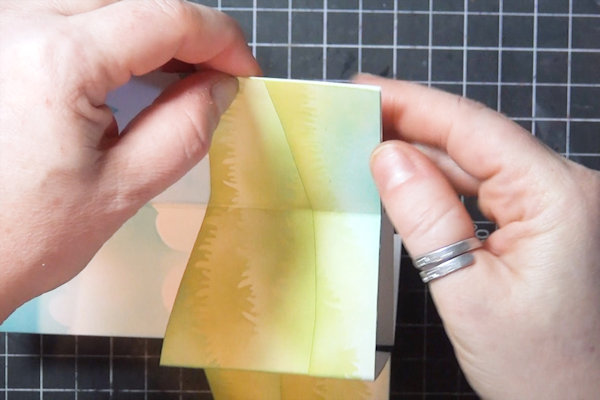
Prepare the full panel for the background of a scene.
For the sample, a cloud stencil was used with Distress Oxide inks. -
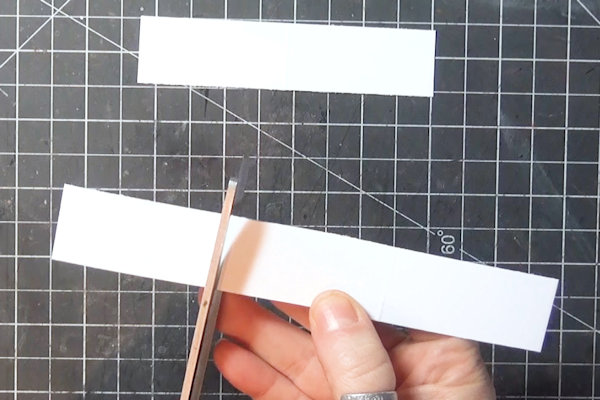
Step 5
Cut the 1” strips at the outer score lines.
-
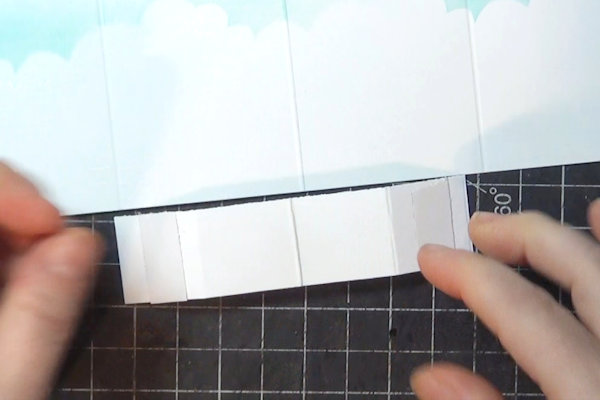
Step 6
Score one strip at 1” from each end. Add tape adhesive to the end tabs.
-
Fold the ends to the back of the strip, leaving the tape liner on. Align the center fold of the strip with the fold of the full card panel, somewhere below the center.
-
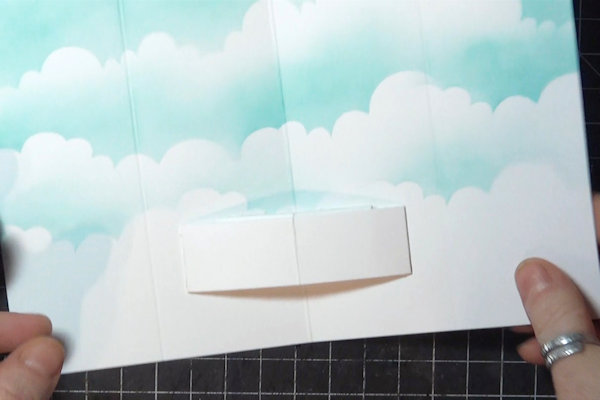
Step 7
Remove and adhere the tabs to the card, one at a time, holding the other side in place.
-
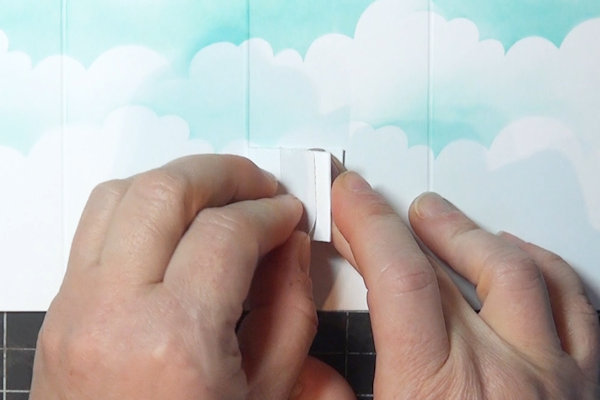
Step 8
Score the second strip at 1/2” from each end. Add adhesive to the end tabs.
-
Fold the ends back, leaving the tape liner on. Lay this strip over the first one, lining up with the center folds.
-
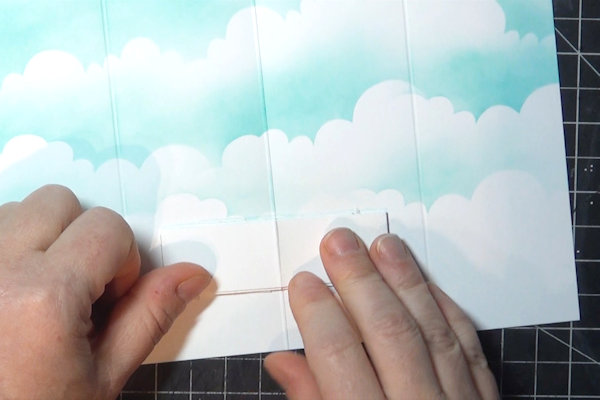
Step 9
Remove and adhere the tabs to the card, one at a time.
-
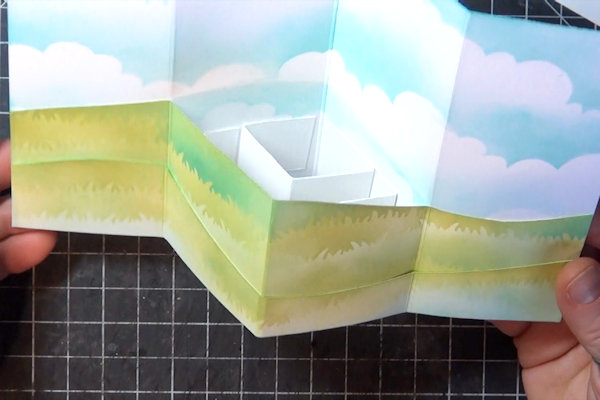
Close the card to push the center fold back and the tab centers forward.
NOTE:
These additional layers are really optional – you can use just one, or none at all, but they do allow you to create a scene with more depth. -
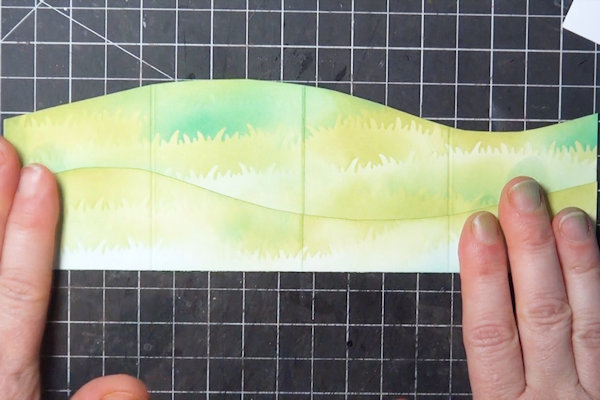
Step 10
Prepare the front panel layers for your scene. The two cut pieces can layer together with the straight sides at the bottom, creating two hills.
-
Adhere the cut panels together, lining up the score lines. Fold on the score lines so the center section comes forward. Trim edges evenly if needed.
-
Step 11
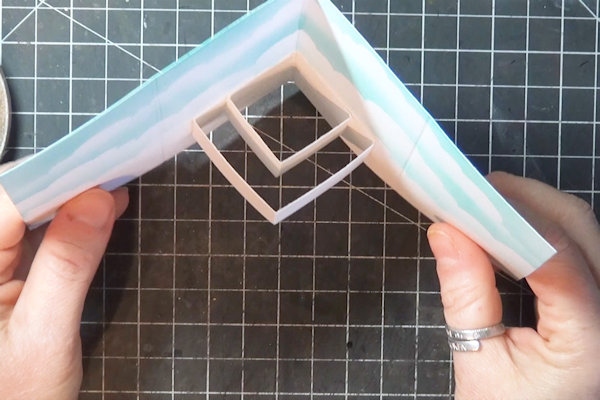
Adhere the front panel to the base at the sides only, one at a time.
-
The center folds create a box in the middle of the card.
-
Step 12
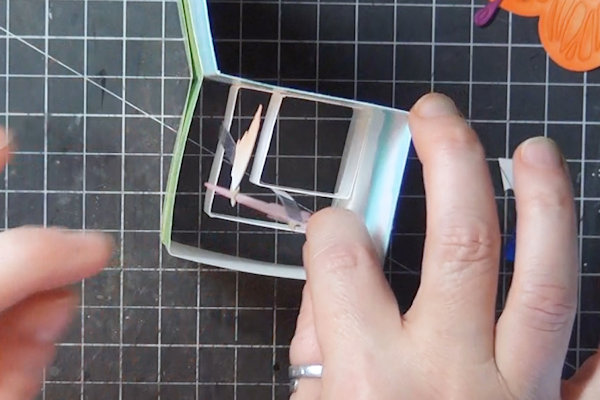
Continue adding other embellishments to complete the scene, beginning with the center boxes.
TIP:
Mount ‘floating’ elements on narrow strips of acetate, using super glue for a quick and strong hold. -
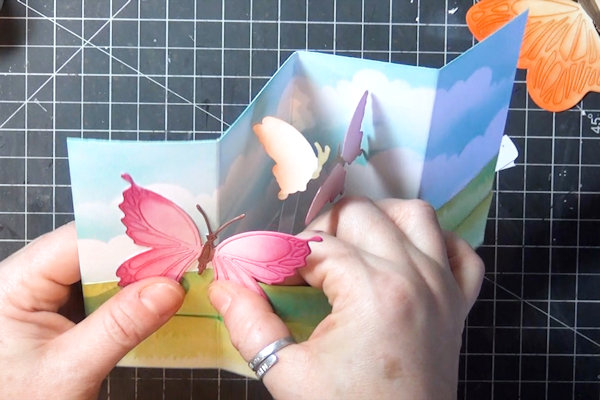
Add elements to the side panels.
NOTE:
Because the sides will fold to the back, embellishments can extend from the side panels into the center area. Take care that they don’t extend past 4 1/4" when the card is folded back for mailing. -
Step 13
Finish the card.
-
This card will fold flat to mail in an A2 envelope.


Video!
Your Turn
You've seen the tutorial, now you try it! We've got a section of the gallery set aside for Winged Box Card. Try this technique, then upload your artwork to the gallery. Show us your creations!
***Please note - Internet Explorer/Edge is not a supported browser, and will not allow you to see the videos. Please use Chrome, Firefox or Safari to view our tutorial videos.

Questions and Comments
We'd love to get your feedback or questions. Leave your comment below.
Page 1 of 1 pages