Wax Paper Resist
by Beate Johns
This is a great background technique for a different look.
Supplies
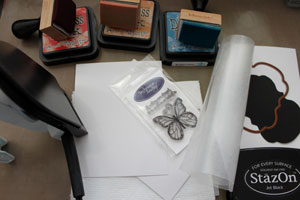
- Glossy Cardstock
- Wax Paper
- Blending Tool, or Brayer
- Water based Dye Ink, Distress Inks used here
- Craft Iron
- Stamps, (Technique Tuesday's A Wingin' It! used here)
- Wax Paper
Step-by-Step
-
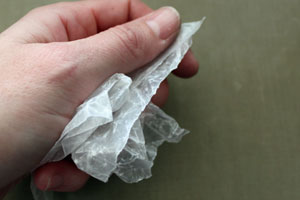
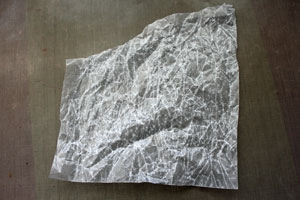
Step 1
Take a piece of Wax Paper slightly larger than your glossy cardstock. Crinkle it up and then smooth it back out.
-
-
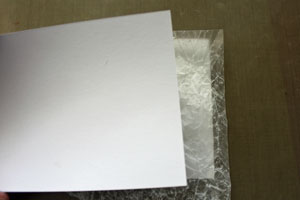
Step 2
Sandwich your wax paper between two pieces of Glossy Cardstock, with the glossy sides facing the wax paper, both top and bottom.
Hint: using two pieces of cardstock yields two backgrounds in one step. For a single background, use a piece of plain paper in place of the second glossy one.
-
Step 3
Iron over your paper "sandwich".
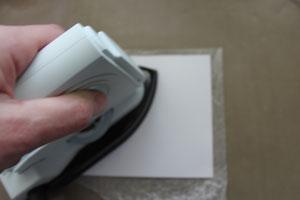
-
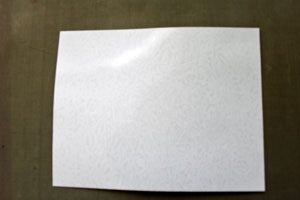
Step 4
Take pieces apart and throw wax paper away.
-
Step 5
Start applying ink over your glossy cardstock with the Blending Tool.
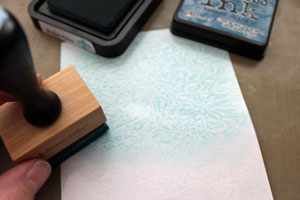
-
Cover the entire piece of cardstock.
-
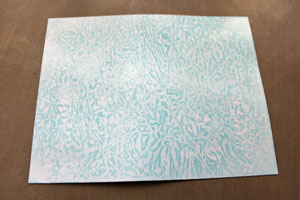
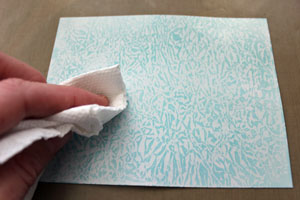
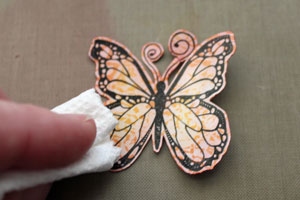
Step 6
Wipe over your cardstock with a paper towel. The ink will resist where the wax from the wax paper stuck to the glossy cardstock.
-
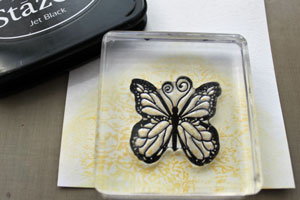
Step 7
You can leave the background as it is, or stamp your image directly on it.
-
-
Step 8 (Optional)
You can apply a second color to your image.
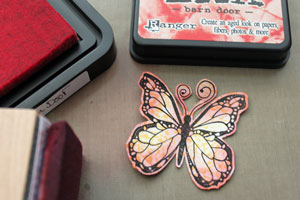
-
If you do, buff your image with a paper towel to wipe off ink.
-
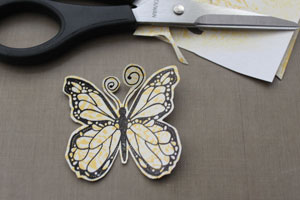
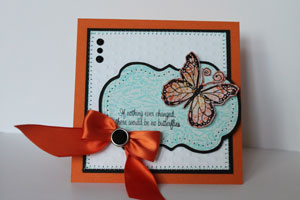
Step 9
Finish your card.
Video!
Variations
Dual Colors
Brayer or sponge your glossy cardstock with a light color first. Then use the wax paper to resist and last sponge/brayer over with a darker color.
Your Turn
You've seen the tutorial, now you try it! We've got a section of the gallery set aside for Wax Paper Resist. Try this technique, then upload your artwork to the gallery. Show us your creations!
***Please note - Internet Explorer/Edge is not a supported browser, and will not allow you to see the videos. Please use Chrome, Firefox or Safari to view our tutorial videos.
Questions and Comments
We'd love to get your feedback or questions. Leave your comment below.
Page 1 of 1 pages