Watercolor Marble
by Taheerah Atchia
Use watercolors to create a marbled background effect.

Supplies
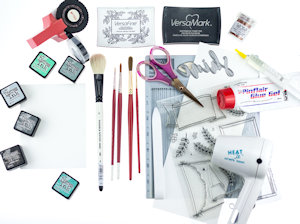
- Thick white cardstock or watercolour paper (Ellen Hutson Letterpress cardstock used here)
- Water-based dye inks (Distress Inks in shades of green and grey used here)
- Selection of paintbrushes in different sizes
- Clean water
- Heat tool (Inkssentials Heat It Tool used here)
- Other supplies as needed to complete the project (used here: Avery Elle Pure White cardstock, wood paper, ‘Framed With Evelin T Designs’ clear set from Winnie & Walter, Tsukineko Versafine Onyx Black ink, Tsukineko Versamark ink, WOW! Metallic Copper Sparkle embossing powder, In A Word: Shine Script die by Winnie & Walter, die cutting machine, Oh My Motex label maker, scissors, ScorBuddy, bone folder, Olba Pinflair Glue Gel, Scor-Tape, Ranger Multi Matte Medium)
Step-by-Step
-
Step 1
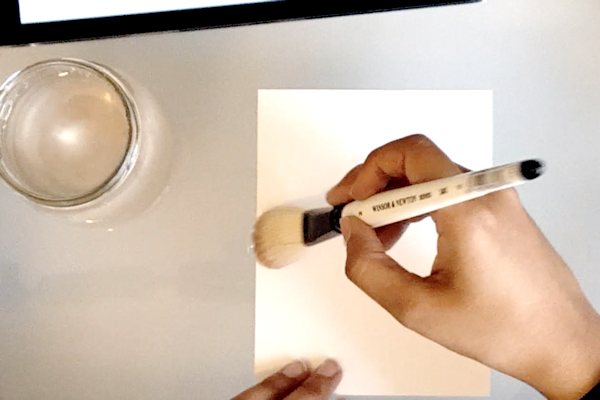
Apply a wash of water over a panel of watercolour cardstock using a large brush.
-
Step 2
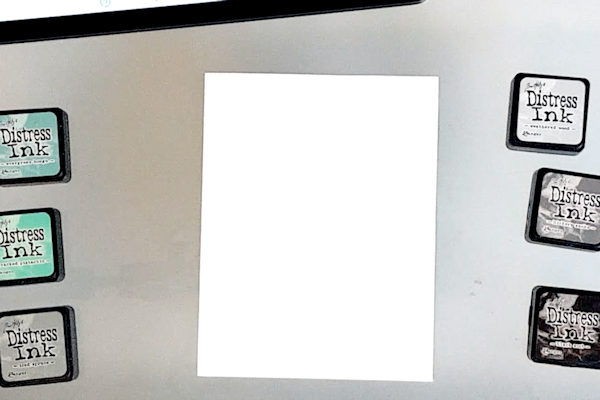
Select a watercolour medium.
-
Prepare a palette. Here, ink cubes were pressed onto a glass surface and diluted with water.
-
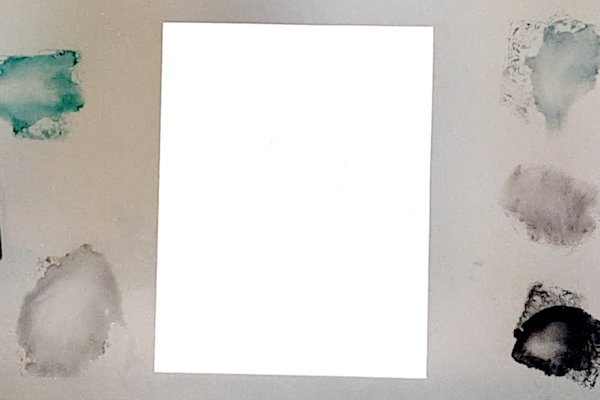
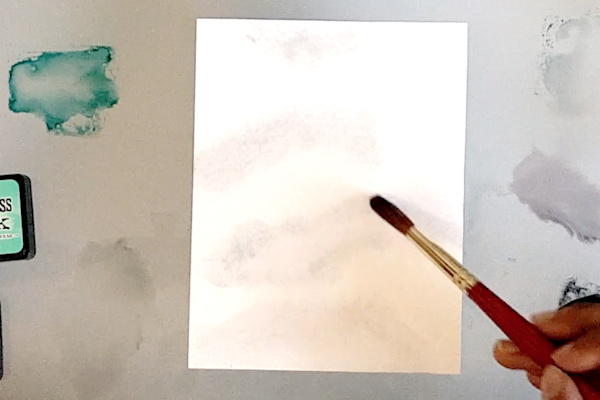
Step 3
Using the largest paintbrush, paint a first wash of areas of pale colour on the cardstock.
-
Add a secondary colour, allowing the colours to blend (grey and green inks used here).
-
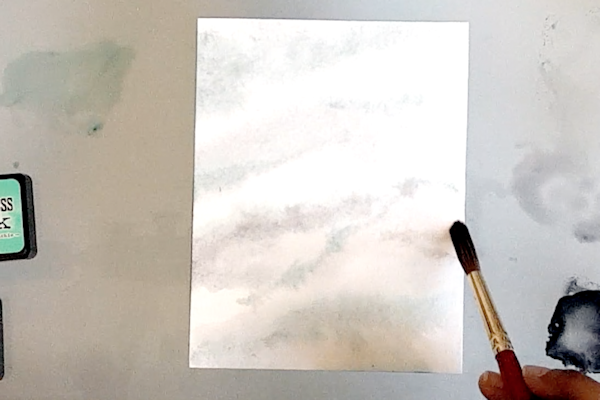
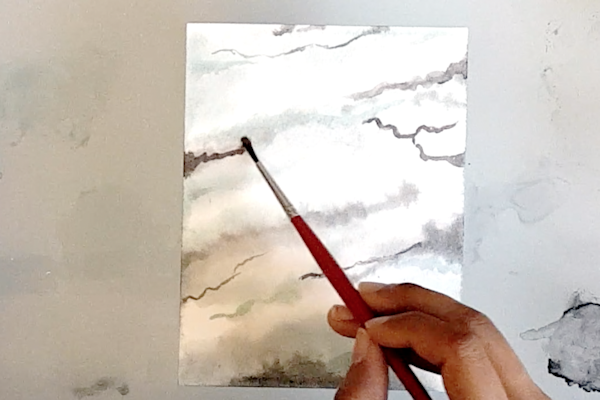
Step 4
Using a smaller brush, add detailed veins using a darker ink.
-
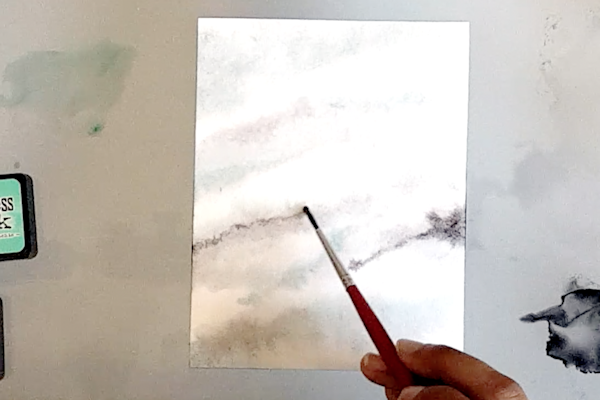
Step 5
Dry the cardstock a little with a heat tool.
-
Use finer paintbrushes to add further detail to the panel.
-
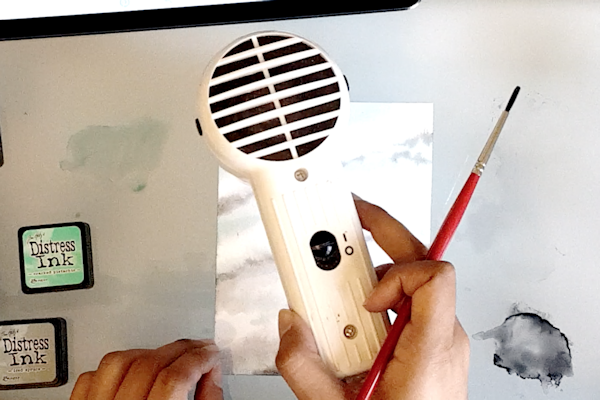
Step 6
When all watercolouring is complete, dry the cardstock fully using a heat tool. The finished painting looks like marble!
-
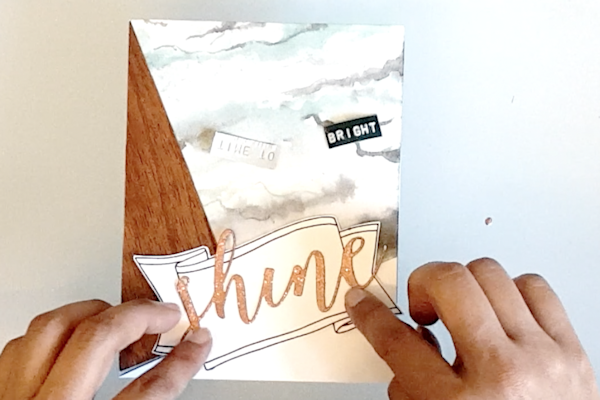
Step 7
Add embellishments to the card panel as desired.
-
Step 8
Complete the project.

Video!
Your Turn
You've seen the tutorial, now you try it! We've got a section of the gallery set aside for Watercolor Marble. Try this technique, then upload your artwork to the gallery. Show us your creations!
***Please note - Internet Explorer/Edge is not a supported browser, and will not allow you to see the videos. Please use Chrome, Firefox or Safari to view our tutorial videos.

Questions and Comments
We'd love to get your feedback or questions. Leave your comment below.
Page 1 of 1 pages