View-Master™ Card
by Kyla Maestas
Get yer punches out, cause you're gonna make good use of them with this project, inspired by the classic toy.
Supplies
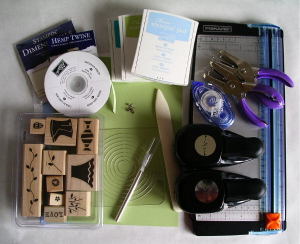
- Stamps
- Ink
- Adhesive
- Stampin' Dimensionals
- Coluzzle® (Circle, Mat, Cutting Blade)
- 1/8" Hole Punch (or eyelet tools)
- 1/16" Hole Punch (or eyelet tools)
- 1 3/8" Circle Punch (use any variety of punches or Coluzzle as a substitute for circle punches)
- 1 1/4" Circle Punch
- Copy Paper
- Neutral-colored Cardstock
- Brad
- 1/2 Sheet of cardstock folded and bone scored (SU! Certainly Celery© in this example)
- Coordinating Cardstock cut to 5 3/8" x 4 1/8" (this will be adhered to your card later; SU! Bashful Blue© in this example)
- Coordinating Cardstock cut at 5 1/4" x 4" (this will be your top piece that your View-Master will attach to; SU! Certainly Celery© in this example)
Step-by-Step
-
Step 1
Using the Coluzzle, cut two identical circles, one out of neutral-colored cardstock, and one out of copy paper.
Check to see if the circle you picked will fit your card with plenty of room to turn before cutting. Set aside the neutral-colored cardstock for now.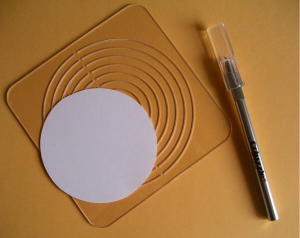
-
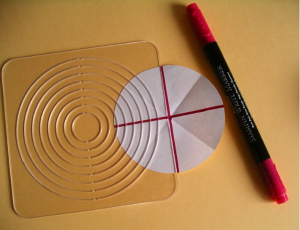
Step 2
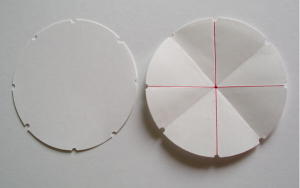
Fold the circle in half and then in half again. Mark these folds with a straight edge to find the center of your circle. Fold the diagonals to create 1/8 pieces (like a pizza!).
-
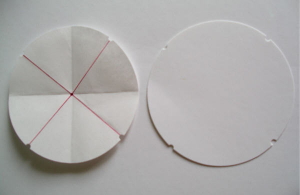
Step 3
Place the two circles together, copy paper on top. Use a piece of re-positional tape to hold the bottom circle in place if needed. The copy circle acts as a guide as you punch notches around the circle. Using the 1/8" handheld punch, punch notches on each of the 1/4 lines.
-
Step 4
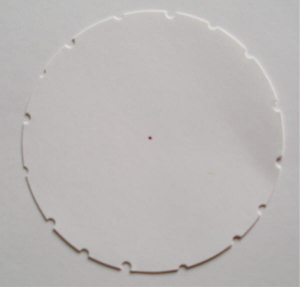
Continue adding notches at the end of the remaining fold lines.
-
Step 5
Discard copy paper circle. Create the last set of notches, punching in between all of the notches you have already done. Set aside.
-
Step 6
With coordinating cardstock (5 3/8" x 4 1/8") punch a partial hole on the right side using a 1 3/8" circle punch.

-
Step 7
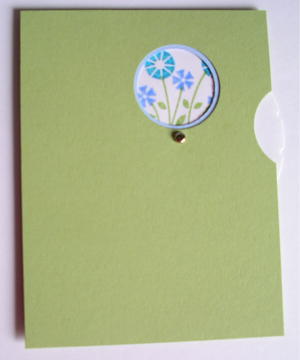
With second coordinating cardstock (5 1/4" x 4") punch a hole in the top right corner for a window.
Punch a partial hole using the 1 3/8 punch on the right side to allow your wheel to turn. Punch a small hole using 1/16" handheld punch for brad and wheel attachment.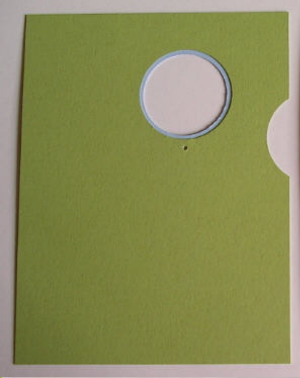
-
Step 8
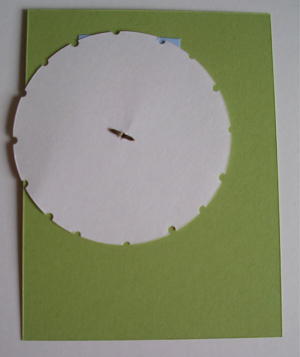
Place brad through the front of the card, turn over and attach view-master wheel.
-
Step 9
Stamp image inside the window. Rotate circle, repeat. If using a stamp larger than your window, create a mask to prevent stamping outside the circle.
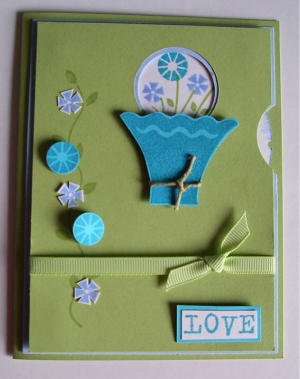
Place a dimensional in each of the 4 corners on the back of this piece, mount to 5 3/8" x 4 1/8" cardstock. Using dimensionals will allow your wheel to move more freely. Add to card, embellish as desired.
.
-
Step 10
Finish your card.
.
Your Turn
You've seen the tutorial, now you try it! We've got a section of the gallery set aside for View-Master™ Card. Try this technique, then upload your artwork to the gallery. Show us your creations!
***Please note - Internet Explorer/Edge is not a supported browser, and will not allow you to see the videos. Please use Chrome, Firefox or Safari to view our tutorial videos.

Questions and Comments
We'd love to get your feedback or questions. Leave your comment below.
Page 1 of 1 pages