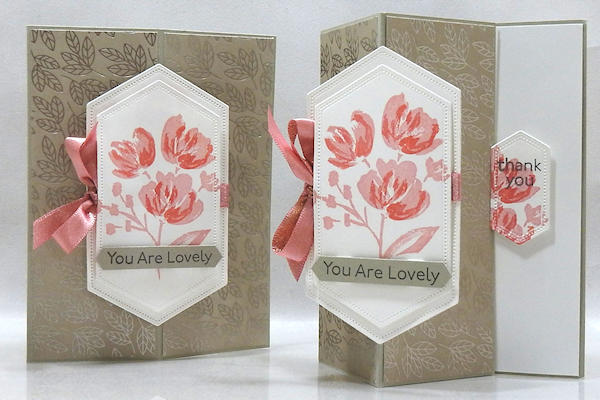
Vertical Easel Card
by Wendy Lee
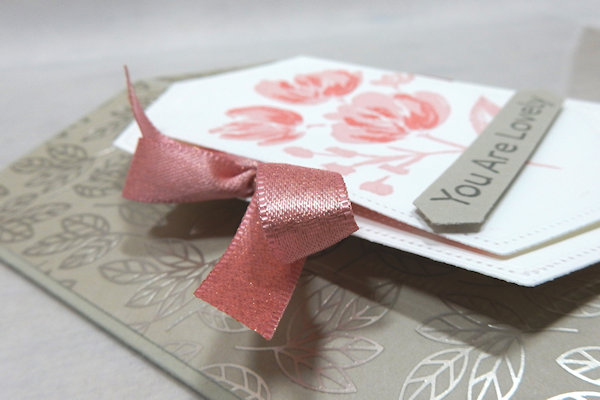
This card displays with a stand-out focal panel.
Supplies

- Cardstock – 8 1/2” x 5 1/2” (Stampin’ Up!® Sahara Sand cardstock used here)
- Paper Trimmer
- Scoring Tool
- Bone Folder
- Other supplies as needed to complete the project (SU supplies used here: Sahara Sand, Thick Basic White & Basic White cardstock, Love You Always Specialty Designer Series paper, Blushing Bride ink, Terracotta Tile ink, Basic Gary Ink, Clear Wink Of Stella, Die-cutting Machine, Stitched Nested Labels dies, 1-1/2” Circle Punch, Classic Label Punch, Blushing Bride Metallic Ribbon, Stampin’ Seal, Stampin’ Dimensionals, Multipurpose Liquid Glue, Paper Snips)
Step-by-Step
-
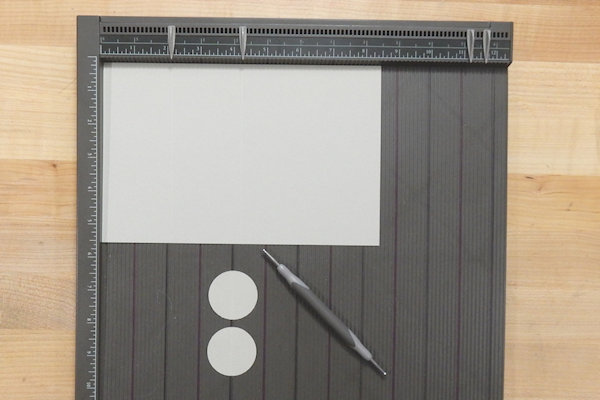
Step 1
Score 8 1/2” x 5 1/2”cardstock at 2 1/8” & 4 1/4”.
Score two punched cardstock circles in half.
Fold along score lines, running bone folder along fold for a nice crease. -
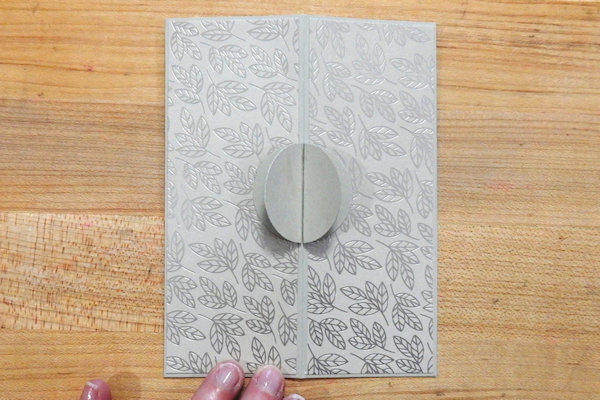
Step 2
Add adhesive to the back of two 2” x 5 3/8” pieces of designer paper and adhere to front of card base. (optional)
Add adhesive to half of each circle and adhere to the card base, butting the circles together at the center fold. -
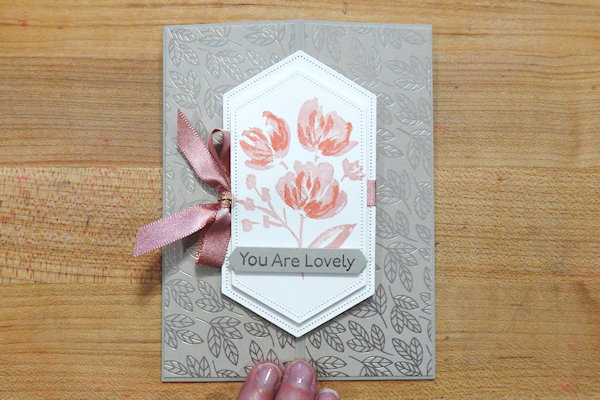
Step 3
Tie approx. 15” ribbon around die-cut cardstock. (optional)
Add adhesive to half of each circle and adhere to the die-cut cardstock layer. -
Step 4
Embellish card as desired to complete the project front.
-
Step 5
Add adhesive to back of 4-1/8” x 5-3/8” cardstock and adhere to inside of card base. (optional)
Stamp die-cut cardstock (optional).
Add dimensionals to back of die-cut cardstock and adhere to inside of card base to create stopper.
-
Step 6
Complete the project.
-
This card will fold flat and fit into an A2 envelope.


Video!
Your Turn
You've seen the tutorial, now you try it! We've got a section of the gallery set aside for Vertical Easel Card. Try this technique, then upload your artwork to the gallery. Show us your creations!
***Please note - Internet Explorer/Edge is not a supported browser, and will not allow you to see the videos. Please use Chrome, Firefox or Safari to view our tutorial videos.

Questions and Comments
We'd love to get your feedback or questions. Leave your comment below.
Page 1 of 1 pages