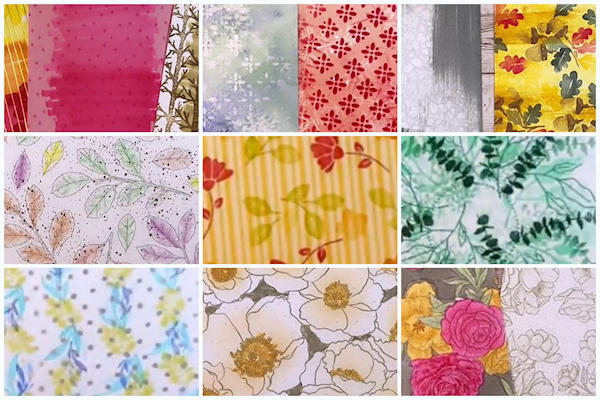
Upscaled Scrapbook Paper
by Kelly Rose
Transform decorative paper using stamps and coloring tools.
Supplies
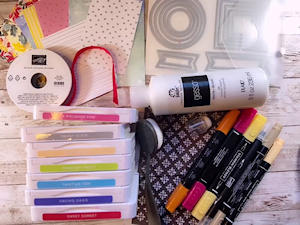
- Patterned scrapbooking paper
- Rubber stamps
- Inks, markers, alcohol ink markers in coordinating colors
- Stencils (Stampin’ Up!® decorative masks used here)
- Watercolor pencils
- Blender pen
- Blending brush
- Sponge dauber
- White gesso
- Pencil
- Ruler
- Quality white art eraser
- Other supplies as needed to complete your cards or projects: card stock, die cuts, ribbon, gems, greeting stamps, adhesive
Step-by-Step
-
Step 1
Stamp on it!
Use multiple colors with similar undertones to randomly stamp a background and create a whole new look.
-
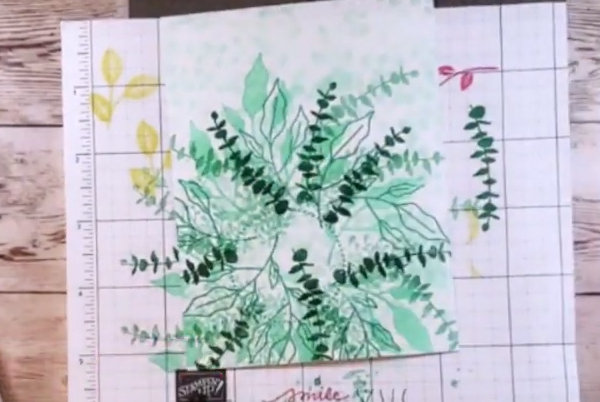
Step 2
Use monochromatic stamping on similarly colored paper to create texture and depth. For this card I stamped a circle on the paper first so I had a guide for stamping the wreath.
-
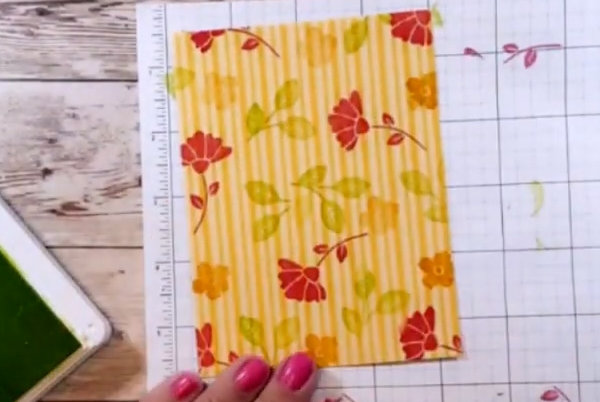
Step 3
Use a ruler to create equally spaced pencil lines. In the video example starting at 1/8” from the edge, marks were made every 1”. Stamp on the lines to create stripes in same color or multiple coordinating colors. Use a quality eraser to erase the lines after stamping.
-
Step 4
Color it!
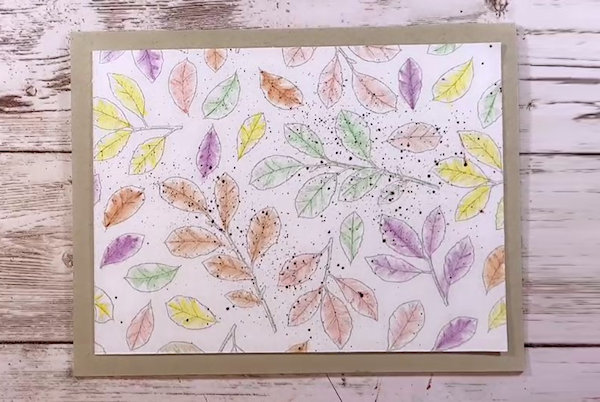
Use watercolor pencils to add lots or just a little color to an open design, then blend with a blender pen. (To recreate this background use Old Olive, Rich Razzleberry, Calypso Coral and Crushed Curry pencils.) Add marker splatters for more depth. -
Step 5
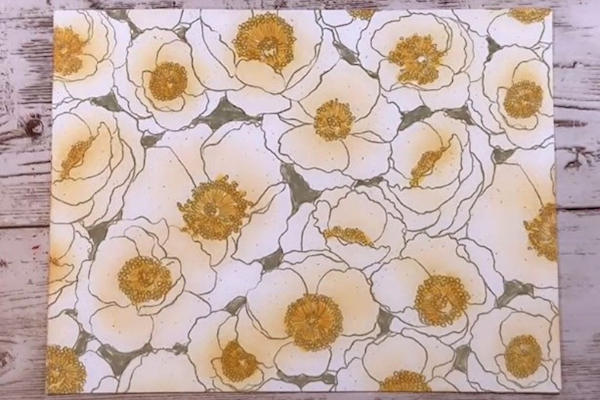
Use water based markers to color in portions of the paper. Coloring in the background really changes the look of the paper. In this example, color was also added with ink and a sponge dauber.
-
Step 6
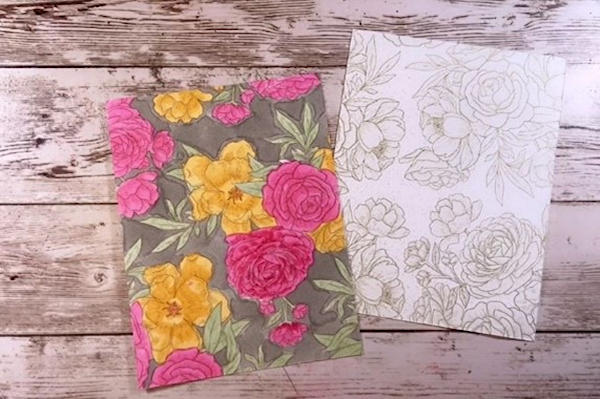
Use alcohol ink markers to color in open design. Color in the background area as well. Add layering and blending as desired.
-
Step 7
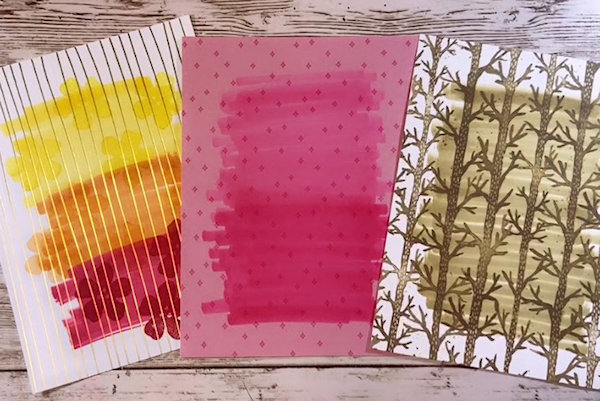
Use alcohol ink markers to scribble swaths of color. This can:
--knock back a busy design and make it more usable as a card background
--add color to neutral background papers
--creating more depth and to enhance the focal point -
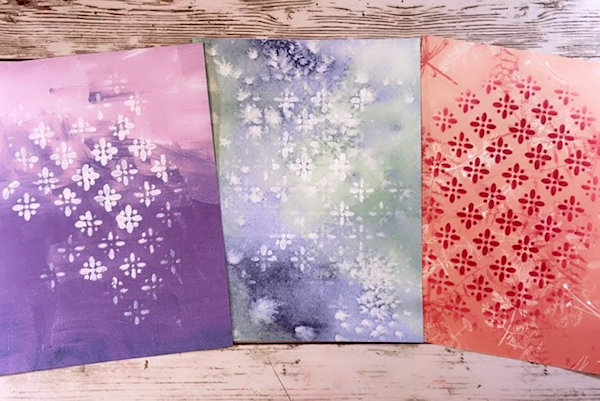
Step 8
Stencil it!
Use a decorative mask and a sponge dauber to add gesso in the center of the paper, or use a blender blush to add a coordinating color to the paper. -
Step 9
Ink it!
Add ink directly to paper by tilting slightly and dragging the ink pad across the paper. Add as much or as little as desired. -
Step 10
Use your decorated papers to complete cards or other projects!
Please find these finished cards and their product details in the gallery.


Video!
Your Turn
You've seen the tutorial, now you try it! We've got a section of the gallery set aside for Upscaled Scrapbook Paper. Try this technique, then upload your artwork to the gallery. Show us your creations!
***Please note - Internet Explorer/Edge is not a supported browser, and will not allow you to see the videos. Please use Chrome, Firefox or Safari to view our tutorial videos.

Questions and Comments
We'd love to get your feedback or questions. Leave your comment below.
Kelly
Page 1 of 1 pages