Triple Stamping
by Joan Ervin
Stamp over several layers to create a dimensional image.
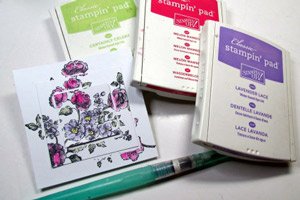
Supplies
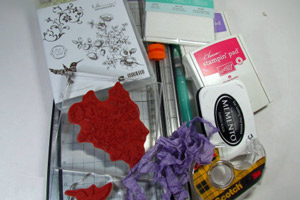
- White cardstock
- Black cardstock
- Paper trimmer
- Stamp or stamps large enough to cover a 4 " area
- Two sided tape
- Adhesive or glue
- Foam dots
- Coloring medium
- Embellishments
Step-by-Step
-
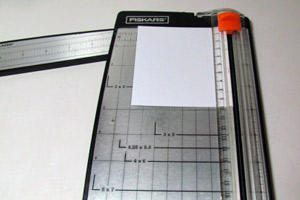
Step 1
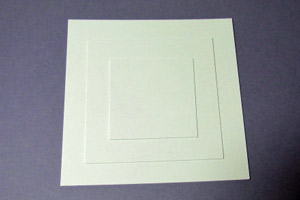
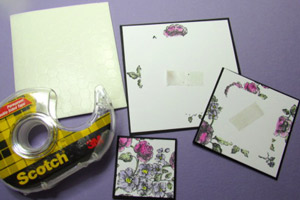
Cut white cardstock into one 2", one 3" and one 4" square.
-
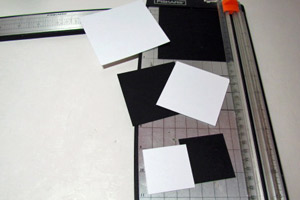
Step 2
Cut black card stock for matting into one 4 1/8" square, one 3 1/8" square and one 2 1/8" square.
-
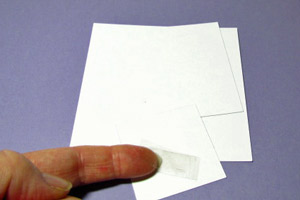
Step 3
Stack the layers smallest on top...once you have them lined up the way you want, lightly tape the layers in place using a small piece of double sided so the layers stay in place when you stamp over them.
-
Step 4
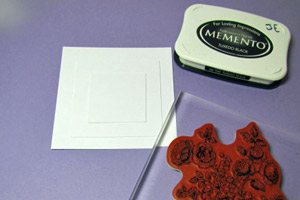
Stack the layers in the center or be creative and stack them along the side.
-
Step 5
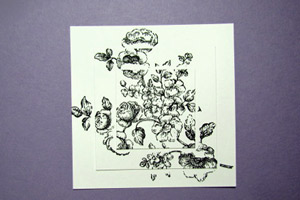
Stamp your image over all three layer at the same time.
-
Step 6
You will have gaps around the second and third layers, however, when you add the matting layers, the gaps will disappear.
-
-
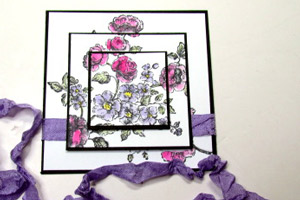
Step 7
Color image before you adhere layers
-
Step 8
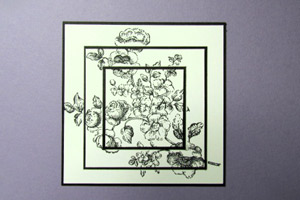
Adhere layers....use foam dots to adhere the top layer to add a little dimension.
-
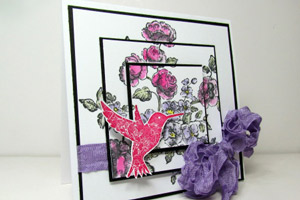
Step 9
Add embellishments and adhere layers to card base.
-
Step 10
Finish your card.
Video!
Your Turn
You've seen the tutorial, now you try it! We've got a section of the gallery set aside for Triple Stamping. Try this technique, then upload your artwork to the gallery. Show us your creations!
***Please note - Internet Explorer/Edge is not a supported browser, and will not allow you to see the videos. Please use Chrome, Firefox or Safari to view our tutorial videos.

Questions and Comments
We'd love to get your feedback or questions. Leave your comment below.
I am SO excited to try this! The sample in the tutorial is beautiful! Thanks again!
Page 1 of 3 pages 1 2 3 >