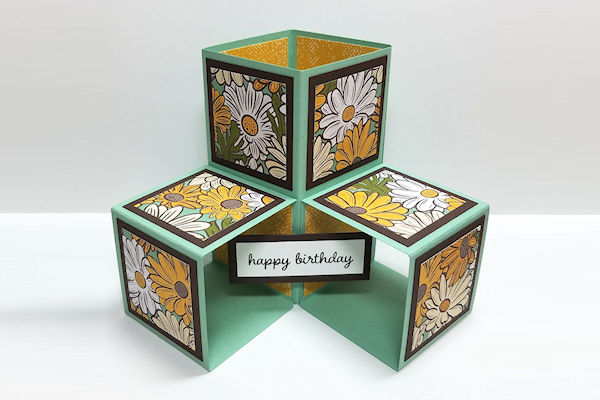
Triple Cube Card
by Twila Davis
This fun dimensional cube pop-up folds flat for mailing.
Supplies
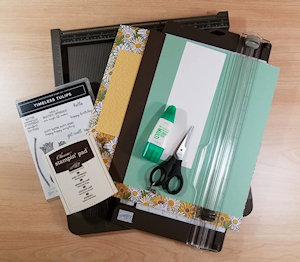
- Cardstock - 2 sheets 8 1/2" x 11" coordinating cardstock (Stampin' Up!® Mint Macaron and Early Espresso used here)
- Scrap of white cardstock (Whisper White used here)
- Patterned paper - 2 sheets (SU Ornate Garden Specialty and In-Color Designer Paper used here)
- Stamps (Happy Birthday stamp from SU Timeless Tulips used here)
- Ink (SU Early Espresso used here)
- Scoring tool
- Paper trimmer
- Scissors
- Multipurpose liquid glue
Step-by-Step
-
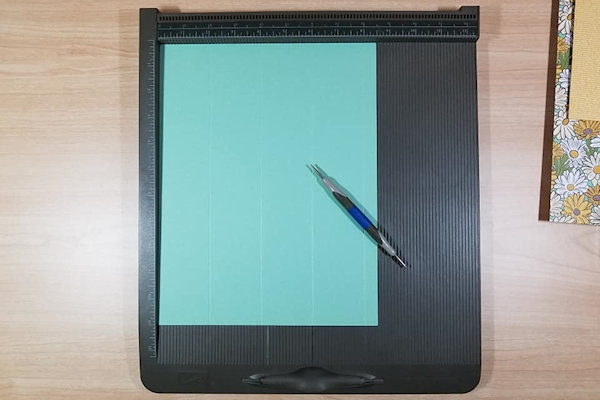
Step 1
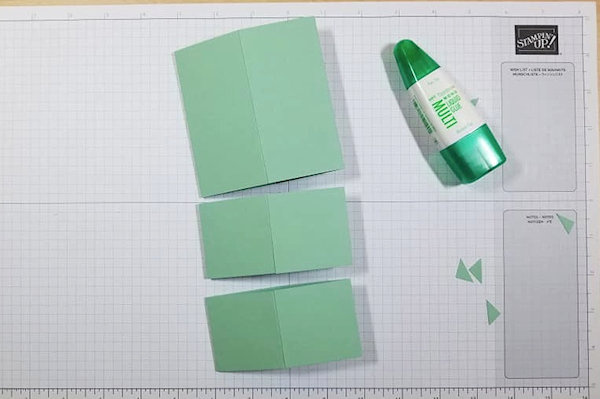
Using a score board, score the main piece of cardstock on the short side at 2", 4" 6" and 8".
-
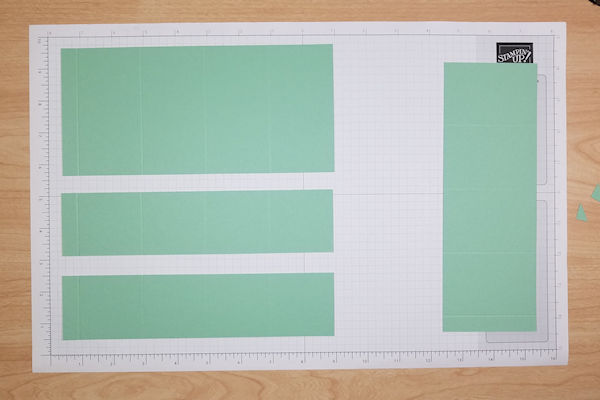
Step 2
After scoring, cut cardstock on the long end. You will cut one strip at 4" x 8 1/2" and two strips at 2" x 8 1/2". You will have a 3" strip left that can be used for another project.
-
Step 3
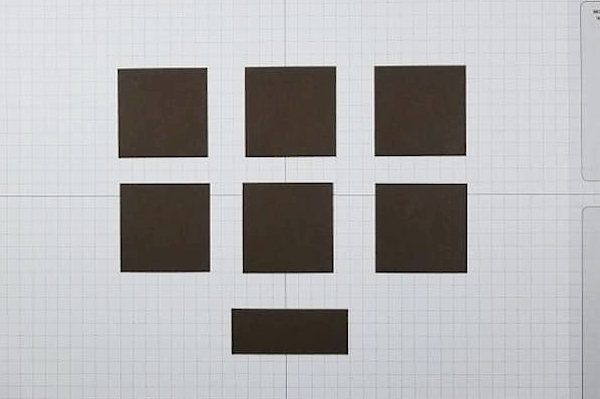
Cut six 1 3/4" squares and one 7/8" x 2 1/4" piece using the coordinating cardstock.
-
Step 4
Cut six 1 1/2" squares using the main patterned paper. Also cut four 1 3/4" squares using the coordinating patterned paper.
-
Step 5
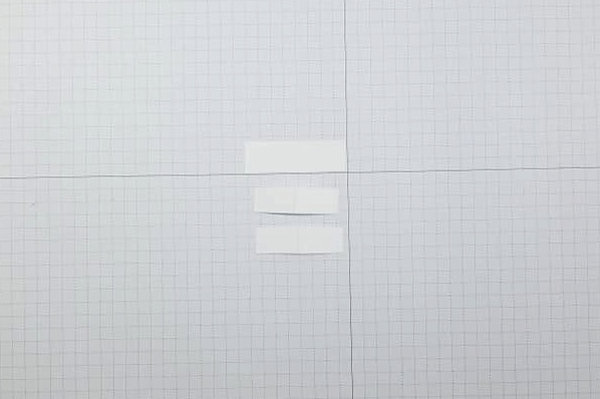
Cut one 5/8" x 2" piece of white cardstock and two 1/2" x 1 3/4" pieces of white cardstock.
-
Step 6
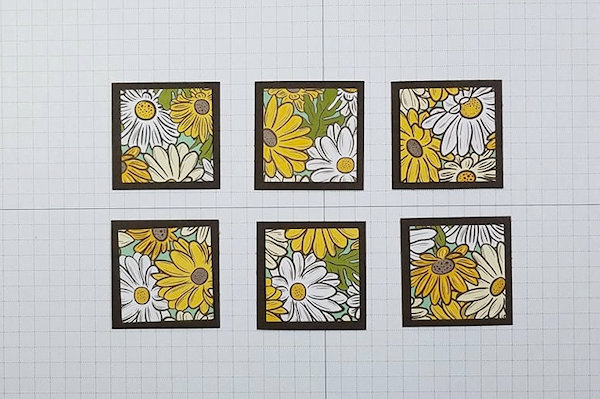
Attach the six main patterned paper pieces to the six coordinating cardstock pieces.
-
Step 7
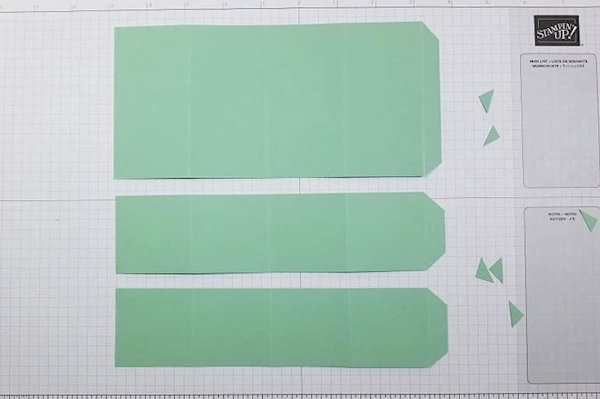
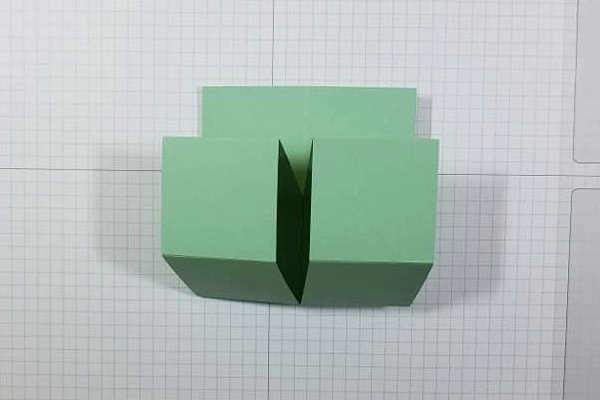
Take the three main cardstock pieces and crease all the folds. Trim the corners off of the 1/2" end on all the pieces as shown.
-
Step 8
Lay the pieces down folded flat and adhere each one together with glue to form a cube.
-
Step 9
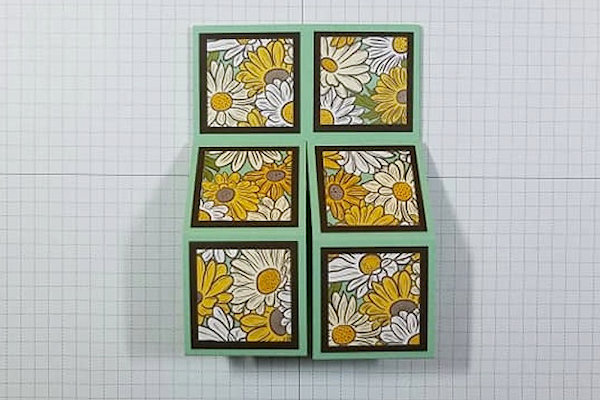
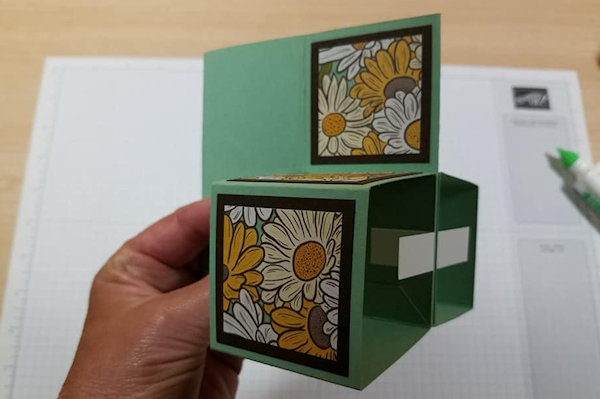
Lay the big cube down flat and attach each of the smaller cubes to the bottom square with glue as shown by the X in the picture.
-
Take care to not go over the scoreline in the middle from either side.
-
Step 10
While the cubes are laying flat attach the completed patterned paper squares to the cubes as shown.
-
Step 11
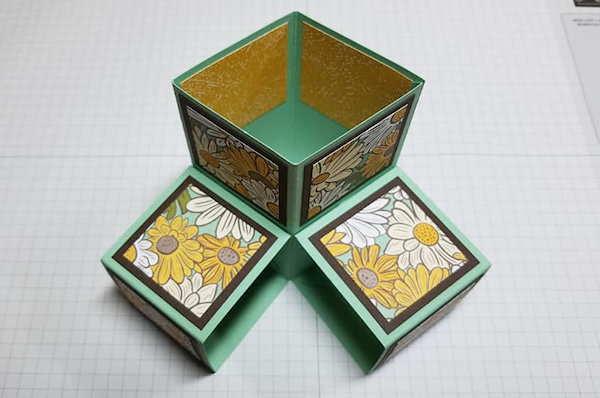
Attach the cut pieces of coordinating pattern papers to the inside back of the tallest cube.
-
Step 12
Fold the two 1/2" x 1 3/4" piece of white cardstock in half and glue one side of each to the inside edge of the bottom cubes evenly as shown so that the outside folded portion forms a panel.
-
Step 13
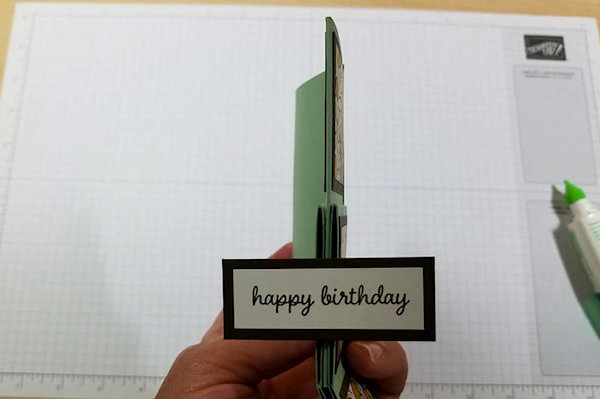
Stamp a sentiment on the 5/8" x 2" piece of white cardstock and attach it to the 7/8" x 2 1/4" piece using the coordinating cardstock.
Attach it to the two white folded pieces on the cubes. -
Step 14
Attach the two remaining 1 3/4" squares of coordinating pattern paper over the white pieces that were glued to the bottom cubes. Now
your card is complete.
(For a stepped up card you could add die cuts to the cubes.) -
Step 15
Complete the project. The card will fold flat for mailing. The finished size is 4" x 6" folded flat, or the card can be folded further to 4" x 4".


Video!
Your Turn
You've seen the tutorial, now you try it! We've got a section of the gallery set aside for Triple Cube Card. Try this technique, then upload your artwork to the gallery. Show us your creations!
***Please note - Internet Explorer/Edge is not a supported browser, and will not allow you to see the videos. Please use Chrome, Firefox or Safari to view our tutorial videos.

Questions and Comments
We'd love to get your feedback or questions. Leave your comment below.
Blessings,
C
I did adjust the measurements so that it would fit in the envelope. I scored at 2, 4, 6, 8, but then cut at 5".
I scored another sheet at 2.5, 5, 7.5, 10, 10.5 (for tab), and but four of them fat 2.5" (for the side cubes).
I cut the patterned pieces to match the new dimensions.
This way when it laid flat it fit the size of the envelope.
Page 1 of 1 pages