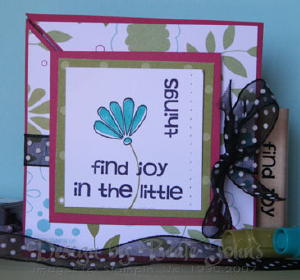
Triangle Trifold
by Beate Johns
A quick trifold card with a twist.
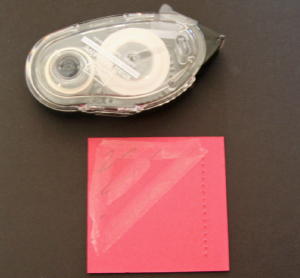
Supplies
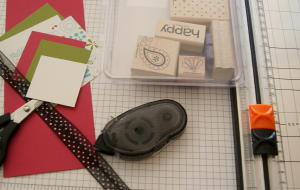
- Paper cutter with scoring blade
- Stamps
- Ink
- Cardstock for card base (3 1/2" x 10 1/2")
- Patterned paper (3 1/4" square)
- Cardstock for main image (2" x 2")
- Cardstock for main image layers (2 1/4" and 2 1/2" squares)
- Ribbon
- Adhesive
Step-by-Step
-
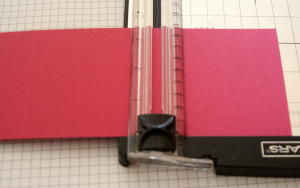
Step 1
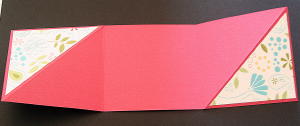
Score your card base cardstock at 3 1/2" and 7".
-
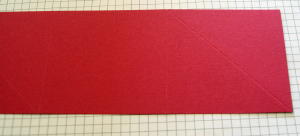
Step 2
Now you have three equal scored squares on your cardstock. Add a diagonal score to both of the outside squares.

-
The diagonal scores should go in the same direction.
-
Step 3
Prefold your scored lines. First fold the left square in, then the triangle down. Next fold the right square in, then the triangle up.
When you're done folding, the cardstock should look like this.
-
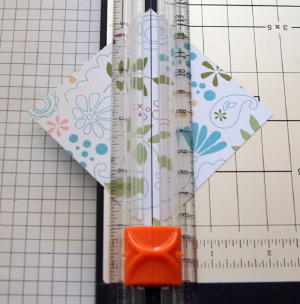
Step 4
Take your patterned paper square and cut it in half diagonally.
-
Step 5
Adhere the patterned paper triangles to the top right and bottom left triangle on the outer scored squares of your main card.
-
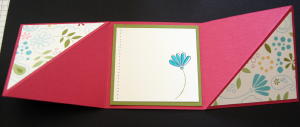
Step 6 (Optional)
If wanted, add an extra layer in the middle of the card. My layers here are 3 1/4" old olive and 3" white square cardstock.
-
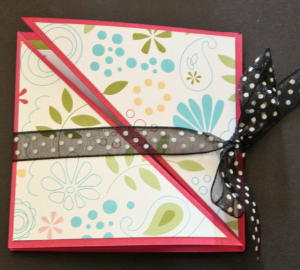
Step 7
Fold your card back up again and tie it shut with your ribbon.
-
Step 8
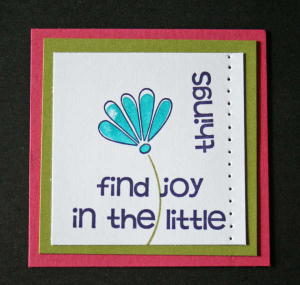
Stamp your main image (for the cardfront) and add additional cardstock layers if needed.
-
Step 9
Add adhesive diagonally only on one half of the back of your main image. If you add adhesive on the entire piece, your trifold will be taped shut.
-
Step 10
Adhere your center image to your trifold card.
Video!
Variations
Try Different Sizes
Make your main image a different size.
Make your card bigger by using a 4" x 12" cardbase and scoring at 4" and 8".
Your Turn
You've seen the tutorial, now you try it! We've got a section of the gallery set aside for Triangle Trifold. Try this technique, then upload your artwork to the gallery. Show us your creations!
***Please note - Internet Explorer/Edge is not a supported browser, and will not allow you to see the videos. Please use Chrome, Firefox or Safari to view our tutorial videos.
Questions and Comments
We'd love to get your feedback or questions. Leave your comment below.
http://scor-pal.com/projects/index_files/Page352.htm
It's a 3 1/2" square, when folded up.
You can stick this card in a regular envelope. Then you don't have to pay extra postage.
I guess you could make it a rectangle card if you figure out the angle that you need to score the fold. Won't be an easy diagonal score through the middle of the outer squares though.
I can't wait to try them!
actually i m real annoyd cause i used this really georgeous paper.......
And thanks again for your great tutorial.
Margie F.
Always score at 1/3 and 2/3 of the length of your strip. So if your strip is 18", score at 6" and 12".
Hugs and smiles
Beate
Page 1 of 2 pages 1 2 >