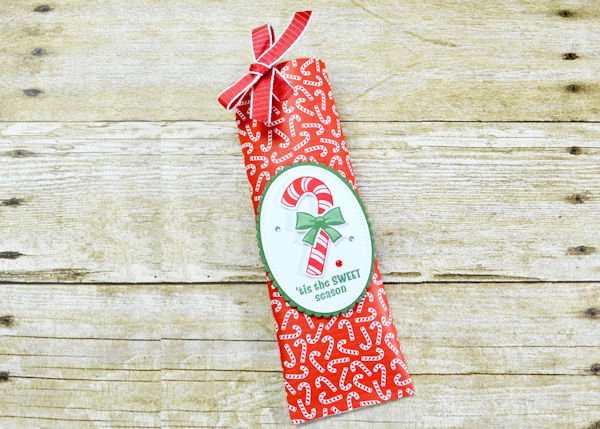
Treat Sliders
by Chris Slogar
Ribbon pulls reveal the treat inside this special holder.

Supplies
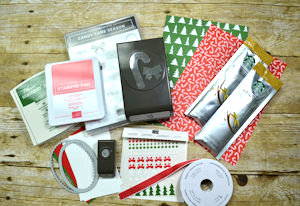
- Cardstock (Stampin’ Up!® Poppy Parade, Garden Green and Whisper White used here)
- Designer paper (SU Santa’s Workshop used here)
- 1/2” circle punch
- Paper trimmer
- Adhesive (Stampin’ Up! Tear & Tape and Dimensionals used here)
- Instant coffee packs or other treat
- Other supplies as needed to complete the project (SU supplies used here: Poppy Parade Ribbon, Santa’s Workshop Enamel Shapes, Rhinestones, Candy Cane Season Stamp Set and Builder Punch, Layering Ovals Framelits, Stitched Shapes Framelits, Big Shot Die Cutting Machine, Poppy Parade Ink, and Garden Green Ink)
Step-by-Step
-
Step 1
Cut designer paper to 6” x 8”, paying attention to the orientation of the pattern if the paper is directional.
On the side of the paper that will be the inside of the slider, place strong two-sided adhesive along the length of one of the 8” sides. Roll the paper to create a tube. -
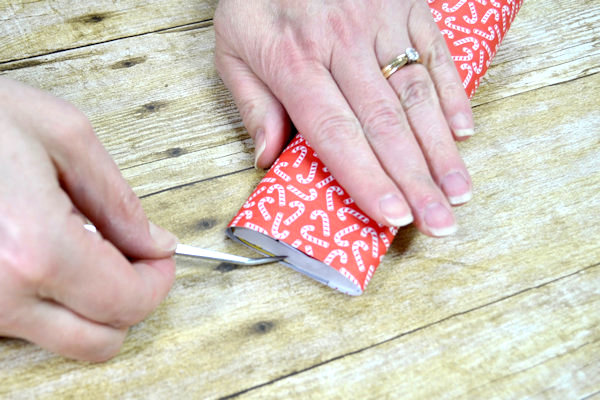
Step 2
Keeping the seam slightly off center along the back of the tube, press the bottom end of the tube flat and adhere closed with strong two-sided adhesive.
-
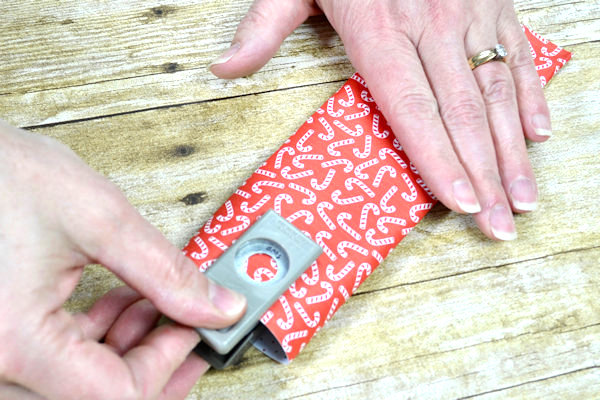
Step 3
Punch two 1/2” circles at the top of the slider, one at center front and one at center back.
-
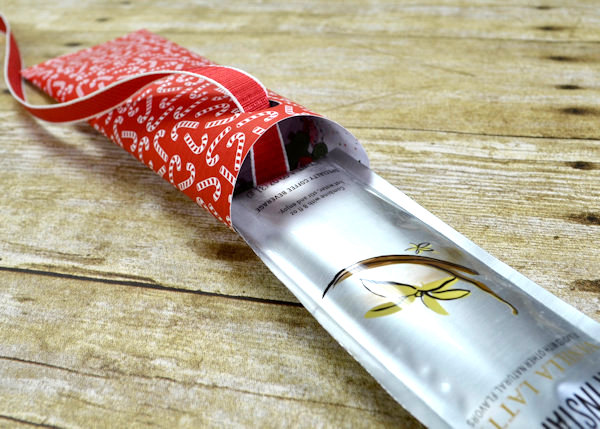
Step 4
Thread a 30”length of ribbon through both holes and pull until its midpoint is in the slider. Use a treat (instant latte pack here) to push the ribbon into the slider.
-
Tie a bow at the top of the slider with the ribbon ends.
-
Step 5
Decorate front of slider as desired to complete the project.


Video!
Your Turn
You've seen the tutorial, now you try it! We've got a section of the gallery set aside for Treat Sliders. Try this technique, then upload your artwork to the gallery. Show us your creations!
***Please note - Internet Explorer/Edge is not a supported browser, and will not allow you to see the videos. Please use Chrome, Firefox or Safari to view our tutorial videos.

Questions and Comments
We'd love to get your feedback or questions. Leave your comment below.
Page 1 of 1 pages