Topped Treat Bag
by Becky Roberts
Convert a flat paper sack into a treat bag with a cute handled topper.

Supplies
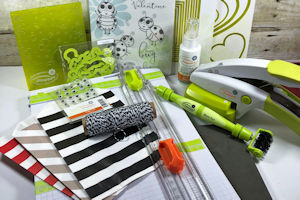
- Flat treat sacks (Fun Stampers Journey® Romance Striped Treat Bags used here)
- Cardstock (FSJ Black Licorice, Candy Apple, Whip Cream used here)
- Punch or die for handle (Journey Rectangles Dies used here)
- Stapler
- Scoring tool or bone folder
- Other supplies as needed to complete the project (FSJ products used here: Black Licorice and Candy Apple Red inks, Bug Love stamp set, Heart-Felt and Bug Love dies, Yummy Dots Embossing Folder, 1” Circle Punch, Candy Apple Sparkle Ribbon, Wiggle Eyes, Journey Glaze, Bloom Tool, Foam Mat, Craft Glue, Journey Glue Dots, Journey Foam Squares, Journey Blooms, trimmer, scissors)
Step-by-Step
-
Step 1
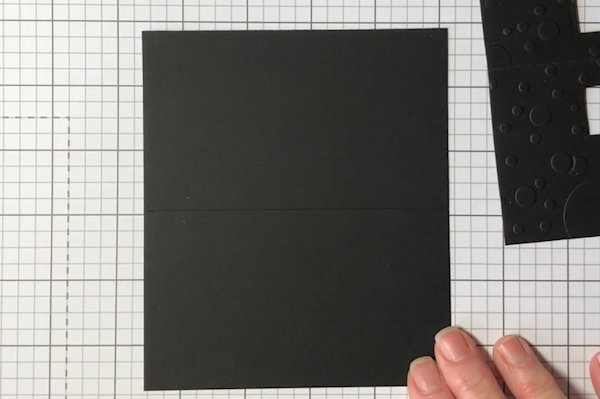
Cut cardstock to 5 1/2” x 4 3/4” (width may be adjusted to accommodate your paper sack). Score and fold in half at 2 3/4”.
-
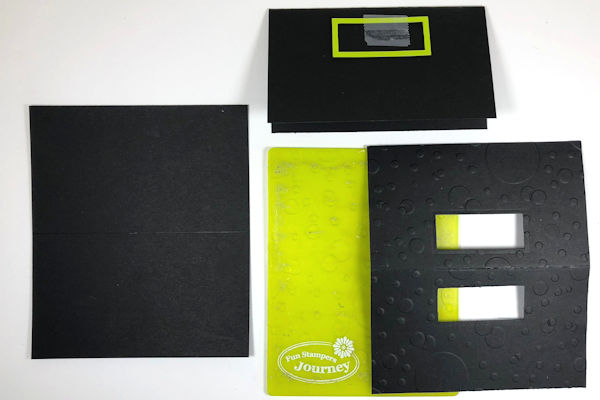
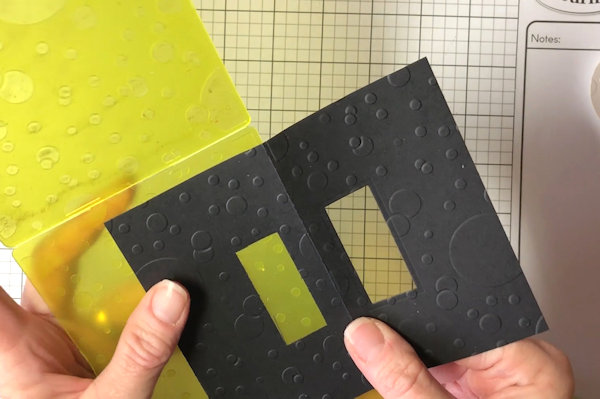
Step 2
To create a handle, position a small rectangle die at the center near the fold.
Die cut. -
Step 3 (Optional)
Put each end of the topper in an embossing folder and run through the machine separately.
-
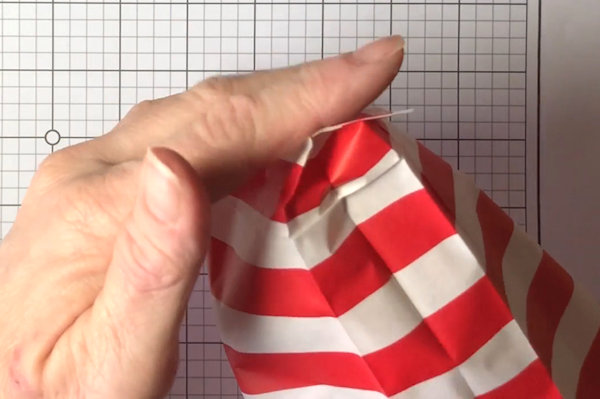
Step 4 (Optional)
Fold the topper in half. Insert the top corners into a 1” circle punch to round them.
-
Step 5
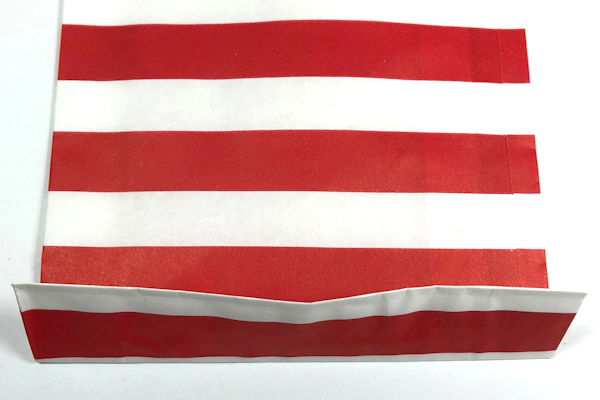
Fold the paper sack up about 1” from the bottom. Fold forwards and backwards.
-
Open the bag and slide your hand to the bottom. Square out the bottom so the bag can sit flat.
-
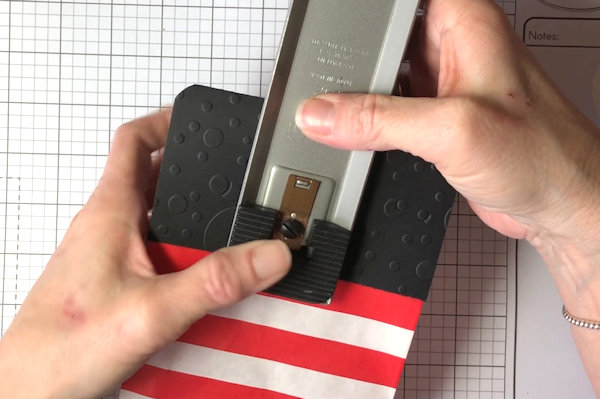
Step 6
Fill the sack with candy. Fold the top over about 1 1/2” and staple the sack closed. Center the baggie topper over the bag and staple in a spot that will be covered up by an embellishment.
TIP:
Position your stapler so the flat side of the staple is to the back side of the topper. -
Step 7
Tie ribbon or twine around the baggie topper about 3-4 times and tie into a bow. Trim the ends and slide the twine/bow to the right hand side of the topper.
-
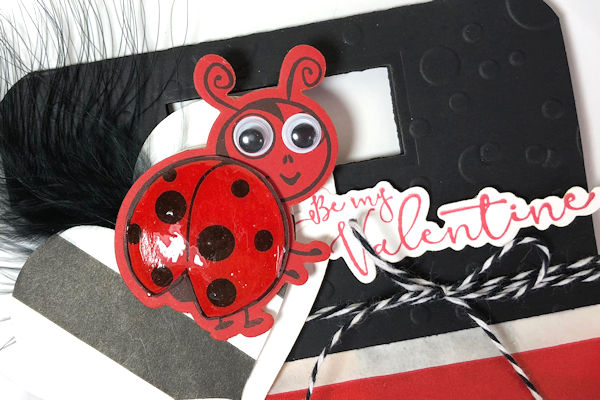
Step 8
Embellish as desired.
-
Step 9
Complete the project.


Video!
NOTE: Skip ahead to 3:15 for instructions on assembling the treat bag.
Your Turn
You've seen the tutorial, now you try it! We've got a section of the gallery set aside for Topped Treat Bag. Try this technique, then upload your artwork to the gallery. Show us your creations!
***Please note - Internet Explorer/Edge is not a supported browser, and will not allow you to see the videos. Please use Chrome, Firefox or Safari to view our tutorial videos.

Questions and Comments
We'd love to get your feedback or questions. Leave your comment below.
Cindy Lou
If you can't watch the video here, try going t YouTube and type in splitcoaststampers and you should be able to open it there.
Page 1 of 1 pages