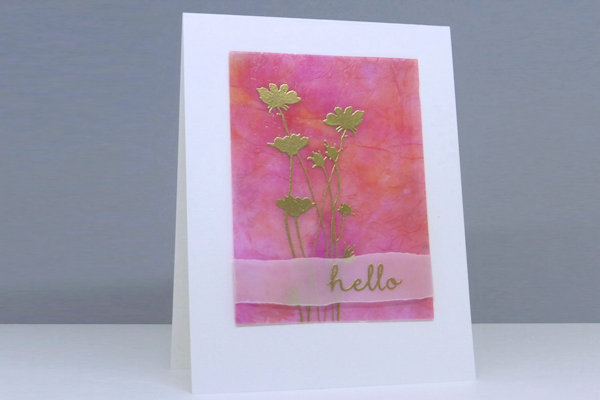
Tissue Paper Watercolor
by Loll Thompson
Create beautiful watercolor backgrounds with tissue paper.
Supplies
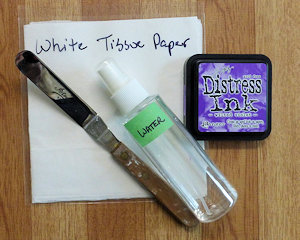
- White tissue paper
- Water mister
- Any ink, paint or coloring medium that is water soluble
- Paper towel
- Palette knife (optional)
- Acetate (Grafix .007 film used here)
- Other supplies as needed to complete the cards (please see gallery for supply lists of individual cards shown below)
Step-by-Step
-
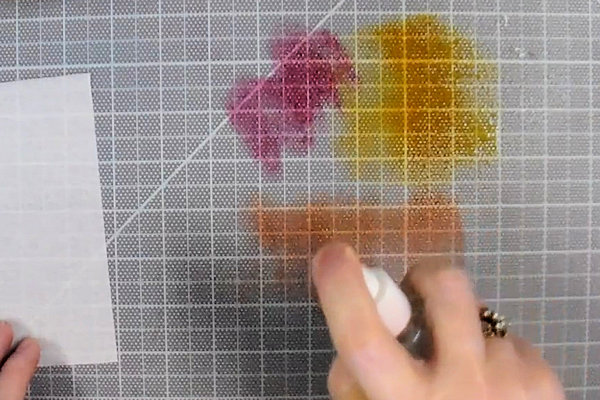
Step 1
Add a watercolor medium onto a craft mat, covering about the same area as your paper.
-
Step 2
Mist with water.
-
Use a palette knife or other tool to blend the colors into each other.
-
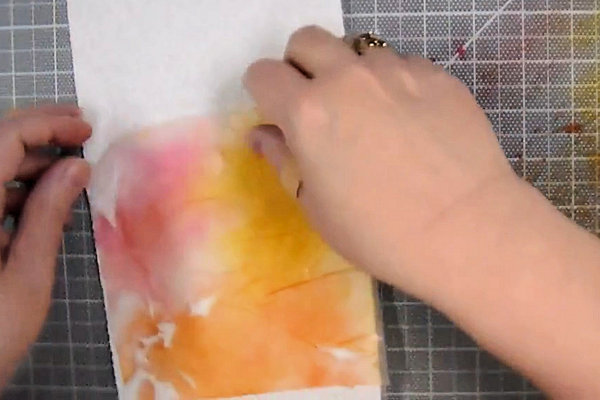
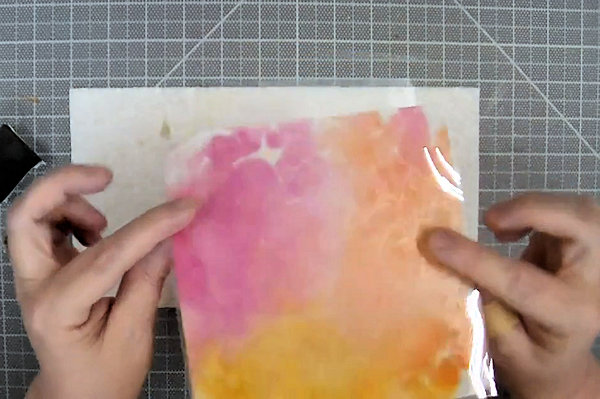
Step 3
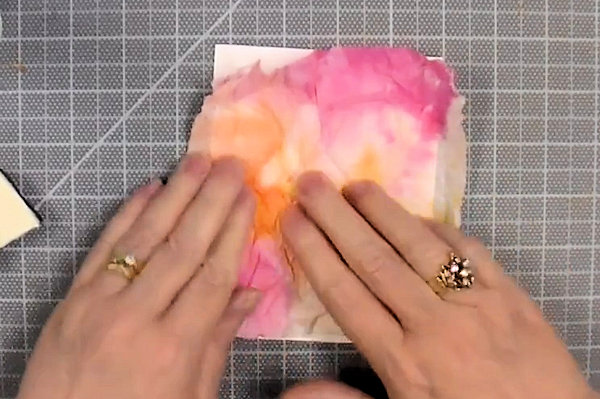
Drop a piece of white tissue paper on top. Let it absorb the color.
-
Step 4
Carefully pull up the wet tissue paper and place it on a paper towel to dry (about 15-30 minutes). You can use a heat tool to speed up the drying process.
-
Step 5
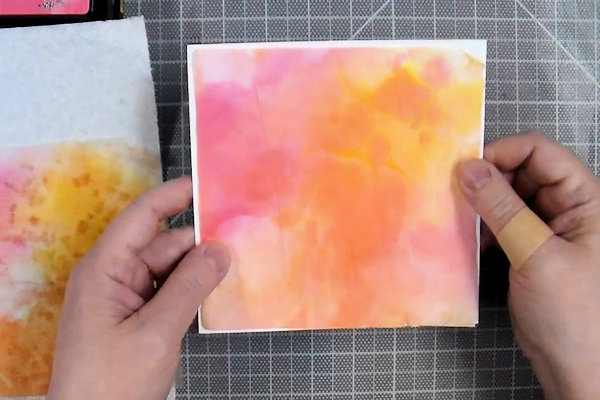
Now you have a piece of watercolored tissue paper to create backgrounds or die cuts for cards.
-
Step 6
Ideas for watercolored tissue paper backgrounds:
Scrunch watercolored tissue paper and glue it to white cardstock, scrunching it more as you glue it down. -
This technique creates beautiful texture for backgrounds or die cuts.
-
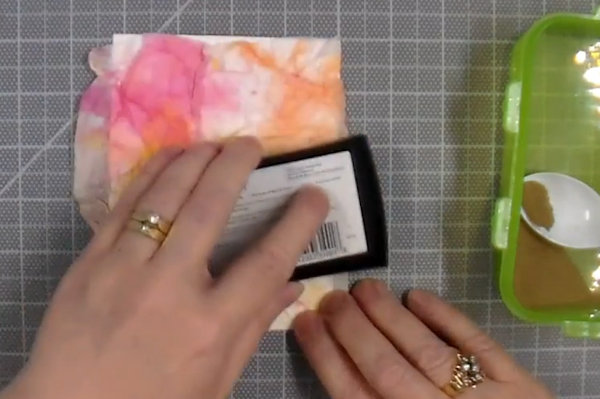
Step 7
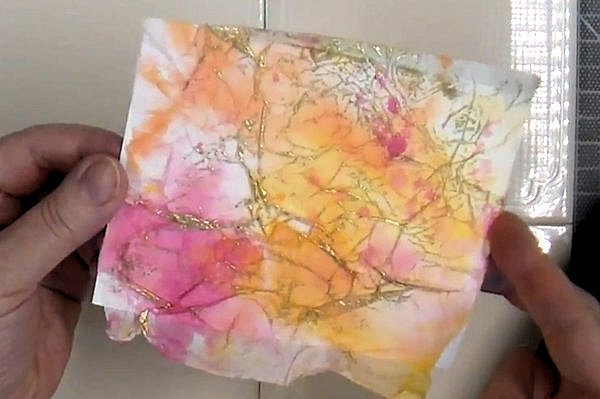
Repeat step 6 above. Lightly swipe Versamark ink over the top to catch the creases. Sprinkle with embossing powder. Knock off any excess powder.
-
-
Step 8
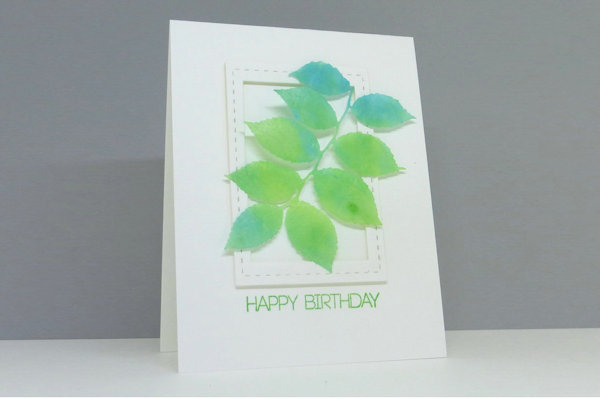
Glue watercolored tissue paper to acetate using good quality glue.
-
The backing ensures that the tissue paper is sturdy and makes for easy die cutting while maintaining the translucent look of tissue. Heatproof acetate can also be stamped and heat embossed, while the tissue paper background shows through to add color and texture behind the image.


Video!
Your Turn
You've seen the tutorial, now you try it! We've got a section of the gallery set aside for Tissue Paper Watercolor. Try this technique, then upload your artwork to the gallery. Show us your creations!
***Please note - Internet Explorer/Edge is not a supported browser, and will not allow you to see the videos. Please use Chrome, Firefox or Safari to view our tutorial videos.

Questions and Comments
We'd love to get your feedback or questions. Leave your comment below.
Thanks
Can you be specific as to what acetate from Amazon you used
http://scandinancycreates.blogspot.com/search/label/Tissue Paper
Plan to try it on cards and maybe ATCs. Thank you...
I Follow your blog and enjoy your creations!
Page 1 of 2 pages 1 2 >