Texture Pressing
by Kyra Sanders
Add interest to a background with stamps and texture paste.
Supplies
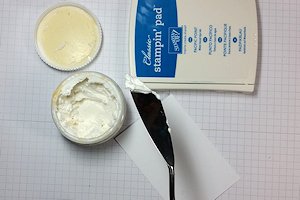
- White texture paste (Whipped Spackle by Faber-Castell used here)
- Ink pad of your choice (SU! Pacific Point used here)
- Rubber stamp with lots of texture (SU! Awesomely Artistic used here)
- Cardstock approximately the same size as the stamp image
- Palette knife (metal used here, plastic is fine)
- Other supplies as needed to complete the project
Step-by-Step
-
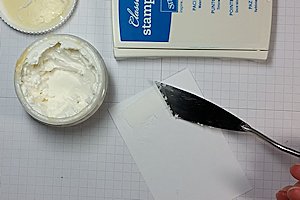
Step 1
Load the back of a palette knife with a small amount of texture paste.
-
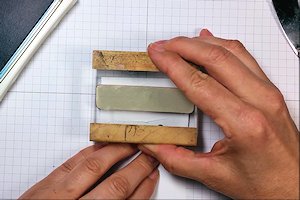
Apply the paste to a piece of cardstock in a thin layer. The area covered should be about the same dimensions as your stamp image.
-
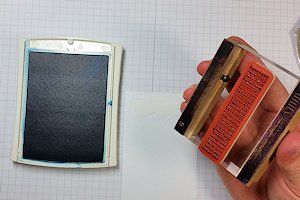
Step 2
Ink a rubber stamp and gently press it into the paste.
-
Use care so it doesn’t slide.

-
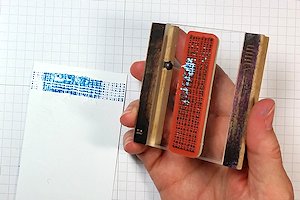
Step 3
Holding the paper on both sides of the stamp, firmly but slowly lift the stamp off the paper.
-
Step 4
Clean the stamp with an old toothbrush to get all of the paste out of the nooks of the image.
-
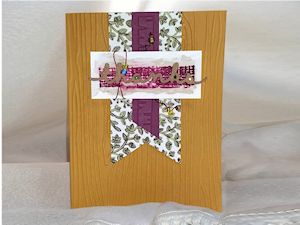
Step 5
Let the panel dry. Cut it to size, and apply it to a finished project.
Video!
Your Turn
You've seen the tutorial, now you try it! We've got a section of the gallery set aside for Texture Pressing. Try this technique, then upload your artwork to the gallery. Show us your creations!
***Please note - Internet Explorer/Edge is not a supported browser, and will not allow you to see the videos. Please use Chrome, Firefox or Safari to view our tutorial videos.

Questions and Comments
We'd love to get your feedback or questions. Leave your comment below.
Page 1 of 1 pages