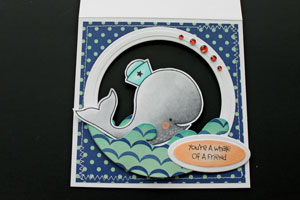
Tent Card
by Beate Johns
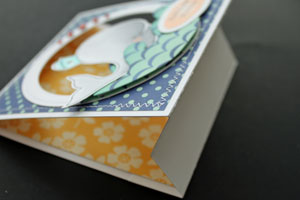
Create a standing card with a window.
Supplies
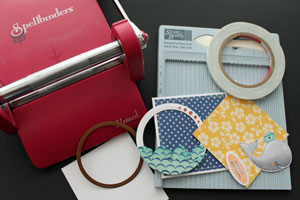
- One 4 1/4" x 8 1/2" piece of cardstock
- One 4 1/4" x 4" piece of cardstock, for the card stand
- Scor-Buddy™, or other scoring tool
- Scor-Tape™, or other strong adhesive
- Two 4" squares of patterned paper, (October Afternoon's Seaside used here)
- Wizard™, or other die cut machine
- Shape dies, (Classic Circle Nestabilities™ used here)
- Stamps, (The Cat's Pajamas A Whale of a Time used here)
Step-by-Step
-
Step 1
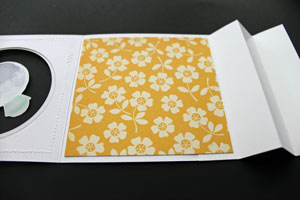
Adhere one of the 4" patterned paper squares to the front of the card (optional).
Unfold the card and place the shape die on the card front.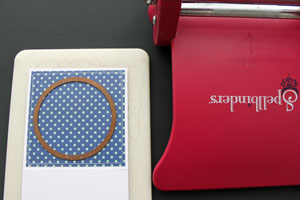
-
Run opened card with die through the die cut machine to cut a window.
-
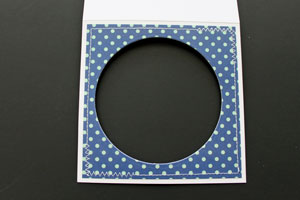
Step 2 (Optional)
Adhere a frame around the window.
Hint:
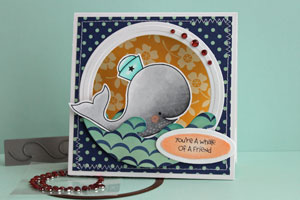
Cut the window on the card one size bigger then the opening of the frame. (The frame was cut with two Classic Circle Nestabilities™.
The waves were cut with The Cat's Pajama's wave die.)
You can find a tutorial on Cutting Frames with Nestabilities here.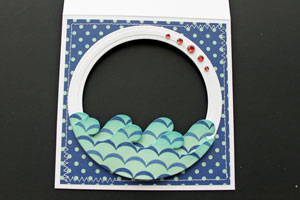
-
Step 3
Stamp, color and cut out an image. Adhere or suspend it from the window.
-
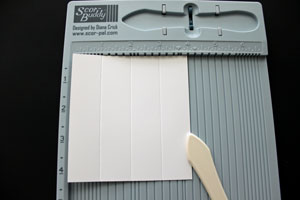
Step 4
Score the 4" x 4 1/4" piece of cardstock at 1", 2" and 3" on the 4" side.
-
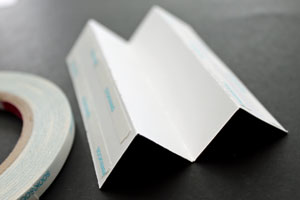
Step 5
Fold the score lines in mountain/valley style. The center fold has to go up (mountain), the two outer folds have to face down (valley).

-
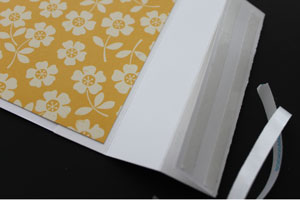
Step 6
Apply adhesive to the outer panels.
-
Step 7
Line up the first fold of the folded cardstock with the bottom of the back of the card.
Hint:
Make sure the second fold of the folded cardstock piece will point up.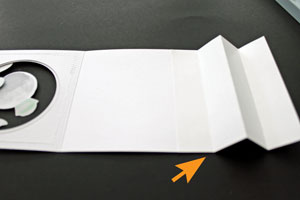
-
Step 8
Adhere the second 4" square of patterned paper on the inside of the card.
-
Step 9
Remove the adhesive liner on the other edge of your folded cardstock.
-
Adhere the bottom of the card front to the edge of the fold of the card bottom.
-
Step 10
Your tent card is done.
Video!
Variations
Other card sizes
You can make tent cards in any sizes. Just take the width of the card x 4" and score at 1", 2" and 3" on the 4" side for the bottom of the card.
Your Turn
You've seen the tutorial, now you try it! We've got a section of the gallery set aside for Tent Card. Try this technique, then upload your artwork to the gallery. Show us your creations!
***Please note - Internet Explorer/Edge is not a supported browser, and will not allow you to see the videos. Please use Chrome, Firefox or Safari to view our tutorial videos.
 *
*
Questions and Comments
We'd love to get your feedback or questions. Leave your comment below.
-Bev
I apologize for the mix up. We had to reschedule some tutorials last minute. The tutorial for which you need a glass container will run at the end of next month.
Hugs and smiles
Thanks
Hugs for your awesome tutorial!
Isn't that the cutest stamp set? Check the supply list and click on the name Whale of a Time. It will take you directly to The Cat's Pajama's. That's the company that sells that set.
Hugs and smiles
Your card is really nice, original and also very simple to do, Congratulations! I like it very much!
I know it is the size of your 3 nestabilities of Spellbinders if you please? Is there a 3 inch? Thank you for your reply.
Helene de Trois-Rivieres Canada
Page 1 of 2 pages 1 2 >