Swing (Flip Flop) Card
by Beate Johns
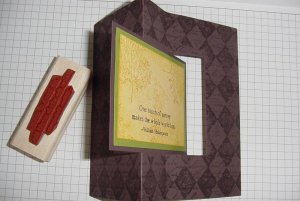
Pull on the right side of the card. The inside part of the card will swing open to reveal your message.
Supplies
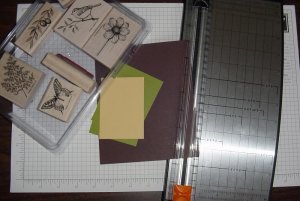
- 1 piece of 5 1/2" x 6 3/4" cardstock for the card base
- 2 pieces of 2 3/4" x 3 3/4" cardstock for the first layer of the inside card
- 2 pieces of 2 1/2" x 3 1/2" cardstock for the center message
- Stamps
- Paper cutter with scoring blade
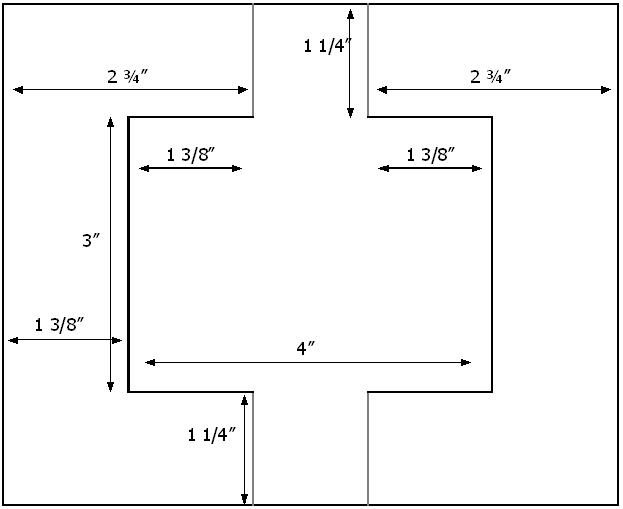
- Template (JPG, 24KB) Print this template as a guide to the scoring and cuts required in steps 1-3.
Step-by-Step
-
Step 1
Slide your 5 1/2" x 6 3/4" cardstock into the paper cutter horizontally.
Line up the cardstock at the 2 3/4" mark, and score from 0" to 1 1/4" as well as from 4 1/4" x 5 1/2".
At the 4" mark, make another score identical to the first.
Note: when the tutorial was originally published, we told you to make this last score at the 4 1/4" mark. The above instructions are now correct. Have fun!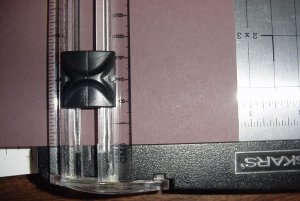
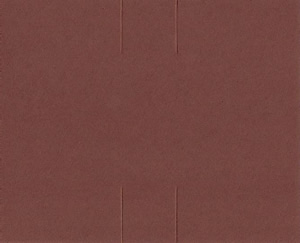
-
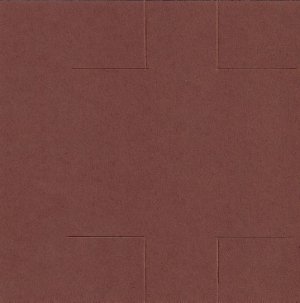
Your cardstock should look like this:
-
Step 2
Slide your cardstock into your paper cutter vertically. Line it up at the 4 1/4" mark.
Cut from 1 1/4" to 2 3/4" to meet your score line.
Lift your cutting blade, put it down on your second score and cut up to 5 1/2".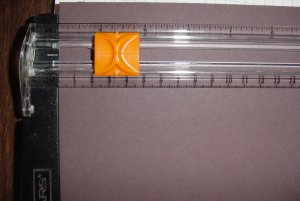
-
Take your paper out and repeat this step on the opposite side (the right side of the scan is a bit cut off in the picture).
-
Step 3
Slide your cardstock into your paper cutter horizontally again. Line it up with the 5 1/2" mark.
Cut from 1 1/4" to 4 1/4", connecting your two horizontal cuts.
Turn your cardstock around and repeat this step on the opposite side.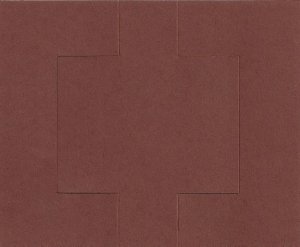
-
Step 4
Take a 3" x 4" piece of scrap paper and cover up the inside part of your card.
-

-
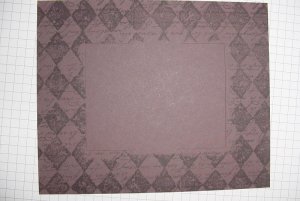
Step 5
Stamp your background.
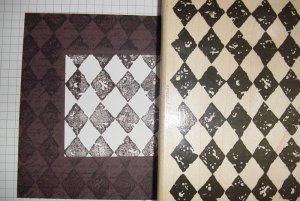
-
-
Step 6
Tape one of the 2 3/4" x 3 3/4" pieces of cardstock on to the swing part.
-
Do the same to the backside of the card.
-
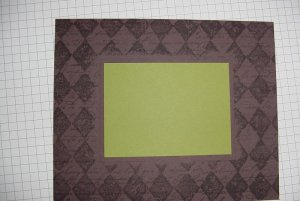
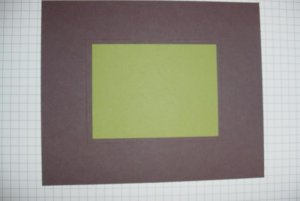
Step 7
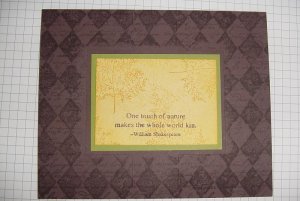
Stamp the image you would like to have on the front of the card on one of the 2 1/2" x 3 1/2" pieces of cardstock. Now tape it to the center of the back of the card.
-
Stamp your other 2 1/2" x 3 1/2" piece of cardstock. Keep in mind that you might want to keep a little bit of space for a written message. Tape this to the front.
-
Step 8
Fold your first score (the score on the left of your card) to a mountain fold.
-
Step 9
Fold your second score (the score on the right) to a valley fold.

-
Step 10
Add embellishment as needed.

-
Step 11
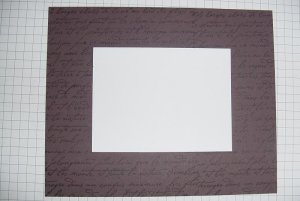
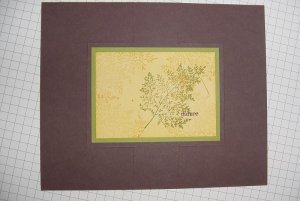
The finished card!

Video!
Variations
Re-size the swing
Try changing the size and the shape of the inside of the swing card.
Your Turn
You've seen the tutorial, now you try it! We've got a section of the gallery set aside for Swing (Flip Flop) Card. Try this technique, then upload your artwork to the gallery. Show us your creations!
***Please note - Internet Explorer/Edge is not a supported browser, and will not allow you to see the videos. Please use Chrome, Firefox or Safari to view our tutorial videos.
Questions and Comments
We'd love to get your feedback or questions. Leave your comment below.
Maybe I'll make some again! thanks.
Thank you!
Page 1 of 1 pages