Suspension Card
by Beate Johns
Use simple supplies to create a fun, interactive element for your cards.
Supplies
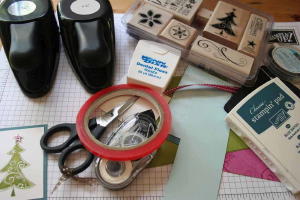
- Dental floss
- 1 1/4" circle punch
- 1 3/8" circle punch
- Cardstock for card base
- Cardstock for layer that your suspended image will be nestled in
- Ink
- Stamps
- Sticky Strip™
Step-by-Step
-
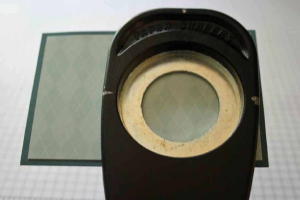
Step 1
Use a 1 3/8" circle punch (or other large shape) to make a window in the cardstock layer.
-
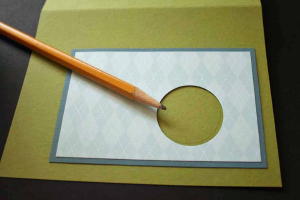
Step 2
Position the cardstock layer on the card base and mark where the punched window is.
-
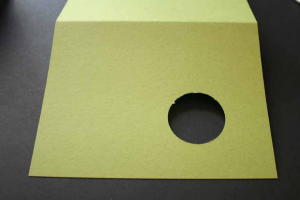
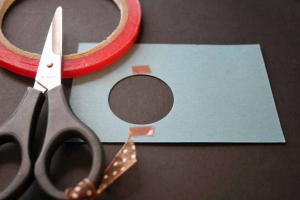
Step 3
Punch out a circle on your card base with the same circle punch.
-
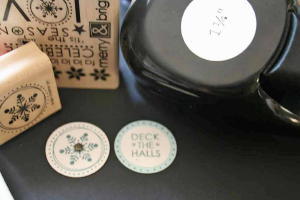
Step 4
Stamp two images and punch them out with the 1 1/4" circle punch (or other smaller punch).
-
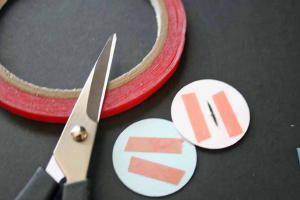
Step 5
Apply Sticky Strip™ to the back of both punched images.
-
Step 6
Apply Sticky Strip™ over and under the punched window on the cardstock layer.
-
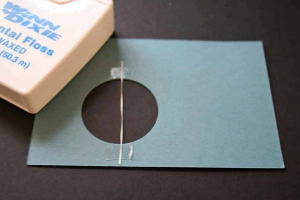
Step 7
Tape a piece of dental floss on the backside of your cardstock layer, centering it in the punched opening.
-
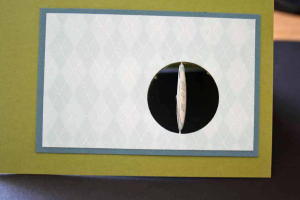
Step 8
Take one of the 1 1/4" circle images, center it in the 1 3/8" window and tape it to the dental floss.
Add an extra layer of Sticky Strip™ over the tape holding the floss down. Don't remove the red plastic liner from the adhesive yet.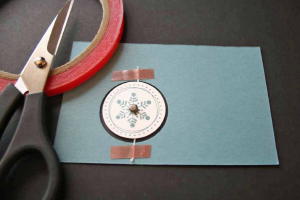
-
Step 9
Flip cardstock layer around. Add second 1 1/4" circle image, line it up with the back of the first image and tape it down.
-
Step 10
Apply more adhesive, and adhere cardstock layer to the card base. Make sure the 1 3/8" windows line up.
-
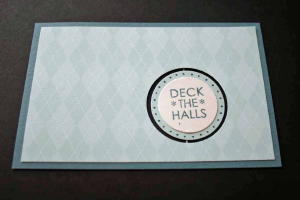
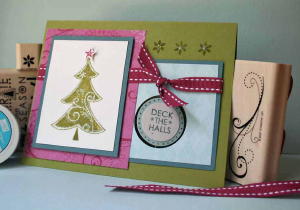
Step 11
Finish decorating the card.
Video!
Variations
Shape It Up
Try out different shaped/size punches. Just make sure you have two that are the same shape, just one size different.
Combine It
Try using this suspension on the inside of a tunnel card.
Your Turn
You've seen the tutorial, now you try it! We've got a section of the gallery set aside for Suspension Card. Try this technique, then upload your artwork to the gallery. Show us your creations!
***Please note - Internet Explorer/Edge is not a supported browser, and will not allow you to see the videos. Please use Chrome, Firefox or Safari to view our tutorial videos.
Questions and Comments
We'd love to get your feedback or questions. Leave your comment below.
Thanks for the tut!
Thank you!
is, as mentioned in the variations.
Sounds like a good challenge.
Regards....
Thanks
Beryl
Love your videos
You can make that layer any size you want. Unfortunately back in 2007 I didn't add layer measurements to my blog posts yet. It looks like it would be around 2 1/2" wide. You can find a close up of the card in this blog post.
Sorry I don't have the exact measurements. I can't believe I have been blogging for 4 years now. Crazy.
Hugs and smiles
i think i adapted it slightly - but you can see my card here
Kathleen Mc xx
Page 1 of 1 pages