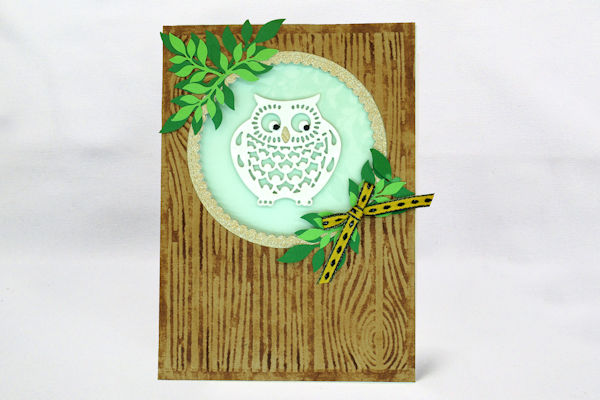
Stitched Suspension Card
by Jenni Murnane
Use a sewing machine to attach a fun interactive element to your cards.
Supplies
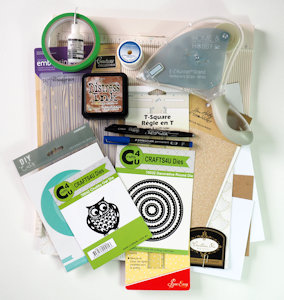
- Cardstock (10” x 7” card base, two 5” x 7” panels, and additional layering pieces)
- Die for aperture (Kaisercraft 3.5”circle die and Crafts4U 70032 Decorative Round Die used here)
- Die for spinner piece (Crafts4U 70042 Chubby Owl Die used here)
- Die cutting machine
- Scoreboard
- Scrap paper
- Sewing machine (Brother Innovis NV1800Q used here)
- Monofilament thread
- Adhesive (tape runner, Ranger Multi Matte Medium
- Low tack painters tape
- T-ruler
- Erasable pen and permanent marker
- Other supplies as needed to complete the project (used here: leaves (built in pattern AR-A034 on the Brother ScanNCut), Couture Creations Woodgrain 5” x 7” embossing folder, ribbon, Vintage Photo Distress ink)
Step-by-Step
-
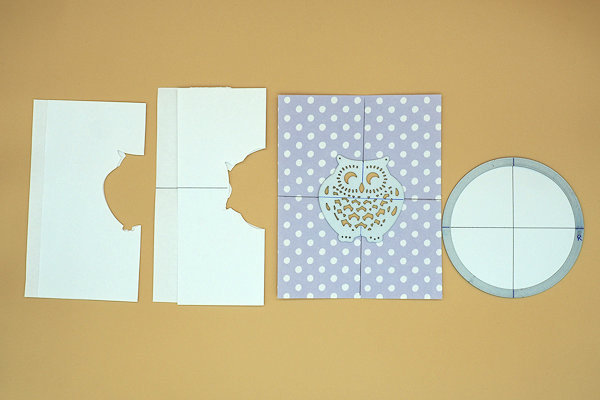
Step 1
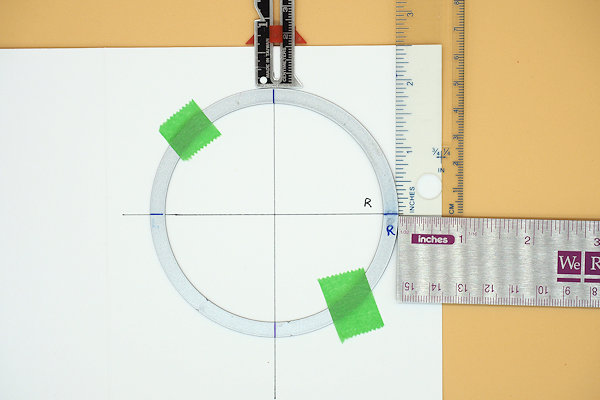
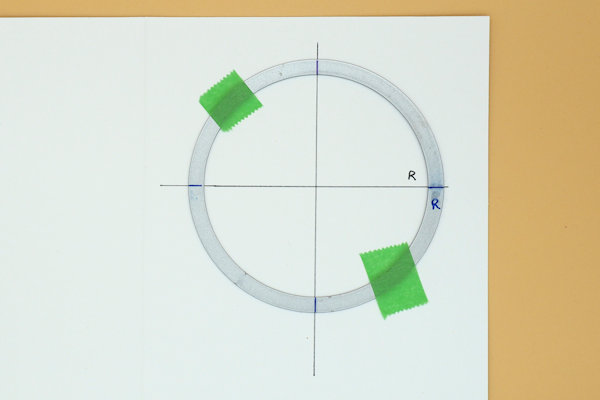
Die cut a central shape from a scrap of paper. Using the negative cut, fold the paper to find the center of the die cut. Then fold in the opposite direction, aligning the fold marks, to find the quadrants of the die cut. Lay the die back into the negative space and mark the quadrants onto the die with a permanent marker, using a ruler for accuracy. Repeat with the circle die but this time fold the die cut circle and then return it to the die and transfer the markings.
TIP:
Use paper for this process as it is easier to get a good crisp fold. When marking a symmetrical die make a reference mark on the die and align the die in the same direction each time. -
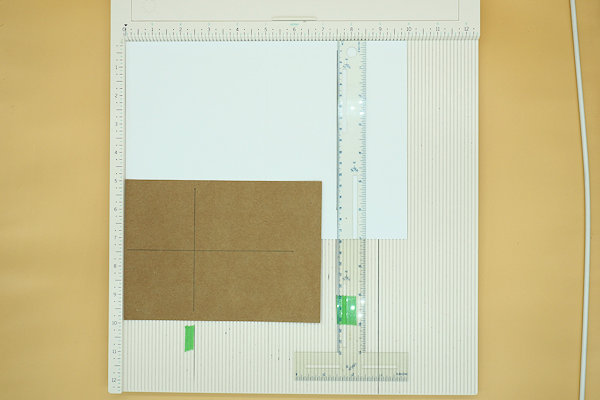
Step 2
Place the 10” x 7” piece of cardstock on the score board and score the center fold. Align the T-ruler with the center front of the card (2 1/2” in from the right hand side) and draw a line. Turn the card so that the top is against the left side of the score board and mark a crosshair line 2 1/2” in from the side. Repeat these drawn lines on the other two pieces of 5” x 7” card.
-
NOTE:
The placement for the crosshair is determined by centering the die on the vertical line, measuring the distance from the side of the card to the mark on the side of the die and then moving the die to this distance down from the top of the card. Measure from the top of the card down to the crosshair marking on the die. This is the measurement to make the crosshair if you want an aperture which is equal distance from each side and the top of the card as in this example. -
Step 3
Align the circle die on the drawn crosshair and run it through the die cutting machine.
Repeat with the other two card pieces. -
Step 4
Take the circle cut from the card base. Align the central die on the crosshairs and run through the die cutting machine.
-
Step 5
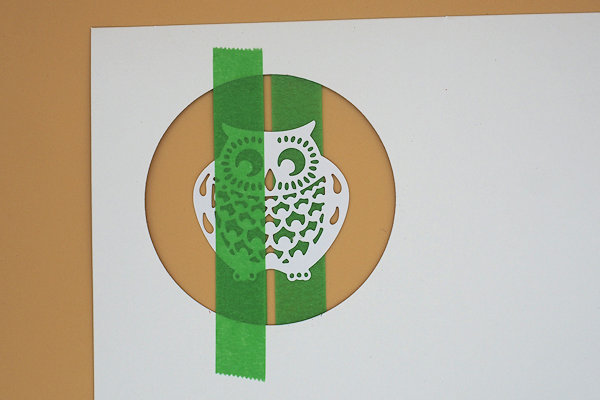
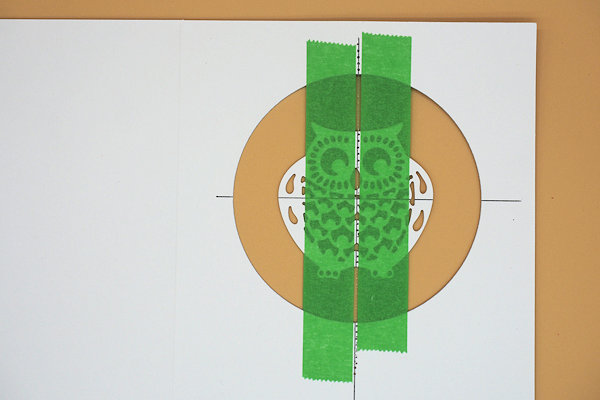
Remove the small pieces and realign the circle and owl die cuts back into the card front. Lay a piece of low tack tape down either side of the central line.
TIP:
Touching the tape to your skin first helps with easier removal of the tape later. -
Step 6
Turn the card over and gently remove the circular cutout, leaving the central die cut in place. Cover each of the pieces of low tack tape with a second piece of tape.
NOTE:
Once you have turned the card over and removed the circular cut-out you could complete the spinner in the usual way, however, using the sewing machine, as in Step 7, gives a very strong and secure finish to the spinner. -
Step 7
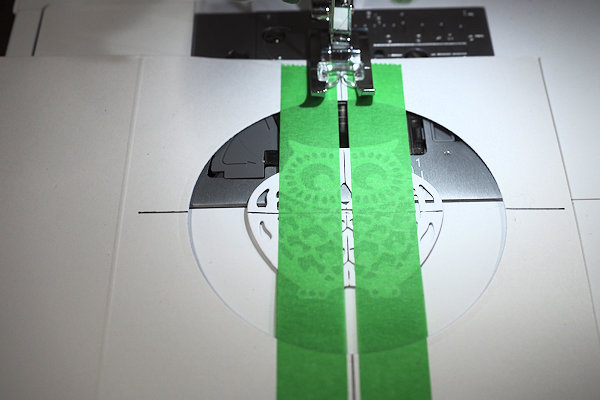
Wind a small amount of monofilament thread onto a bobbin. Thread your sewing machine with the monofilament and use a #11 needle, a stitch length of 2.5 and slightly release the tension to avoid stretching the monofilament as it sews. Align the card under the foot of your sewing machine 1/4” down from the top. Stitch forward a couple of stitches and then reverse slightly. Stitch down the card following the line which you drew previously until you are approximately 1” past the cut out. Reverse a couple of stitches and then go forward again to securely lock off the stitching.
-
NOTE:
The low tack tape on the front of the card is used to give the foot of the machine a surface to run on while holding the spinner section in place. The tape on the back prevents the top layer from sticking to the machine bed as it sews. -
Step 8
Carefully remove the tape and the card base is now complete and ready for embellishment.
NOTE:
If the card tears a little as you remove the tape it is not an issue as all of these surfaces will be covered. -
Step 9
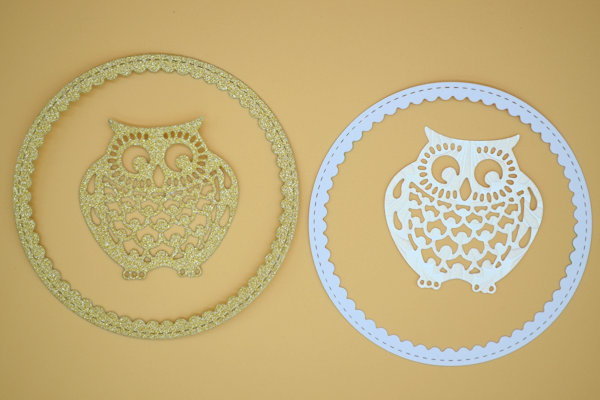
Prepare frames for the card opening. Die cut additional center pieces to layer over the stitched piece.
NOTE:
If the die is not perfectly symmetrical, flip the cardstock for the back piece so that it is facing up in the die and cut. -
Adhere the additional die cuts to the front and back of the center piece.
-
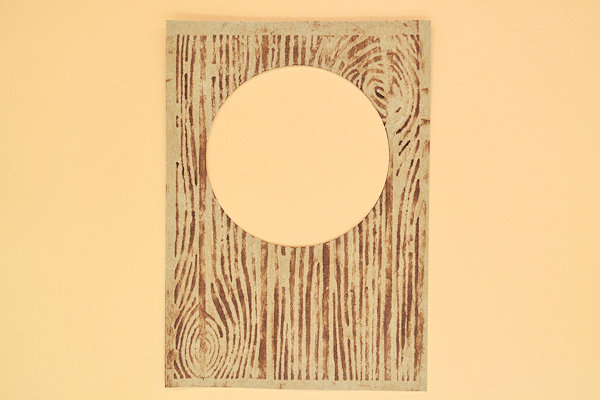
Step 10
Prepare the other card panels and assemble the card.
-
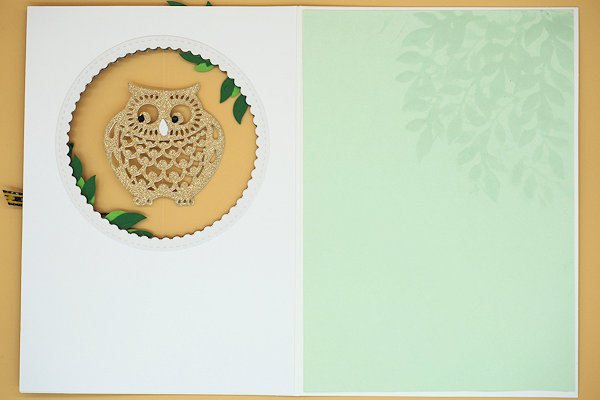
Step 11
Embellish the card as desired. For the sample, additional die cut leaves were added to the frame.
NOTE:
Be sure that embellishments do not hinder the spinner mechanism. -
Step 12
Complete the project. Before mailing, twist central piece around several times so that it will spin when opened by the recipient.


Video!
Your Turn
You've seen the tutorial, now you try it! We've got a section of the gallery set aside for Stitched Suspension Card. Try this technique, then upload your artwork to the gallery. Show us your creations!
***Please note - Internet Explorer/Edge is not a supported browser, and will not allow you to see the videos. Please use Chrome, Firefox or Safari to view our tutorial videos.

Questions and Comments
We'd love to get your feedback or questions. Leave your comment below.
Page 1 of 1 pages