Stipple Basics
by Beate Johns
Create soft backgrounds with stipple brushes.
Supplies

- Stipple Brushes
- Several shades of dye ink
- Cardstock
- Stamps
Step-by-Step
-
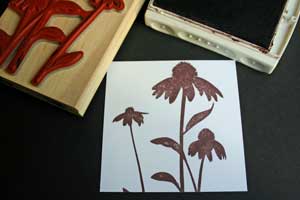
Step 1
Stamp your image on cardstock.
-
Optional:
Add depth/shading with markers.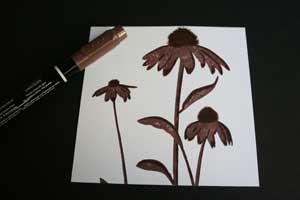
-
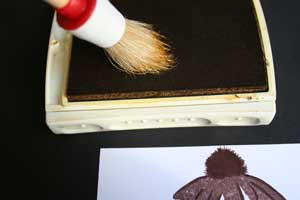
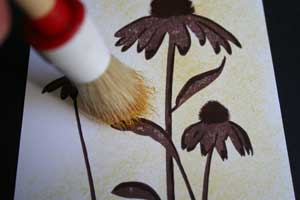
Step 2
Hold the brush vertically, then tap stipple brush in the lightest colored ink several times.
-
Step 3
Now tap your stipple brush softly on cardstock. Tap several times.
Repeat step 2 to load up more color.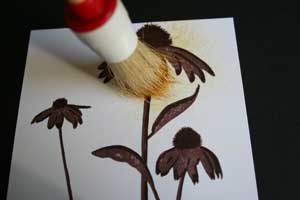
-
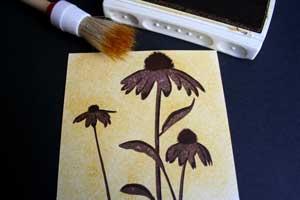
Step 4
Continue to add color to your cardstock.
-
Keep adding color until your entire piece of cardstock is covered.
-
Step 5
Take a slightly darker ink, load your stipple brush up again and start adding this color to the cardstock.

-
Continue to add color until you like the way it looks.
Hint:
I use a different brush for every color hue (I have one for browns, greens, blues, yellows, reds and oranges).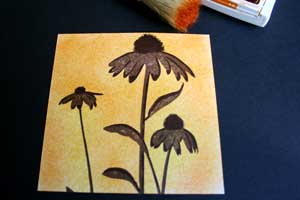
-
Step 6
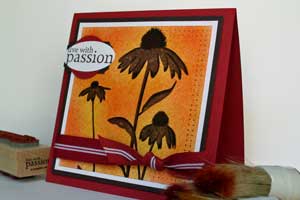
Stipple a third color ink to add more depth. With each of the darker colors, I leave a little area around the stamped images that I don't stipple. It will give your images a glowing look.
Hints:
-When using the darkest color, I tap the inked up brush once on scrap paper.
-To blend the colors better, you can always go back over the image with one of the lighter colors.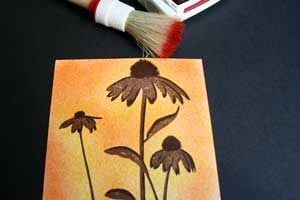
-
Step 7
Finish your card.
Video!
Variations
-
Resist it
Try stipple resist over an clear embossed image.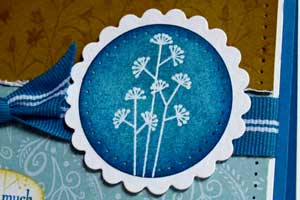
Your Turn
You've seen the tutorial, now you try it! We've got a section of the gallery set aside for Stipple Basics. Try this technique, then upload your artwork to the gallery. Show us your creations!
***Please note - Internet Explorer/Edge is not a supported browser, and will not allow you to see the videos. Please use Chrome, Firefox or Safari to view our tutorial videos.
Questions and Comments
We'd love to get your feedback or questions. Leave your comment below.
The new Stampin' Up! stamps come die cut. All you do is stick them on the wooden block and add the sticker. I LOVE that!
May I ask what colours of Classic Ink you used to stipple with??
Thanks Beate!
Page 1 of 1 pages