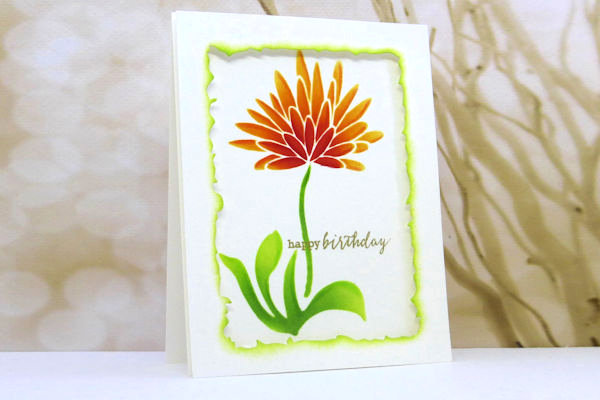
Stencil Sponging
by Loll Thompson
Learn the basics for stenciling and shading with sponge daubers.
Supplies
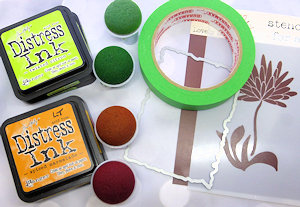
- Cardstock (or mixed media, watercolor paper, etc.)
- Stencil (Lovely Large Flower by Studio 490 used here)
- Inks (Distress inks used here: Spiced Marmalade, Barn Door, Twisted Citron, Mowed Lawn)
- Sponge daubers
- Painter’s tape
Step-by-Step
-
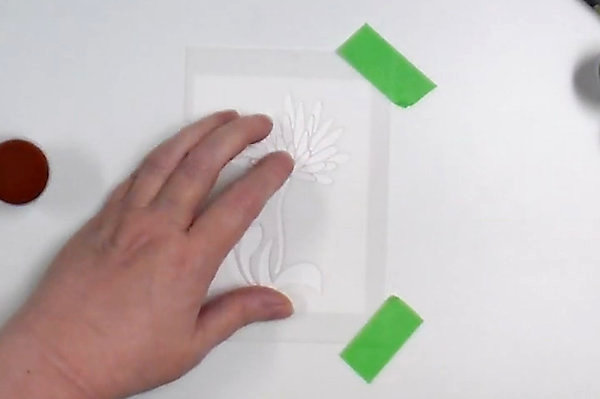
Step 1
Secure the cardstock and stencil in place using painter’s tape.
-
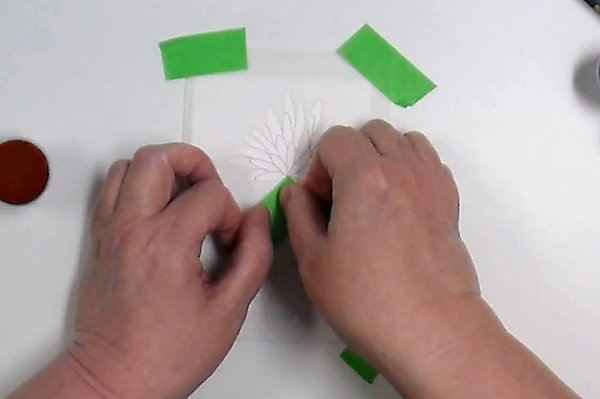
Step 2
Working in one section at a time, use tape to mask off any areas of the stencil that you do not want inked.
-
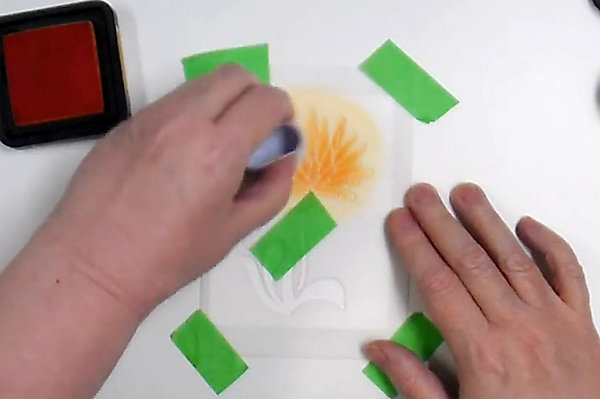
Step 3
Sponge a base of the lightest color ink, using a circular motion. Once you have a coating of ink on the paper, you can add more ink, increasing pressure to make it darker.
-
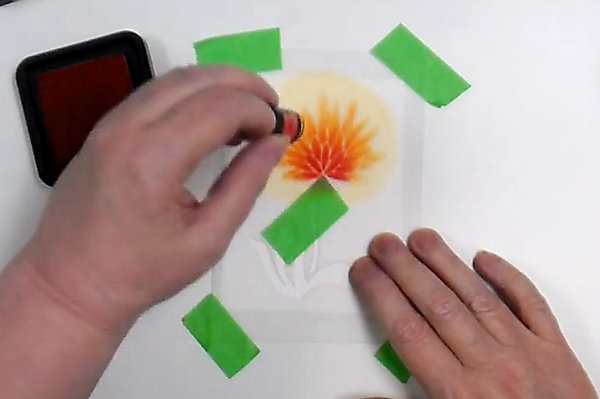
Use a smaller applicator for more detailed application and control in shading.
-
Step 4
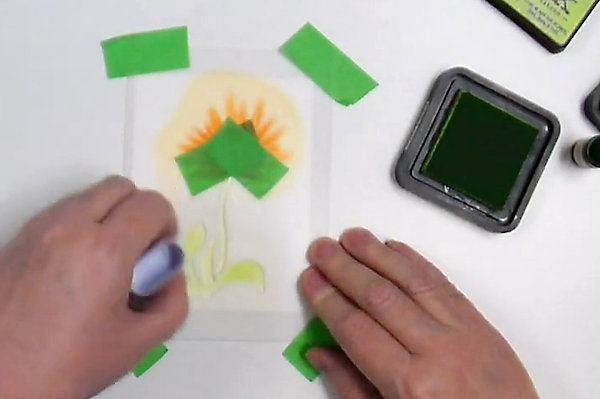
Continue around the stencil, moving masks as needed to isolate the color to each area.
-
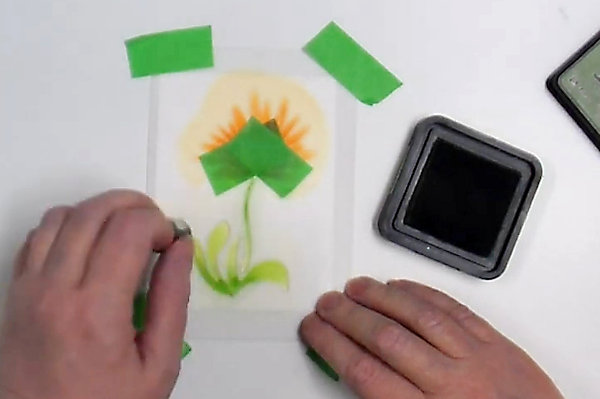
Adjust the size of your applicator to each layer of color – a larger dauber for the base color, and smaller finger dauber for detailed areas and shading.
-
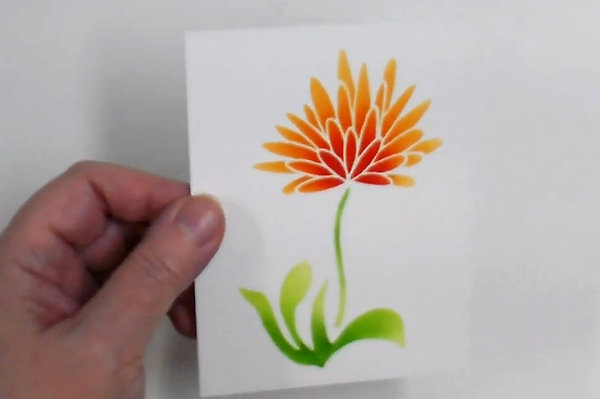
Step 5
Remove the tape and stencil to reveal your completed design.
-
Step 6
Add details as desired with a gel pen, fine liner, or colored pencils.
-
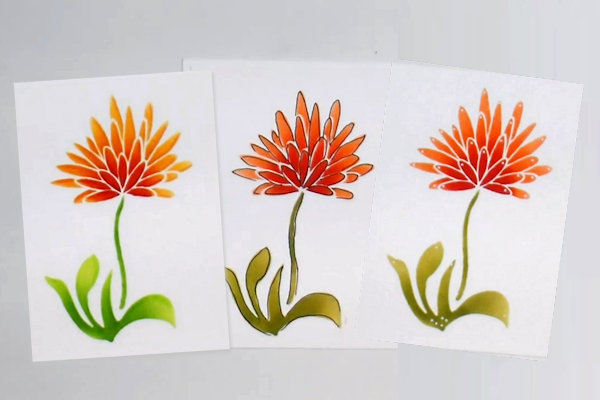
Step 7
Complete the project.
Video!
Your Turn
You've seen the tutorial, now you try it! We've got a section of the gallery set aside for Stencil Sponging. Try this technique, then upload your artwork to the gallery. Show us your creations!
***Please note - Internet Explorer/Edge is not a supported browser, and will not allow you to see the videos. Please use Chrome, Firefox or Safari to view our tutorial videos.

Questions and Comments
We'd love to get your feedback or questions. Leave your comment below.
Page 1 of 1 pages