Stencil Embossing
by Dina Kowal
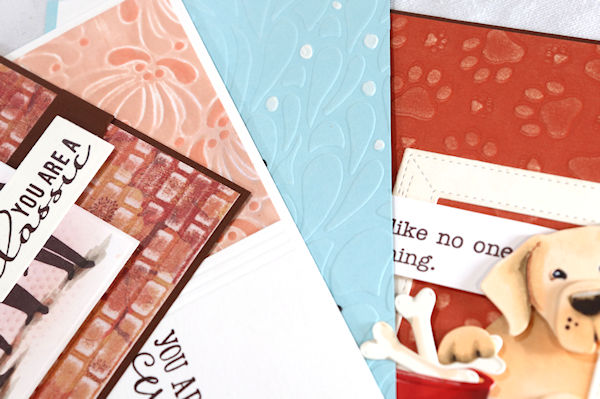
Add texture to a background by running a stencil through your die cutting machine.
Supplies
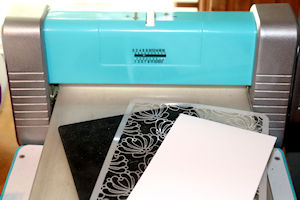
- Stencil (A Colorful Life Designs Airy Flowers used here)
- Die cutting machine (Crossover II Fabric & Paper Cutting System used here)
- Silicone embossing mat (Sizzix)
- Cardstock
- Shims as needed
- Other supplies as needed to complete the project (see gallery samples)
Step-by-Step
-
Step 1
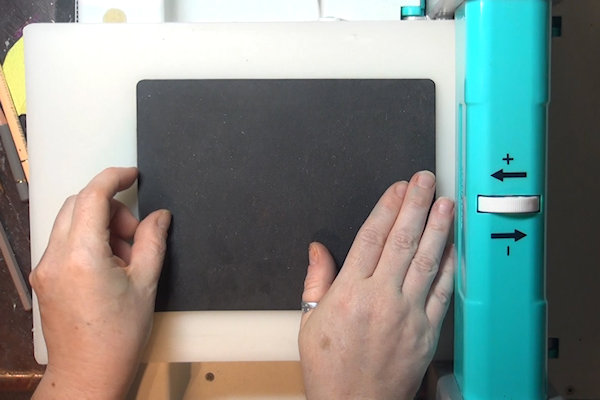
Prepare a sandwich for your die cutting machine.
NOTE:
The top and bottom of the sandwich will vary depending on your machine; the order shown here is important.
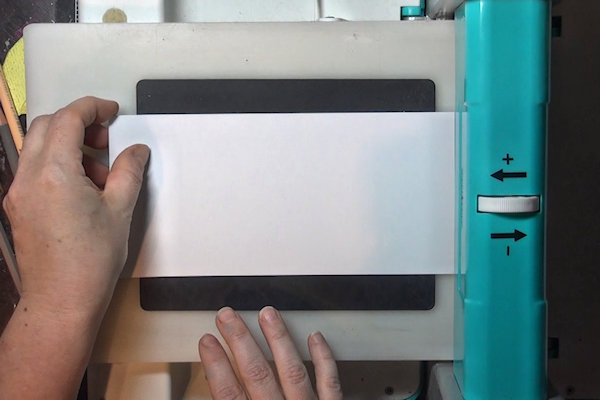
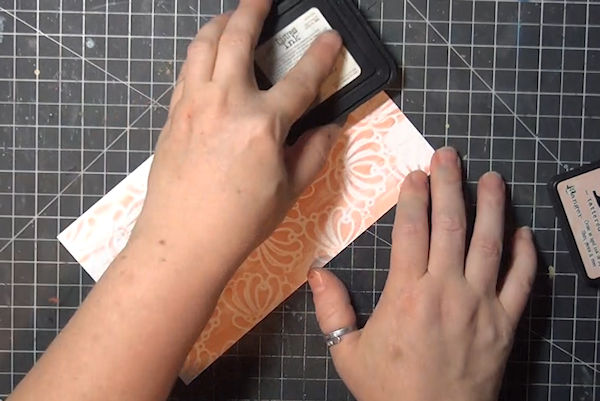
Lay down a rubber/silicone embossing mat on your base panel. -
Next, lay your cardstock over the mat. It can be white, a solid color, or patterned (if colored or patterned, lay it pattern side up).
-
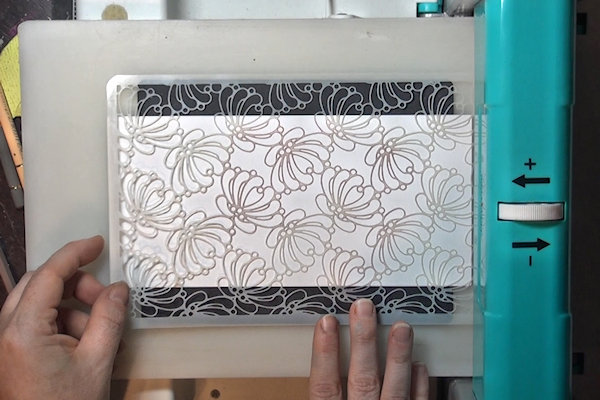
Step 2
Lay the stencil down over the cardstock, taking care with placement.
-
Lay a cutting plate over the top and adjust the thickness of the sandwich with shims as needed for your die cutting machine.
NOTE:
For the Big Shot, the sandwich is as follows, from the bottom up: Multipurpose Platform on tab 1, cutting plate, embossing pad, cardstock, stencil, cutting plate, and 2 cardstock shims -
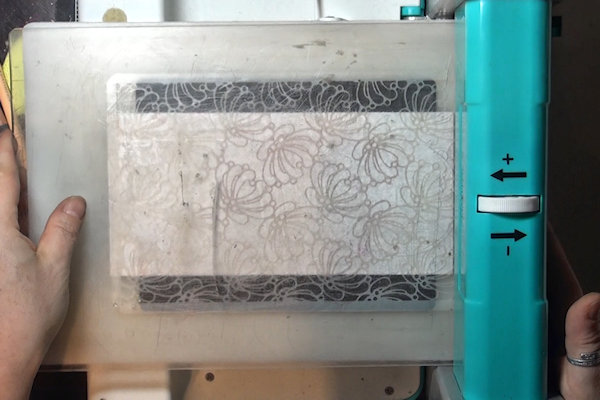
Step 3
Run the sandwich through your die cutting machine. A little pressure is needed for the technique, but the sandwich should not feel forced.
-
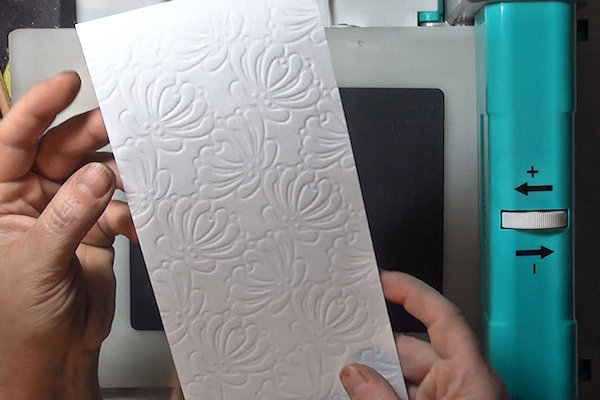
Step 4
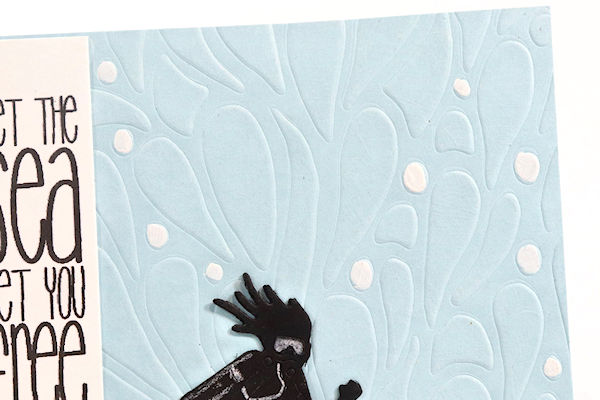
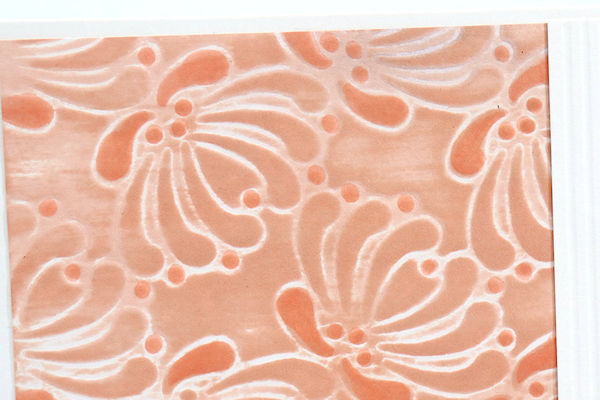
The stencil will create an imprint into the cardstock.
-
Either side of the cardstock can be used for this technique.
-
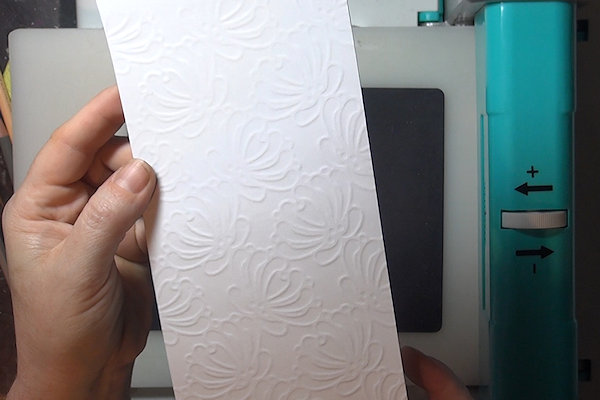
Step 5
The embossed background can be used as is.
(Some small accents were added with white gesso here.) -
Step 6
The embossed background can be inked “direct to paper” or using blending brushes.
(Some small accents were added with a Copic marker here.) -
-
Step 7
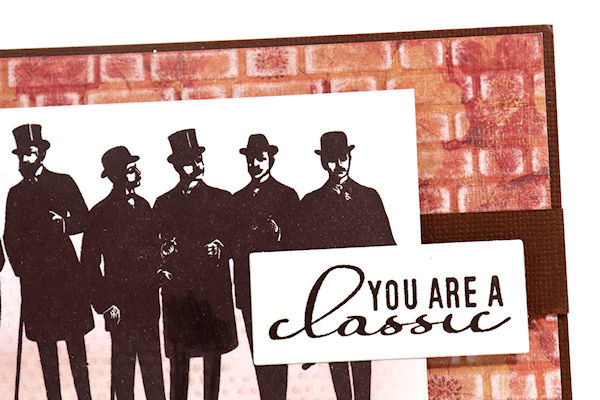
If using patterned paper or duplex or white core cardstock, a sanding block can be used lightly to reveal the design.
-


Video!
Variations
Your Turn
You've seen the tutorial, now you try it! We've got a section of the gallery set aside for Stencil Embossing. Try this technique, then upload your artwork to the gallery. Show us your creations!
***Please note - Internet Explorer/Edge is not a supported browser, and will not allow you to see the videos. Please use Chrome, Firefox or Safari to view our tutorial videos.

Questions and Comments
We'd love to get your feedback or questions. Leave your comment below.
Thanks for sharing.
Page 1 of 1 pages