Standing Shapes Card
by Laura Lipe
Add fun standing elements to the inside of your card.
Supplies
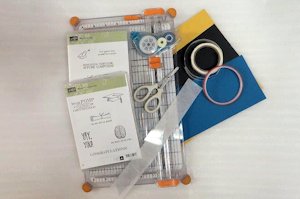
- Cardstock for outside of card, cut to 4 1/4" x 11"
- Cardstock for inside of card, cut to 4" x 11"
- Transparency sheets, cut into 1/4" strips (about 16" total length)
- Punched or cut shapes (5 or more)
- Strong double-sided adhesive
- Paper trimmer
- Scoring tool
- Other supplies to decorate the card front and inside as desired
Step-by-Step
-
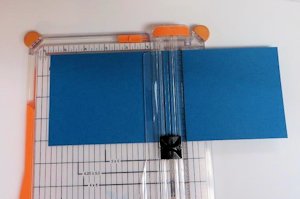
Step 1
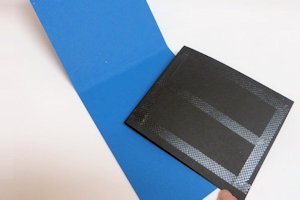
Score the outside panel at 5 3/8" and 5 5/8". This creates a wide fold for the card, to accommodate the inside elements.
-
Step 2
Score the inside panel at 4 1/2", 5", 5 1/2", 6", and 6 1/2".
-
Fold on the score lines accordion-style as valley, mountain, valley, mountain, and valley folds. Crease well with bone folder.

-
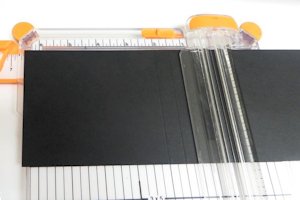
Step 3
Apply strong double-sided adhesive between the two mountain folds, to the inside of each "mountain".
-
Step 4
Cut transparency strips in appropriate lengths, depending on what will be mounted inside the card.

-
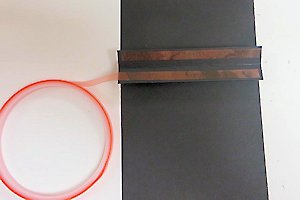
Peel off the backing of one of the sticky strips. Lay the strips onto the tape line, positioning them by length according to what you will mount inside the card. Add as many of these as desired.

-
Step 5
Peel the backing off the other line of sticky tape and adhere the two together, making sure the window sheets' ends are caught inside.

-
Step 6
Using glue dots, adhere small die cuts or other decorations onto the ends of the strips. When the card is opened, these will stand and sway back and forth.

-
Step 7
Apply adhesive to the back sides of the interior piece.
-
With the card open (inside up), center the interior piece between the two scored lines of the outside panel. Ensure that the interior piece is centered from side to side, and the shapes standing in the fold are straight up. Glue the sides down lightly until you close the card and make sure the card interior is correctly positioned.
Hint:
Adhere one side at a time.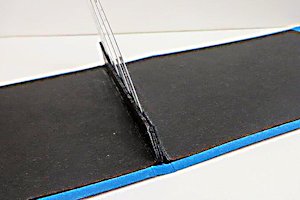
-
Step 8
Decorate the front and inside of the card as desired.

-
Optional:
Add a "pocket" inside the card to include a gift card or cash (as shown here).
Video!
Your Turn
You've seen the tutorial, now you try it! We've got a section of the gallery set aside for Standing Shapes Card. Try this technique, then upload your artwork to the gallery. Show us your creations!
***Please note - Internet Explorer/Edge is not a supported browser, and will not allow you to see the videos. Please use Chrome, Firefox or Safari to view our tutorial videos.

Questions and Comments
We'd love to get your feedback or questions. Leave your comment below.
I try to upload a Standing Shapes Card in the Standing Shapes Gallery.
I have now 2 the same cards on "my gallery" instead of the other.
Can you help me?
and can you help me to remove one in my gallery
Thanks for all the beautiful cards and inspiration.
Kind regards from The Netherlands
Yvonne van Sambeek
Beautiful card -- love the "stand-outs" !!!!
Thank you for the info.
Page 1 of 2 pages 1 2 >