Stamped Acrylic Block Background
by Beate Johns
Create a fun and easy background using your acrylic block, in a technique we learned from our friends at Hero Arts®.
Supplies
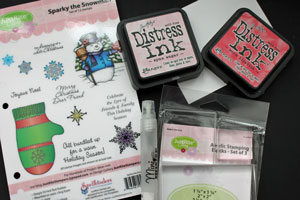
- Acrylic stamp block
- Neutral cardstock
- Stamps (JustRite® Sparky the Snowman used here)
- Dye ink (Ranger® Distress Inks used here)
- Water misting bottle
Step-by-Step
-
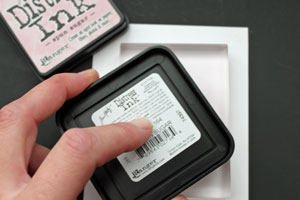
Step 1
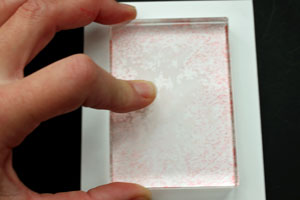
Ink an acrylic block with a light colored dye ink by pressing the ink pad directly onto the block.
-
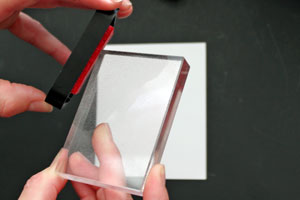
Step 2 (Optional)
Ink the edges with a slightly darker color ink.
-
Step 3
Mist the block lightly with water.
Hint:
The more water you add, the softer, and less vibrant the colors will be.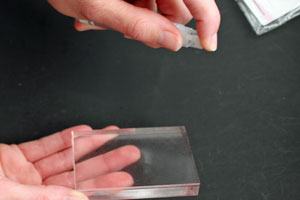
-
Step 4
Press the inked acrylic block ink firmly onto the cardstock.
-
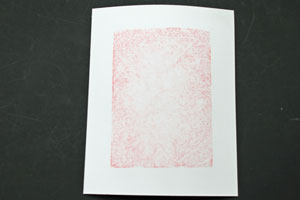
The finished stamped background.
-
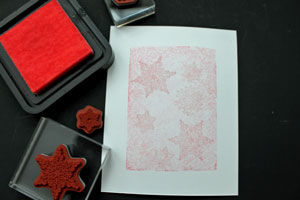
Step 5 (Optional)
Stamp small images on the background with the lightest color.
-
Step 6
Finish the card.

Video!
Your Turn
You've seen the tutorial, now you try it! We've got a section of the gallery set aside for Stamped Acrylic Block Background. Try this technique, then upload your artwork to the gallery. Show us your creations!
***Please note - Internet Explorer/Edge is not a supported browser, and will not allow you to see the videos. Please use Chrome, Firefox or Safari to view our tutorial videos.
Questions and Comments
We'd love to get your feedback or questions. Leave your comment below.
Love all the video tutorials. Thanks!
Any brand of ink will work
I have a quesstion, not about this one.
you did a card with scor-pal, and the tool that
makes holes; for pattern paper. the card was plaid, diamonds. and with brads. I can't find it
could you post it on this site? I really would like
the instructions. thank you so much.
Have a good day.
Page 1 of 2 pages 1 2 >