Split Negative
by Lori Craig
Try this technique for two primary images to build into beautiful cards.
Supplies
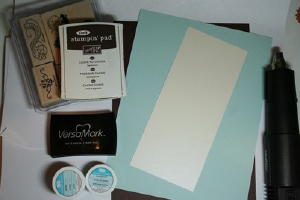
- Pigment Ink in a dark color (Chocolate Chip Craft used here)
- Versamark®
- Embossing Powder (Vanilla and Clear used here)
- Card Stock in a neutral and a dark color (Very Vanilla and Chocolate Chip used here)
- Heat Tool
- Paper Trimmer
Step-by-Step
-
Step 1
In selecting a stamp for this technique, look for something large enough to take center stage on the card with enough detail to make the split 'POP'. Symmetrical is good, but not necessary as shown here.
Use the paper trimmer to cut one piece of neutral cardstock and one piece of dark colored cardstock the same size as the wood or acrylic block for the main image. This makes image placement, which is key for the technique, a breeze.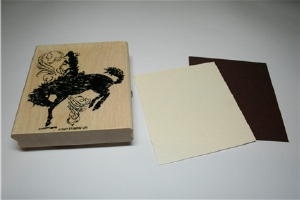
-
Step 2
Stamp image in VersaMark™ onto the dark colored cardstock, precisely lining up the block with the corners of the cardstock.
Add vanilla embossing powder, tap off excess, and heat image.
Tip: This technique is normally done in black and white. Try substituting contrasting colors of your choice.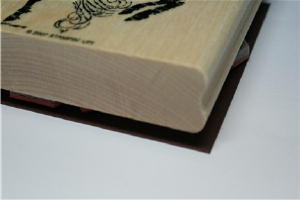
-
Step 3
Repeat the process using pigment ink on the neutral cardstock, again lining the block up exactly with the corners of the cardstock.
Emboss with clear embossing powder.
Tip: Substitute VersaMark™ and colored embossing powder in this step.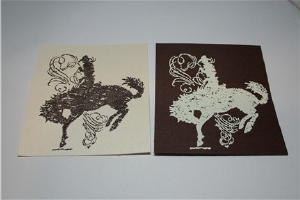
-
Step 4
Determine the exact midpoint of the piece of cardstock and cut both images in half.
There will be four half images at this point.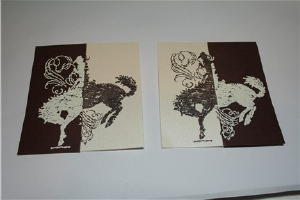
-
Step 5
Adhere two opposite images to a coordinating or complimentary piece of cardstock.
Here, the image was pieced together on cardstock cut 1/4" larger than the original image's measurements, leaving a 1/8" border around the image.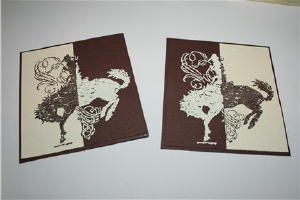
-
Step 6
Use the image panels and embellishments of your choice to create two fabulous cards.

Your Turn
You've seen the tutorial, now you try it! We've got a section of the gallery set aside for Split Negative. Try this technique, then upload your artwork to the gallery. Show us your creations!
***Please note - Internet Explorer/Edge is not a supported browser, and will not allow you to see the videos. Please use Chrome, Firefox or Safari to view our tutorial videos.

Questions and Comments
We'd love to get your feedback or questions. Leave your comment below.
I'll have to try this one later.
Going away on a 2 day ladies retreat: 1-9 through 10-12.
Cyndi
AKA:
Digi-Scrap
When you emboss a large figure how do you keep the paper from bending from the heat?
I need help with this technique.
THANKS
x
Page 1 of 1 pages