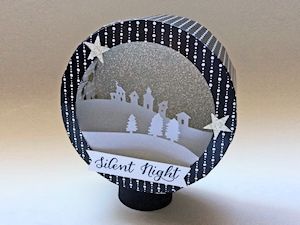
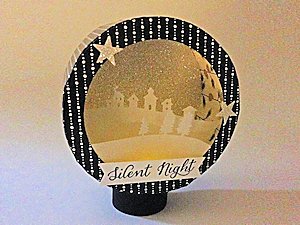
Snow Globe Luminary
by Melissa Banbury
Transform cardstock and vellum into a lighted winter scene.
Supplies
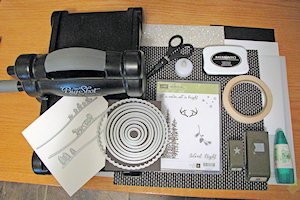
- Reflective paper – glitter, metallic, or mirror (Stampin’ Up! Glimmer paper used here)
- White cardstock
- Black cardstock
- Vellum
- Patterned paper (SU! Winter Wonderland DSP used here)
- Die cutting machine
- Circle dies (SU!’s Framelits used here)
- Scenic border dies (SU!’s Sleigh Ride Edgelits used here)
- Battery operated tealight
- Liquid glue (Tombow used here)
- Double sided tape(Tear and Tape adhesive used here)
- Paper snips
- Bone folder
- Other supplies as needed to complete the project (Stampin’ Up! products used here: Tuxedo Black Memento ink, Wonderland stamp set, Banner and Small Star punch)
Step-by-Step
-
Step 1
Cut a 4" circle from reflective paper for the backing piece. Cut two of the same sized circles from patterned paper.
Cut two strips of the same patterned paper measuring 2-3/4" x 12" and 2-3/4" x 1-1/2". Score along the length of both sides in at 1/4". Cut small tabs up to the score lines on both sides.
-
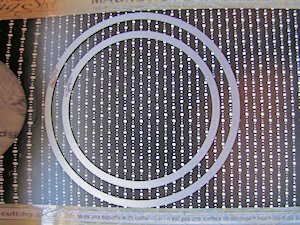
Step 2
To create a frame, center a smaller circle die inside one of the patterned paper circles, and die cut. Discard the center portion; just the frame is needed.
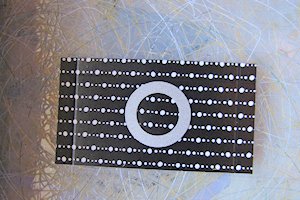
-
Lay a 5/8" circle die onto the center of the 2-3/4" x 1-1/2" piece of patterned paper and die cut. Discard the circle cut.
-
Step 3
Add double stick tape to the end of the 2-3/4" x 12” piece of patterned paper, and glue the 2-3/4" x 1-1/2" piece of patterned paper to it (the piece will now measure 13-1/2"). Add a piece of double stick tape to one of the 2-3/4" ends of the patterned paper.
Add pieces of double stick tape around the entire circumference of the backing piece on its back side.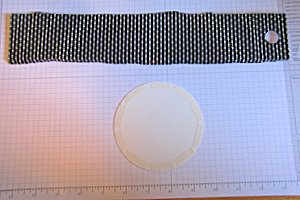
-
Step 4
Remove the backing from the double stick tape and begin setting the patterned strip into place around the backing piece, creating a shadow box. Complete the circle by removing the adhesive backing from the strip and securing the edges together.
NOTE:
The section with the small hole is the bottom of the snow globe where the tealight will be inserted.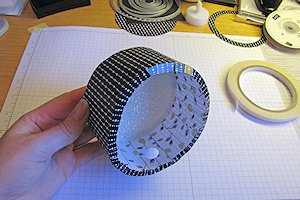
-
Step 5
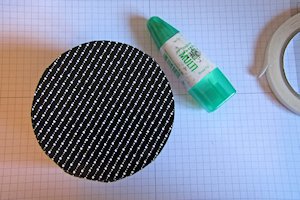
Flip the piece over and glue the remaining patterned circle into place with liquid glue.
-
Step 6
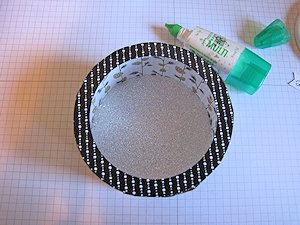
Turn the piece back over to the right side, and glue the frame created in Step 2 into place with liquid glue.
-
Step 7
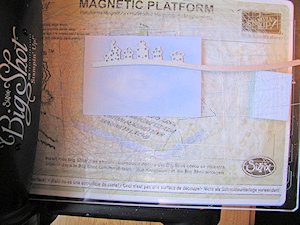
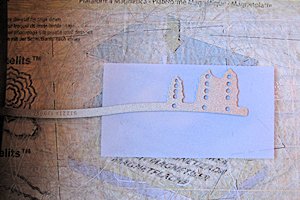
Cut a piece of vellum measuring 4-1/2" x 2-1/4". Lay the first scenic border die onto the upper portion of the vellum, and die cut.
-
Cut a piece of vellum measuring 3-1/4" x 1-3/4". Cut a second scenic border in the center portion of the vellum.
-
Step 8
Fold small tabs onto each side of both silhouettes. Using a bone folder, give each piece an “S” bend.
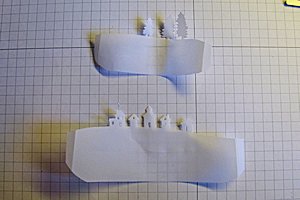
-
Step 9
Add double stick tape to each tab and glue each silhouette into place. The taller silhouette should be placed to the back and the shorter one to the front.
NOTE:
Keep the silhouettes in front of the hole for the tealight.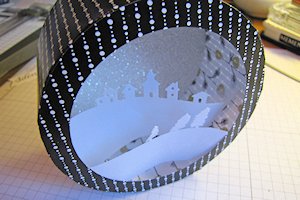
-
Step 10
Decorate the luminary as desired.
-
Step 11
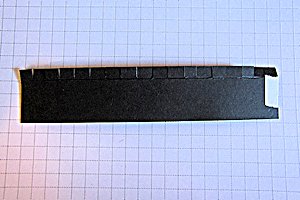
Cut a piece of black cardstock 1" x 5". Score across the length of the piece at 1/4" and cut small tabs up to the score line. Add a piece of double stick tape to one of the 1" sides.
-
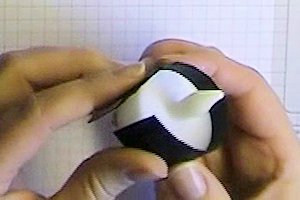
Using a battery-operated tealight as a guide, wrap the cardstock around and secure the end with the double stick tape.
-
Step 12
Fold the tabs inwards, apply glue, center over the small circle at the bottom of the snow globe and adhere into place.
-
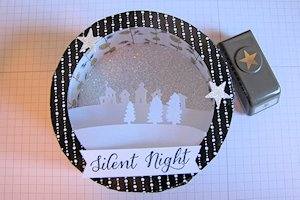
Step 13
Complete the project.
-
Light and insert the tea light to display.
Video!
Your Turn
You've seen the tutorial, now you try it! We've got a section of the gallery set aside for Snow Globe Luminary. Try this technique, then upload your artwork to the gallery. Show us your creations!
***Please note - Internet Explorer/Edge is not a supported browser, and will not allow you to see the videos. Please use Chrome, Firefox or Safari to view our tutorial videos.

Questions and Comments
We'd love to get your feedback or questions. Leave your comment below.
Page 1 of 1 pages