Simple Frame
by Birgit Edblom
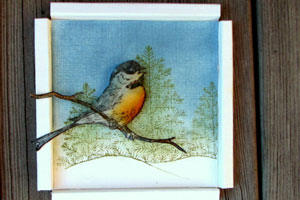
Create a folded paper frame to highlight your image.
Supplies
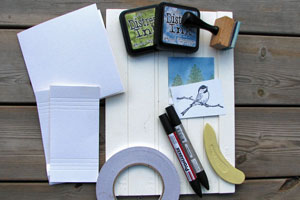
- One 5" x 10" piece of cardstock for card base
- Two 3" x 6" pieces of cardstock for frame
- Stamped image
- Ink
- Bone folder
- Scor-Pal™, or other scoring tool
- Scor-Tape™, or other strong adhesive
Step-by-Step
-
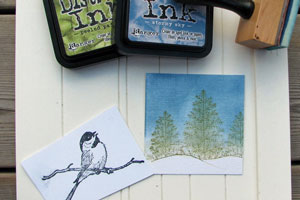
Step 1
Stamp your image/background on a 3”x 3” piece of paper.
-
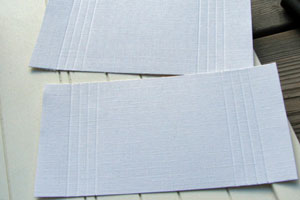
Step 2
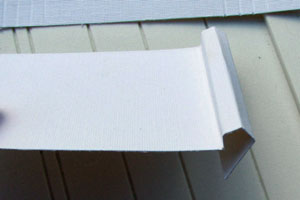
Score both 3" x 6" pieces of cardstock at 3/4", 1",1 1/4", 1 1/2", 4 1/2", 4 3/4"”, 5" and 5 1/4".
-
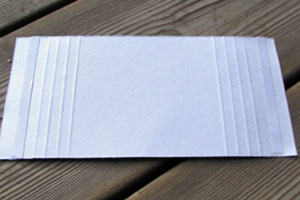
Step 3
Apply Scor-tape™ to the outer panel on the back of your scored cardstock pieces.
-
Step 4
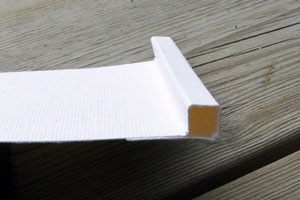
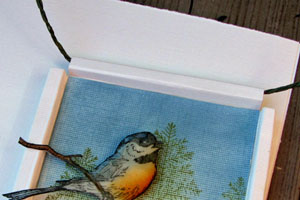
Fold at the scored lines and peel off the paper lining of the Scor-Tape.
-
Fasten it so that the edges of the frame form squares.
-
Step 5
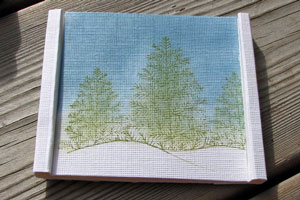
Adhere your image to one of the frame pieces.
-
Step 6
Glue the image and half of the frame to the other frame piece.
-
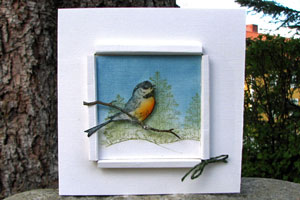
Add a popped up image for more dimension. (optional)
-
Step 7 (Optional)
Thread string or ribbon through the frame and make a small bow in one corner.
-
Step 8
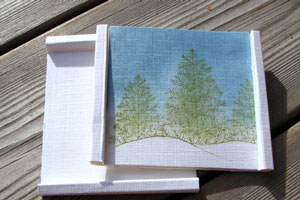
Adhere the framed image to the card front.
Video!
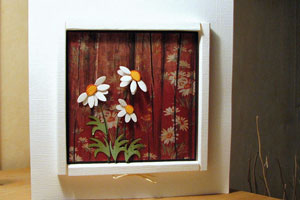
Variations
-
To create a frame without holes at the edges make one of the frame piece 4/8” wider.
Your Turn
You've seen the tutorial, now you try it! We've got a section of the gallery set aside for Simple Frame. Try this technique, then upload your artwork to the gallery. Show us your creations!
***Please note - Internet Explorer/Edge is not a supported browser, and will not allow you to see the videos. Please use Chrome, Firefox or Safari to view our tutorial videos.

 *
*
Questions and Comments
We'd love to get your feedback or questions. Leave your comment below.
Bahb
Thanks!
Mary :D
Pattie
Bless you for showing how to do it.
Betty
Page 1 of 1 pages