Shimmer Sprays
by Lori Craig
Learn to use mica and shimmer sprays to create shine, depth and dimensions on your card projects in this tutorial sponsored by our friends at Tonic Studios.
Supplies
- Watercolor Card or cardstock
- Mica Mist Sprays Vintage Gold shown here
- Shimmer Sprays Wispy Willow, Peacock Plume, and Marine Mist shown here
- Embellishment Mousse Mother-of-Pearl shown here
- Glass Media Mat or craft mat
- heat tool (optional)
- Retractable Craft Pick
- paper trimmer
- stamps and dies (Clocks and Cogs Kit from Tonic Studios used here)
- optional embellishment kit (Clocks and Cogs Add-ons from Tonic Studios used here)
- additional stamp and die options (Wildflower Wonderland or (Country Jugs)
Step-by-Step
-
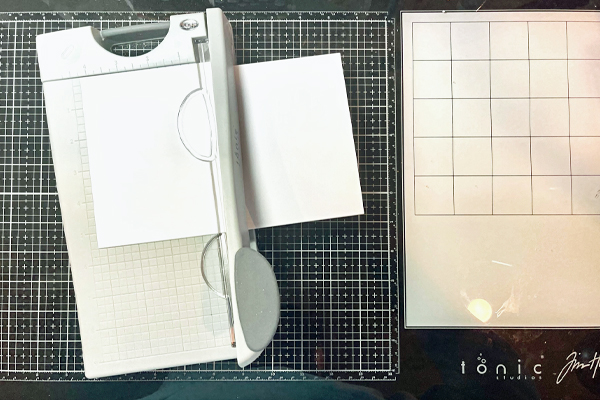
Step 1
Trim watercolor or cardstock layers to a workable size.
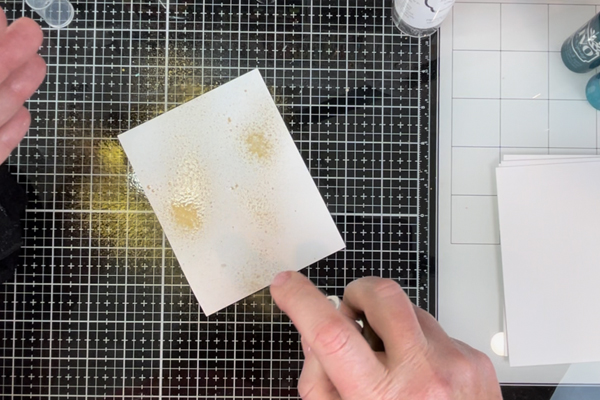
-
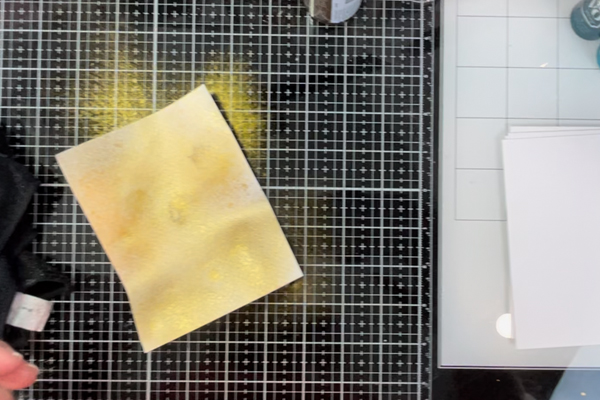
Working on a glass or craft mat, spritz mica or shimmer sprays onto watercolor paper or cardstock.
-
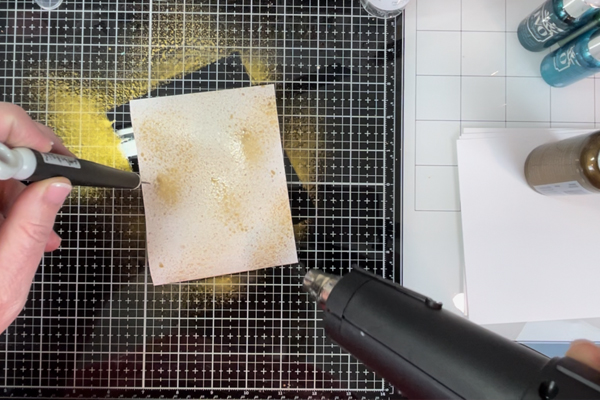
Step 2
Use a craft pick to hold paper flat to surface and use heat tool to gently dry. Take care not to scorch paper or bubble the pigment.
Allowing paper to air dry is also an option. You may tape edges of paper to surface to prevent excess pooling of pigment due to warped, wet paper. -
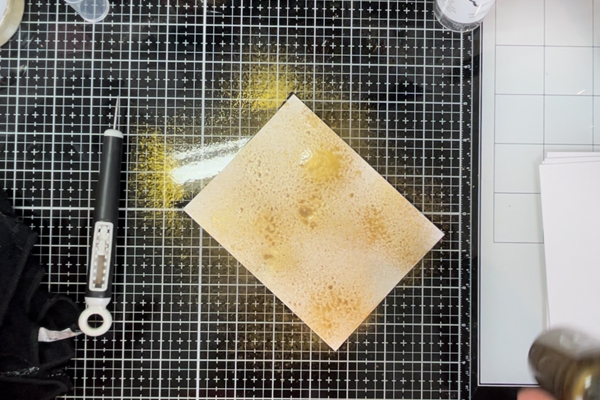
Step 3
When paper is dry, repeat steps 1 and 2 as often as desired to create depth with pigment on paper.
Tip: Change it up and use a variety of colors for visual interest. -
Step 4
Use sprayed papers as base layers or create vibrant shapes with die cuts to accent your project. Watercolor paper warp slightly after repeated layers of spray. Often it presses back to flat for diecutting and will hold with adhesive.
Tip: You may gently mist the backside of the paper with water and allow to dry under the pressure of a book or very low-heat iron. -
Step 5
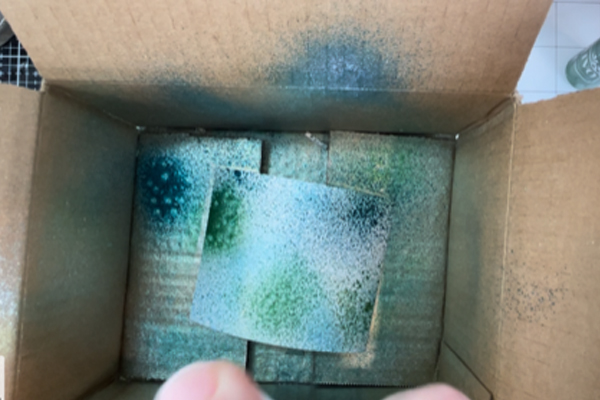
Wipe your work surface clean and repeat from Step 1 to experiment with different colors. You may use multiple colors together. This step is addicting.
Tip: If you do not have a glass or craft mat, working inside a cardboard box can help contain excessive splatter. -
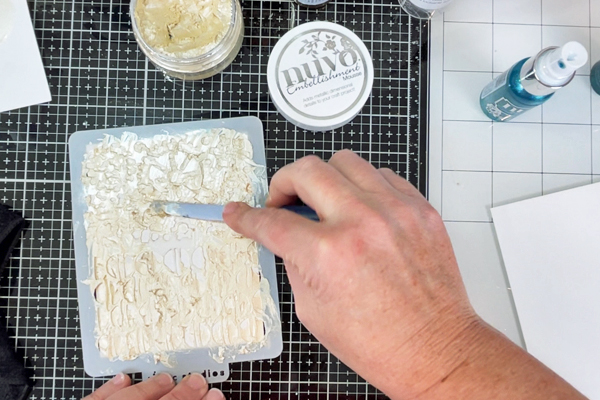
Step 6
Experiment with shimmer mediums through stencils. Embellishment Mousse shown here.
Tip: Thicker mediums can crack and buckle under direct heat. Allowing them to air dry is always a good option. -
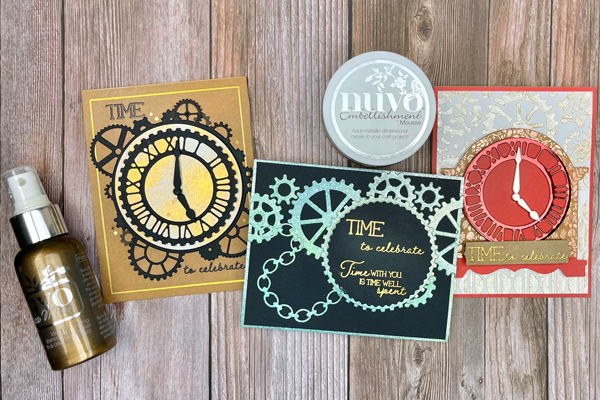
Step 7
Use your sprayed and stenciled pieces as background layers or to die cut pieces. You'll love adding this unique look to your cards and paper projects.
Video!
Your Turn
You've seen the tutorial, now you try it! We've got a section of the gallery set aside for Shimmer Sprays. Try this technique, then upload your artwork to the gallery. Show us your creations!
***Please note - Internet Explorer/Edge is not a supported browser, and will not allow you to see the videos. Please use Chrome, Firefox or Safari to view our tutorial videos.

Questions and Comments
We'd love to get your feedback or questions. Leave your comment below.
Page 1 of 1 pages