Scallop Circle Flowers
by Brenda Quintana
Create a flower with a scalloped circle punch or die.
Supplies
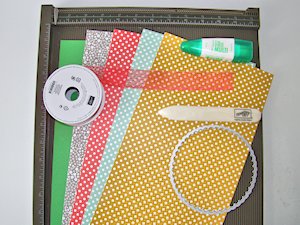
- Cardstock or decorative paper (used here: Stampin’ Up! Cucumber Crush Card Stock, 2015-2017 In-Color Designer Series Paper Stack)
- Scoring board
- Bone folder
- Die cutting machine
- Scalloped circle punch or die (Circles Framelits Collection used here)
- Ribbon or other trim (Watermelon Wonder Dotted Lace Trim used here)
- Glue (Tombow Multipurpose Liquid Glue used here)
Step-by-Step
-
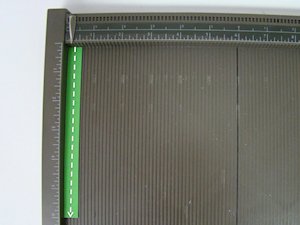
Step 1
To create the stem, start with a 6" x 1/2" strip of green cardstock. On the short side, score at the 1/4" mark.
-
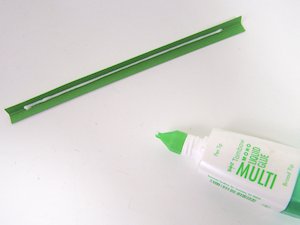
Step 2
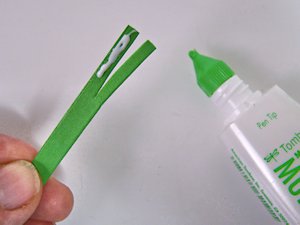
Fold the strip along the score line and run a thin bead of glue along the inside.
-
Use a bone folder to press the strip together.

-
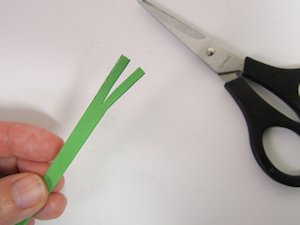
Step 3
Cut a 1" slit into one end of the strip.
-
Step 4
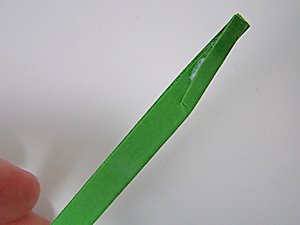
Put glue on one of the split ends.
-
Overlap the split ends to create a narrow end to the stem.
-
Step 5
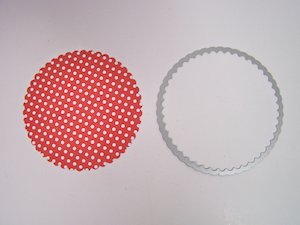
To create the flower, cut a scallop circle out of designer paper using a die or punch. (Sample die cut is 5" across.)
-
Step 6
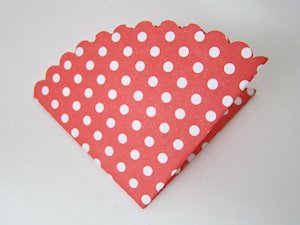
Fold the scallop circle in half, then fold it in half again, lining up the scallops.
-
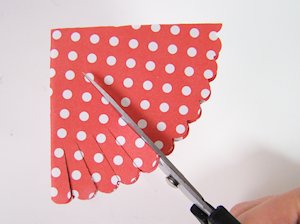
Step 7
Make 1” cuts in between each scallop.
-
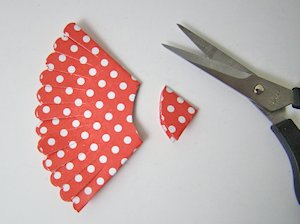
Step 8
On the opposite end, cut an arc 3/4" from the bottom.
-
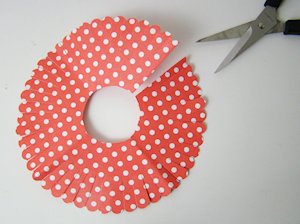
Step 9
Unfold the scallop circle. Cut an opening into the scallop O-shape. Also if there are any double petals, cut them into single petals.
-
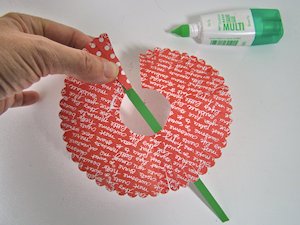
Step 10
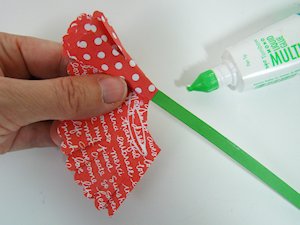
Put glue along the inner edge of the O-shaped piece and start rolling the scallop circle piece around the narrow end of the stem.
-
Keep adding glue along the inner edge as you roll until the whole scallop piece is rolled up.
-
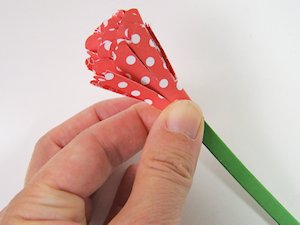
Step 11
Hold the seam down with your thumb for a few seconds to allow the glue to set.
-
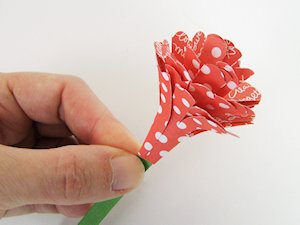
Step 12
Gently pull back the petals to form the flower head.
-
Step 13
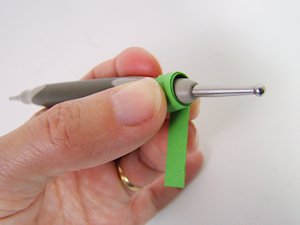
To create the leaves, cut two 3" x 1/4" strips of green cardstock.

-
Curl the strips by wrapping one end of each strip around a stylus tool.
-
Step 14
Glue the curled leaves onto the stem.

-
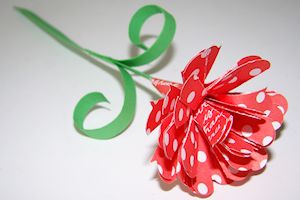
Step 15
Here is the finished flower.
-
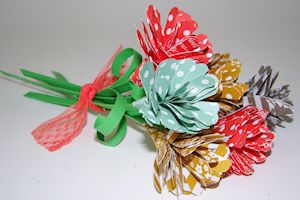
Make a single flower or a bouquet.
Video!
Your Turn
You've seen the tutorial, now you try it! We've got a section of the gallery set aside for Scallop Circle Flowers. Try this technique, then upload your artwork to the gallery. Show us your creations!
***Please note - Internet Explorer/Edge is not a supported browser, and will not allow you to see the videos. Please use Chrome, Firefox or Safari to view our tutorial videos.

Questions and Comments
We'd love to get your feedback or questions. Leave your comment below.
Page 1 of 1 pages